Hingham Complete Home Renovation - Elm Street
Who would have thought that only two years after finishing our condo in South Boston, a pandemic would hit and we would land our dream location on March 13th or 2020. We saw the yard and knew we would be able to expand, so we jumped on the 1300 square foot house, even though we knew it wouldn’t serve our needs for the long haul. As we were closing, we already were sketching plans, but the pandemic slowed things down a bit, and we ended up living in it for a year as it was. With one bathroom on the second floor, a baby and aging parents, we knew this wouldn’t do. After having our land survey completed, we learned that the only space we had to expand was in the front of the house, so we ended up adding two two story additions to either side and one small one in the back. Rain in July lead to more hassle as it called for pulling up all of the antique pine flooring we wanted to keep. It still pains us that we only had enough to complete one room, but we sure do hope our guests love it!
We could EASILY write a novel about this entire process, but for now, here are the before and afters!
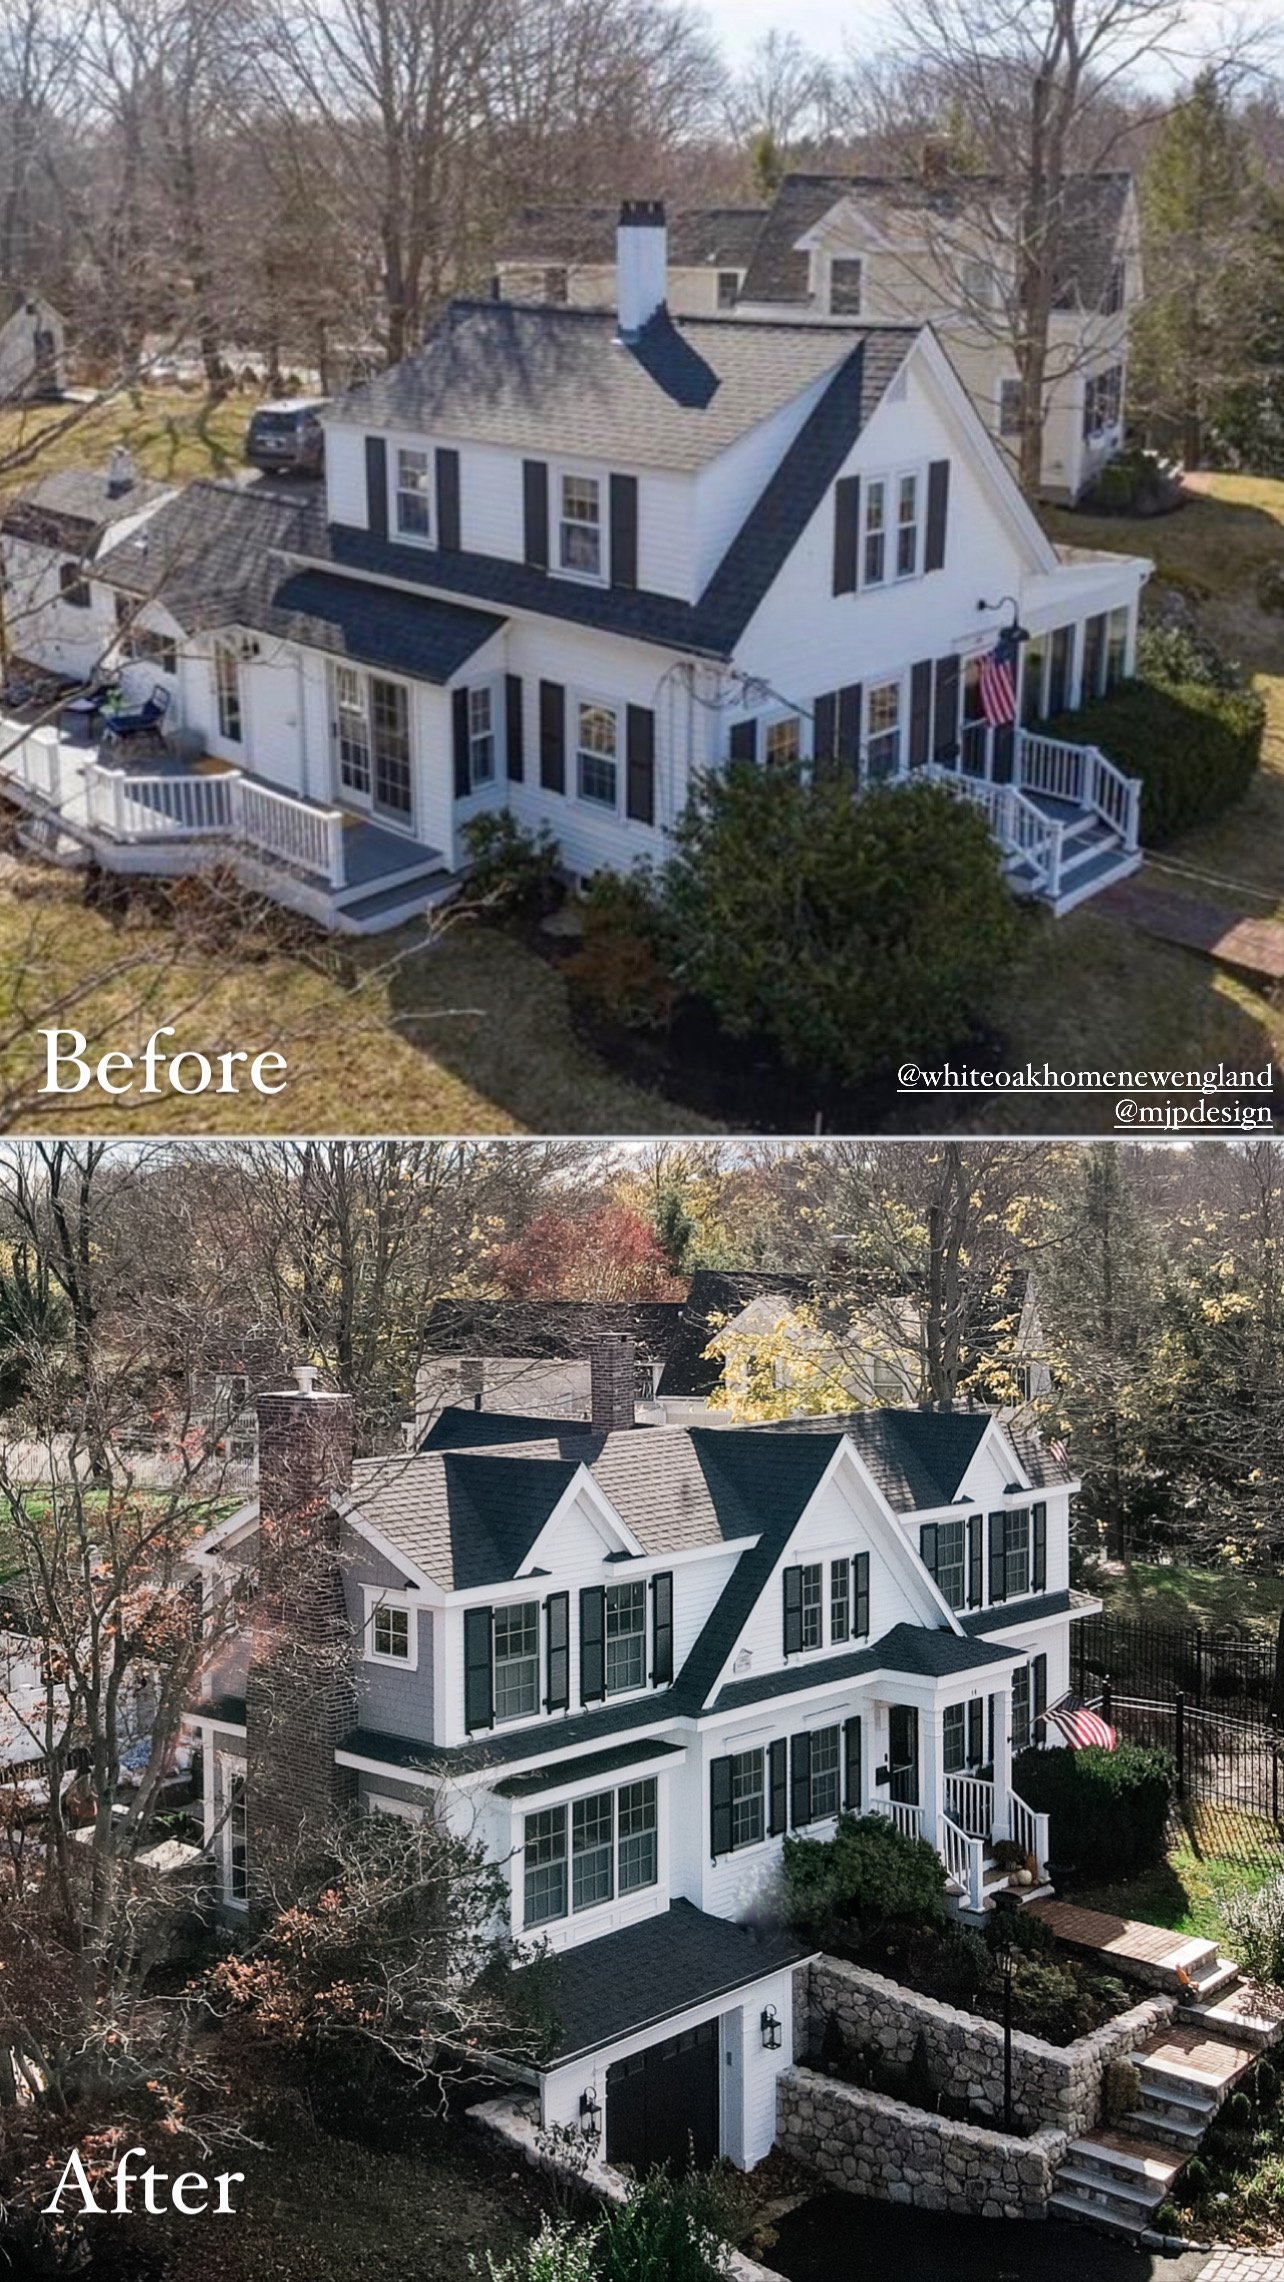
Below are the exterior before and after. Outside, you can easily see the changes. We added three additions around the house, and dug into the hill for a one car garage held back by real stone retaining walls. Because this is a triangle lot, we only had the space to add the large additions to the front and one small addition to the back. The front left addition also allowed us to create a more private “back” yard and utilize more of our full property!
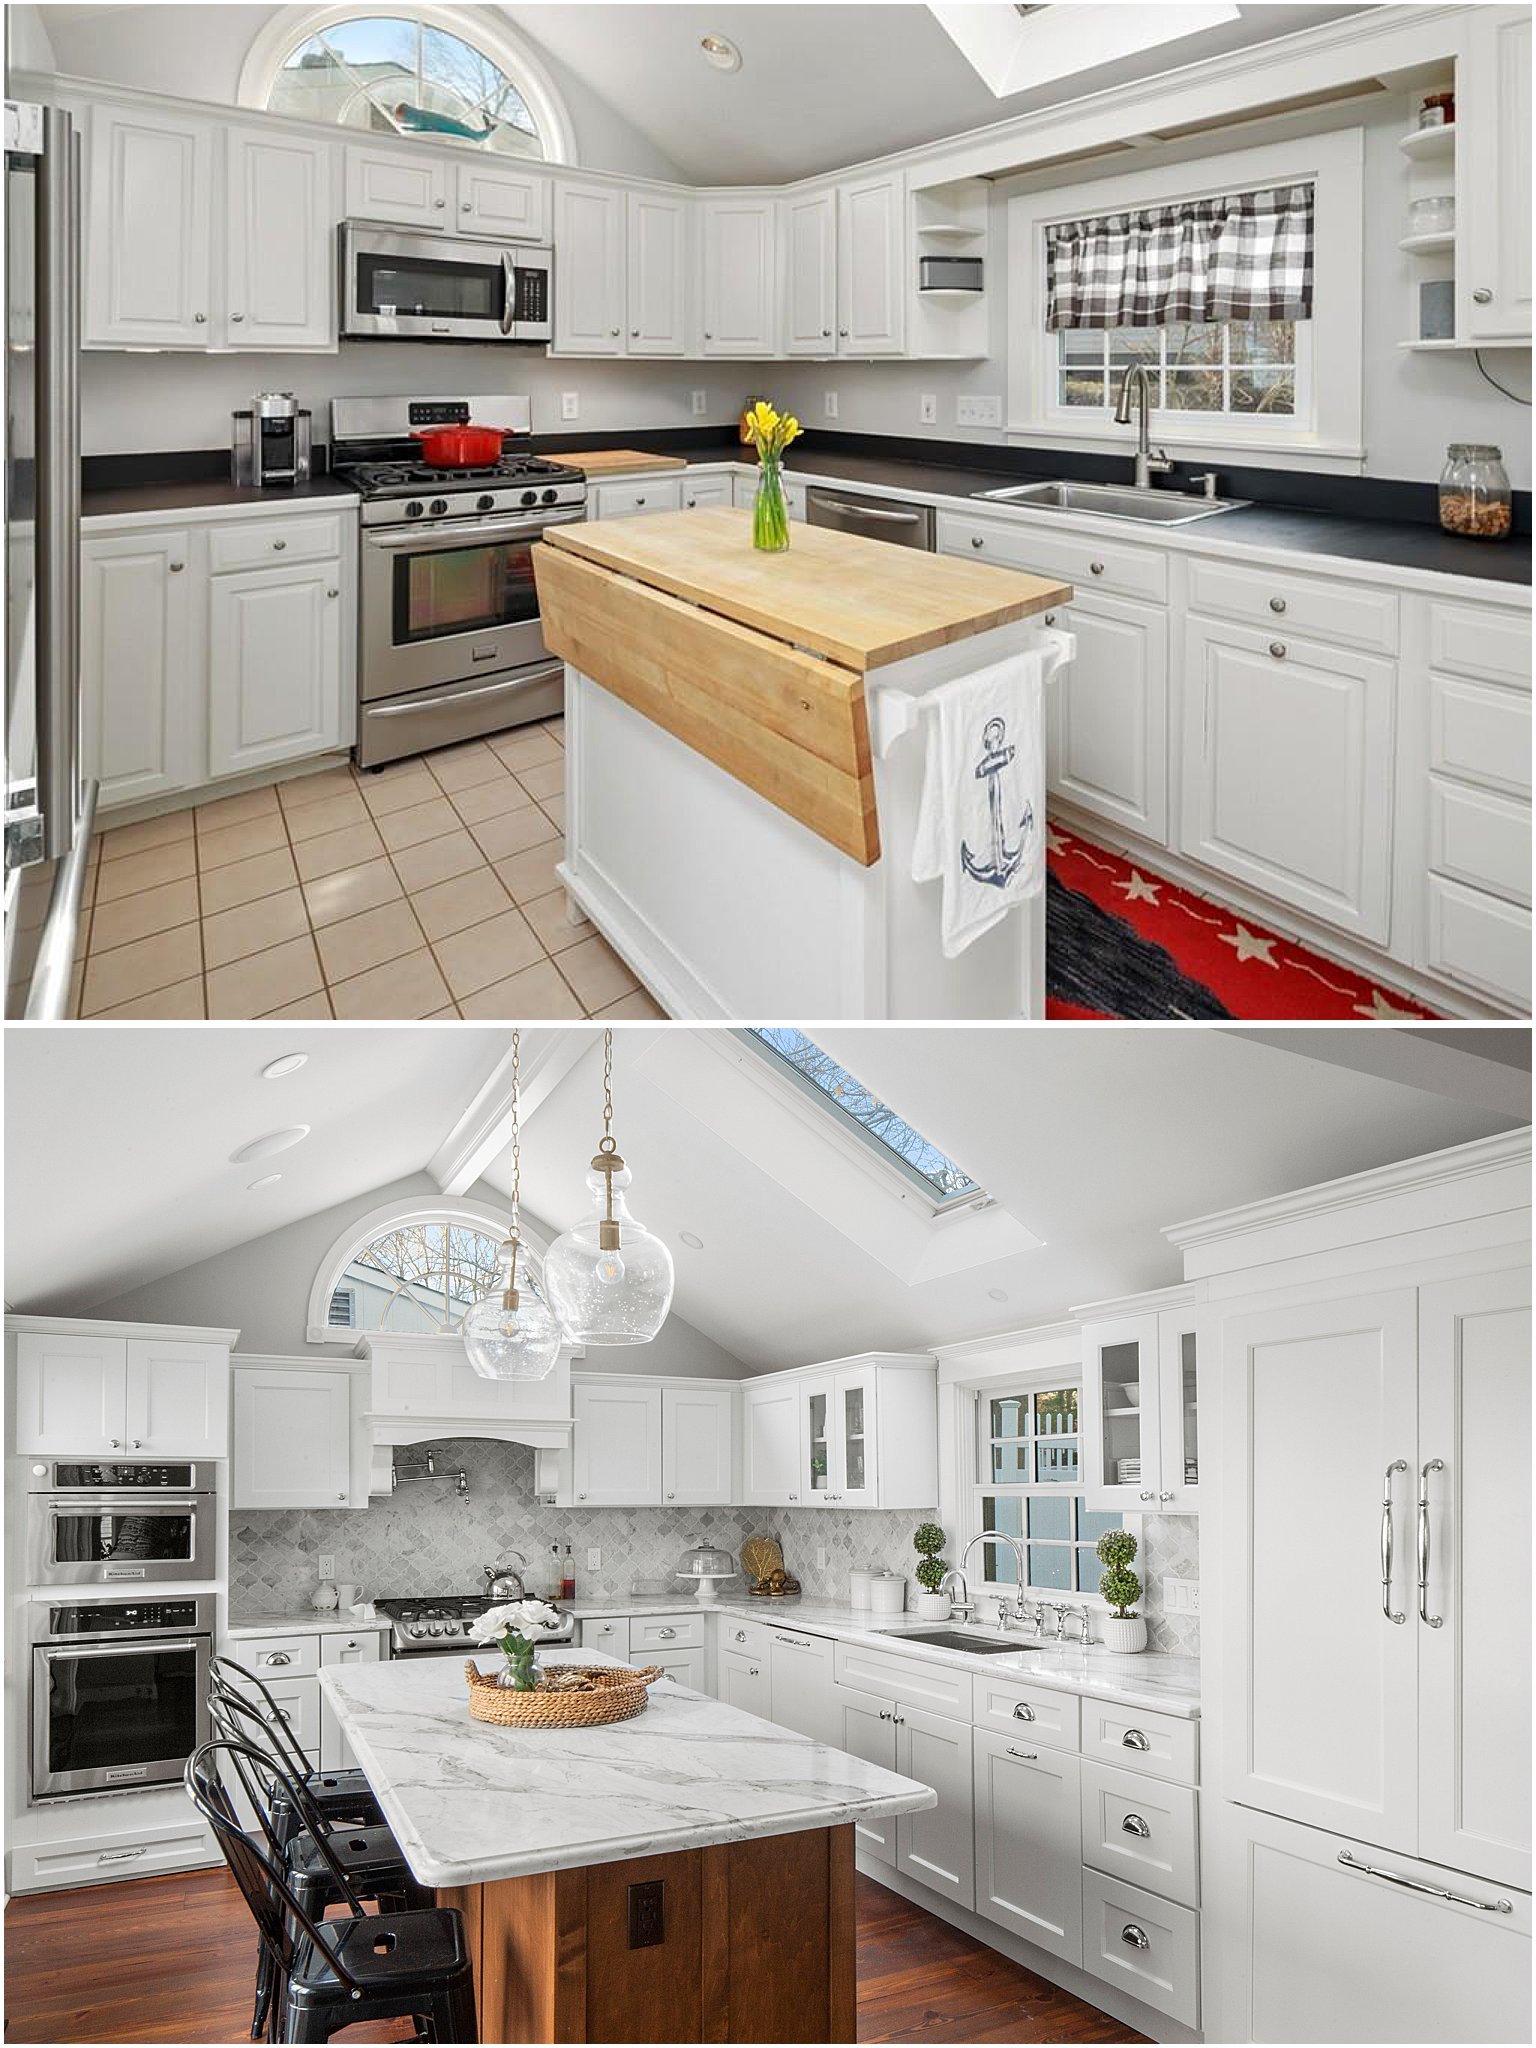
Let’s start with the heart of the home - the kitchen! I’ll start by saying it was not awful before. We had actually originally planned NOT to renovate the Kitchen, then we decided we needed to renovate, but repurpose the existing cabinets. The rainy July weather (when the roof was off) led them all to be damaged beyond repair. To clarify, any of the photos with the red rug are the before photos. There used to be a wall closing it off that we removed and replaced with a beam!
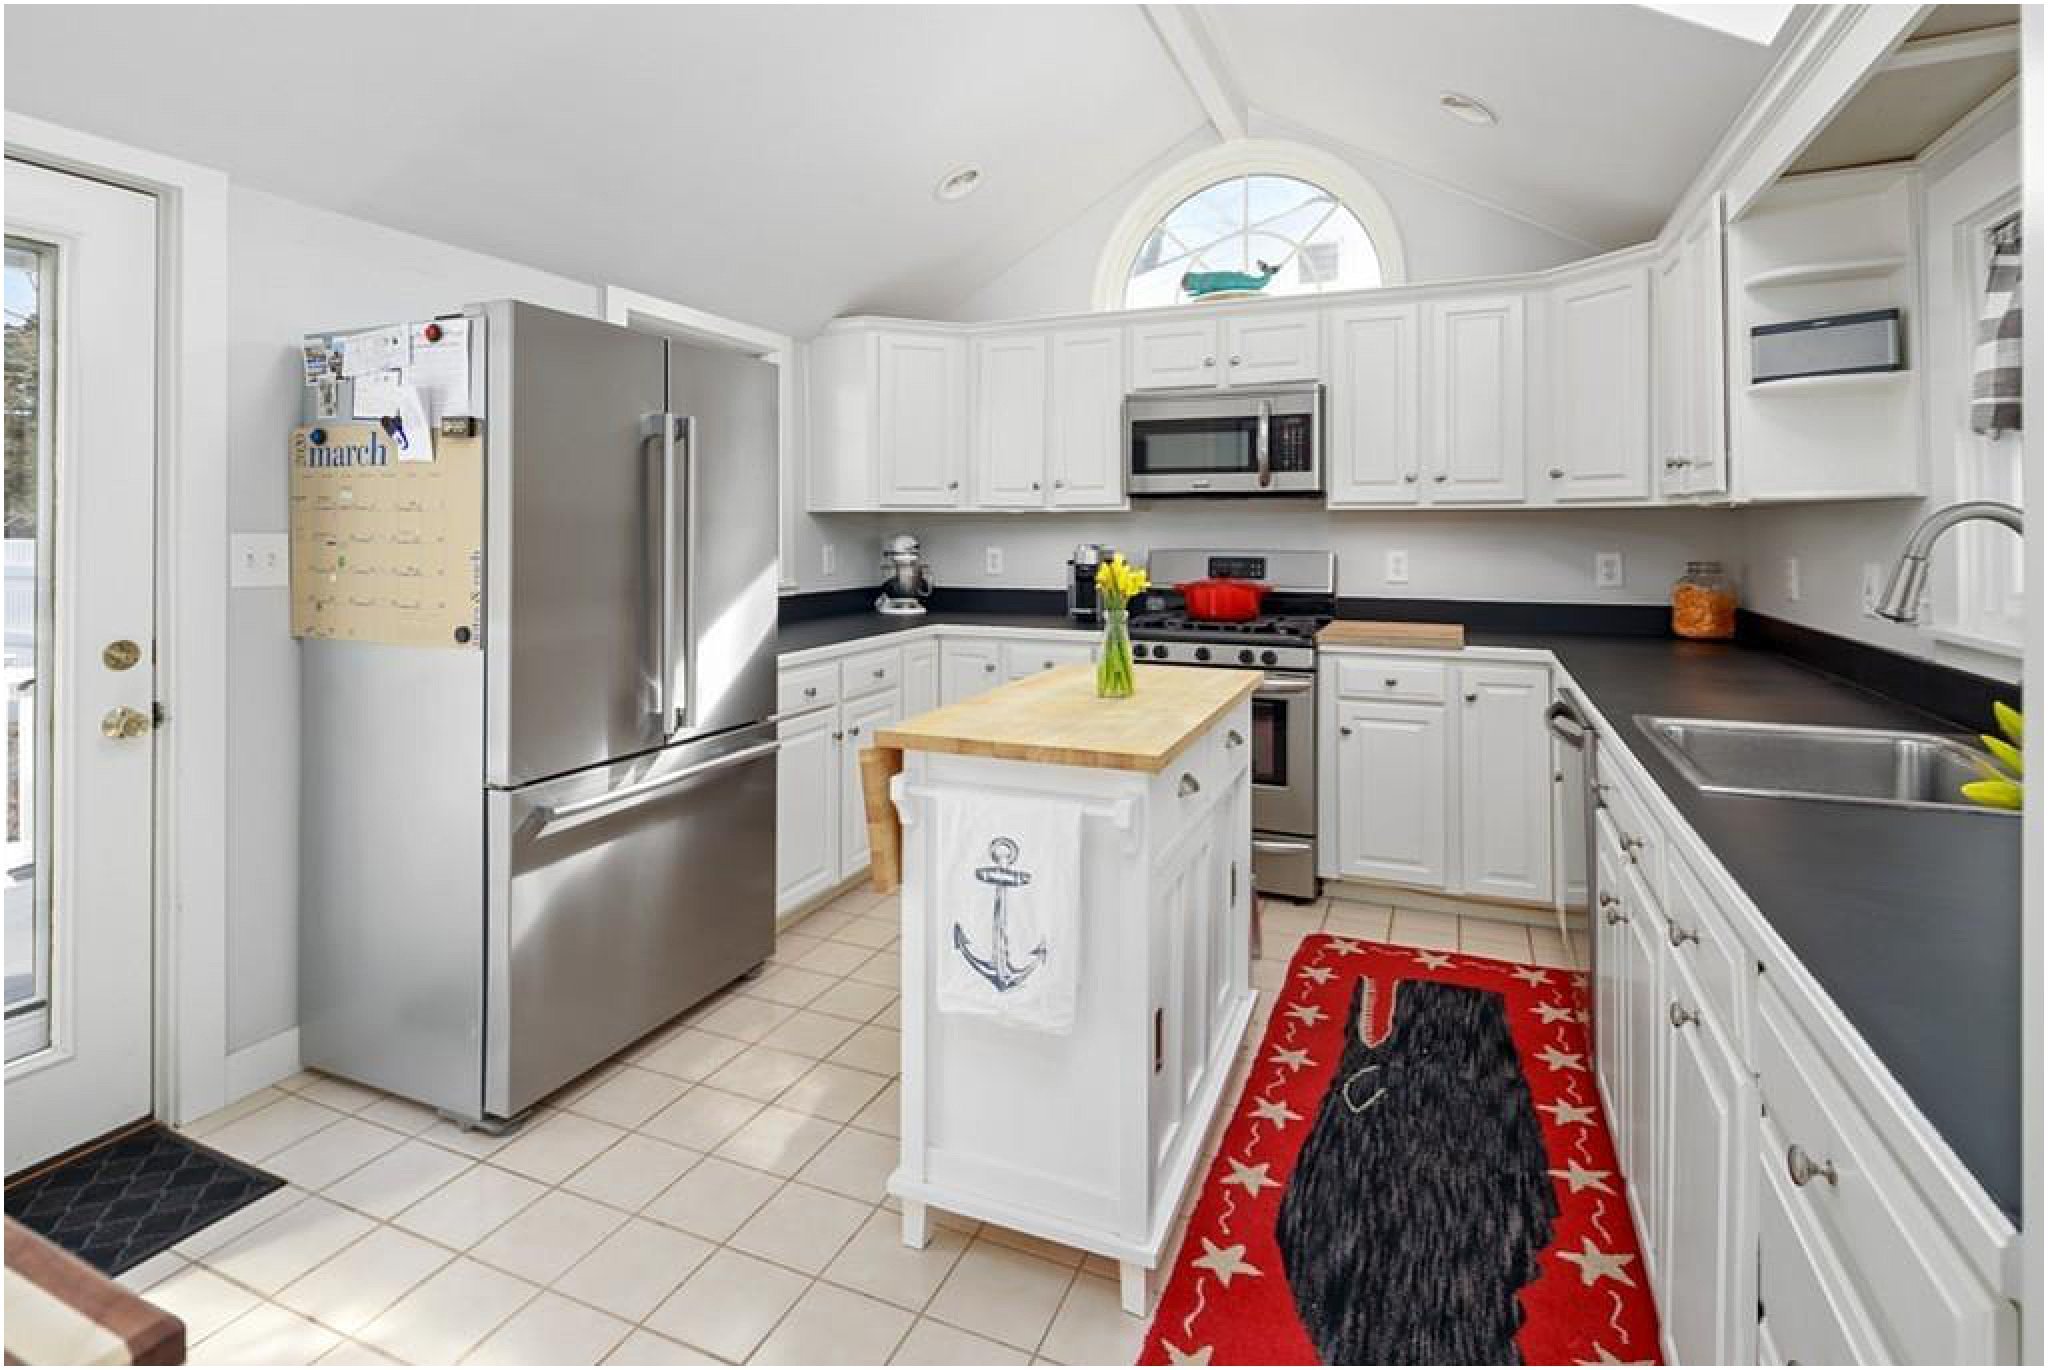
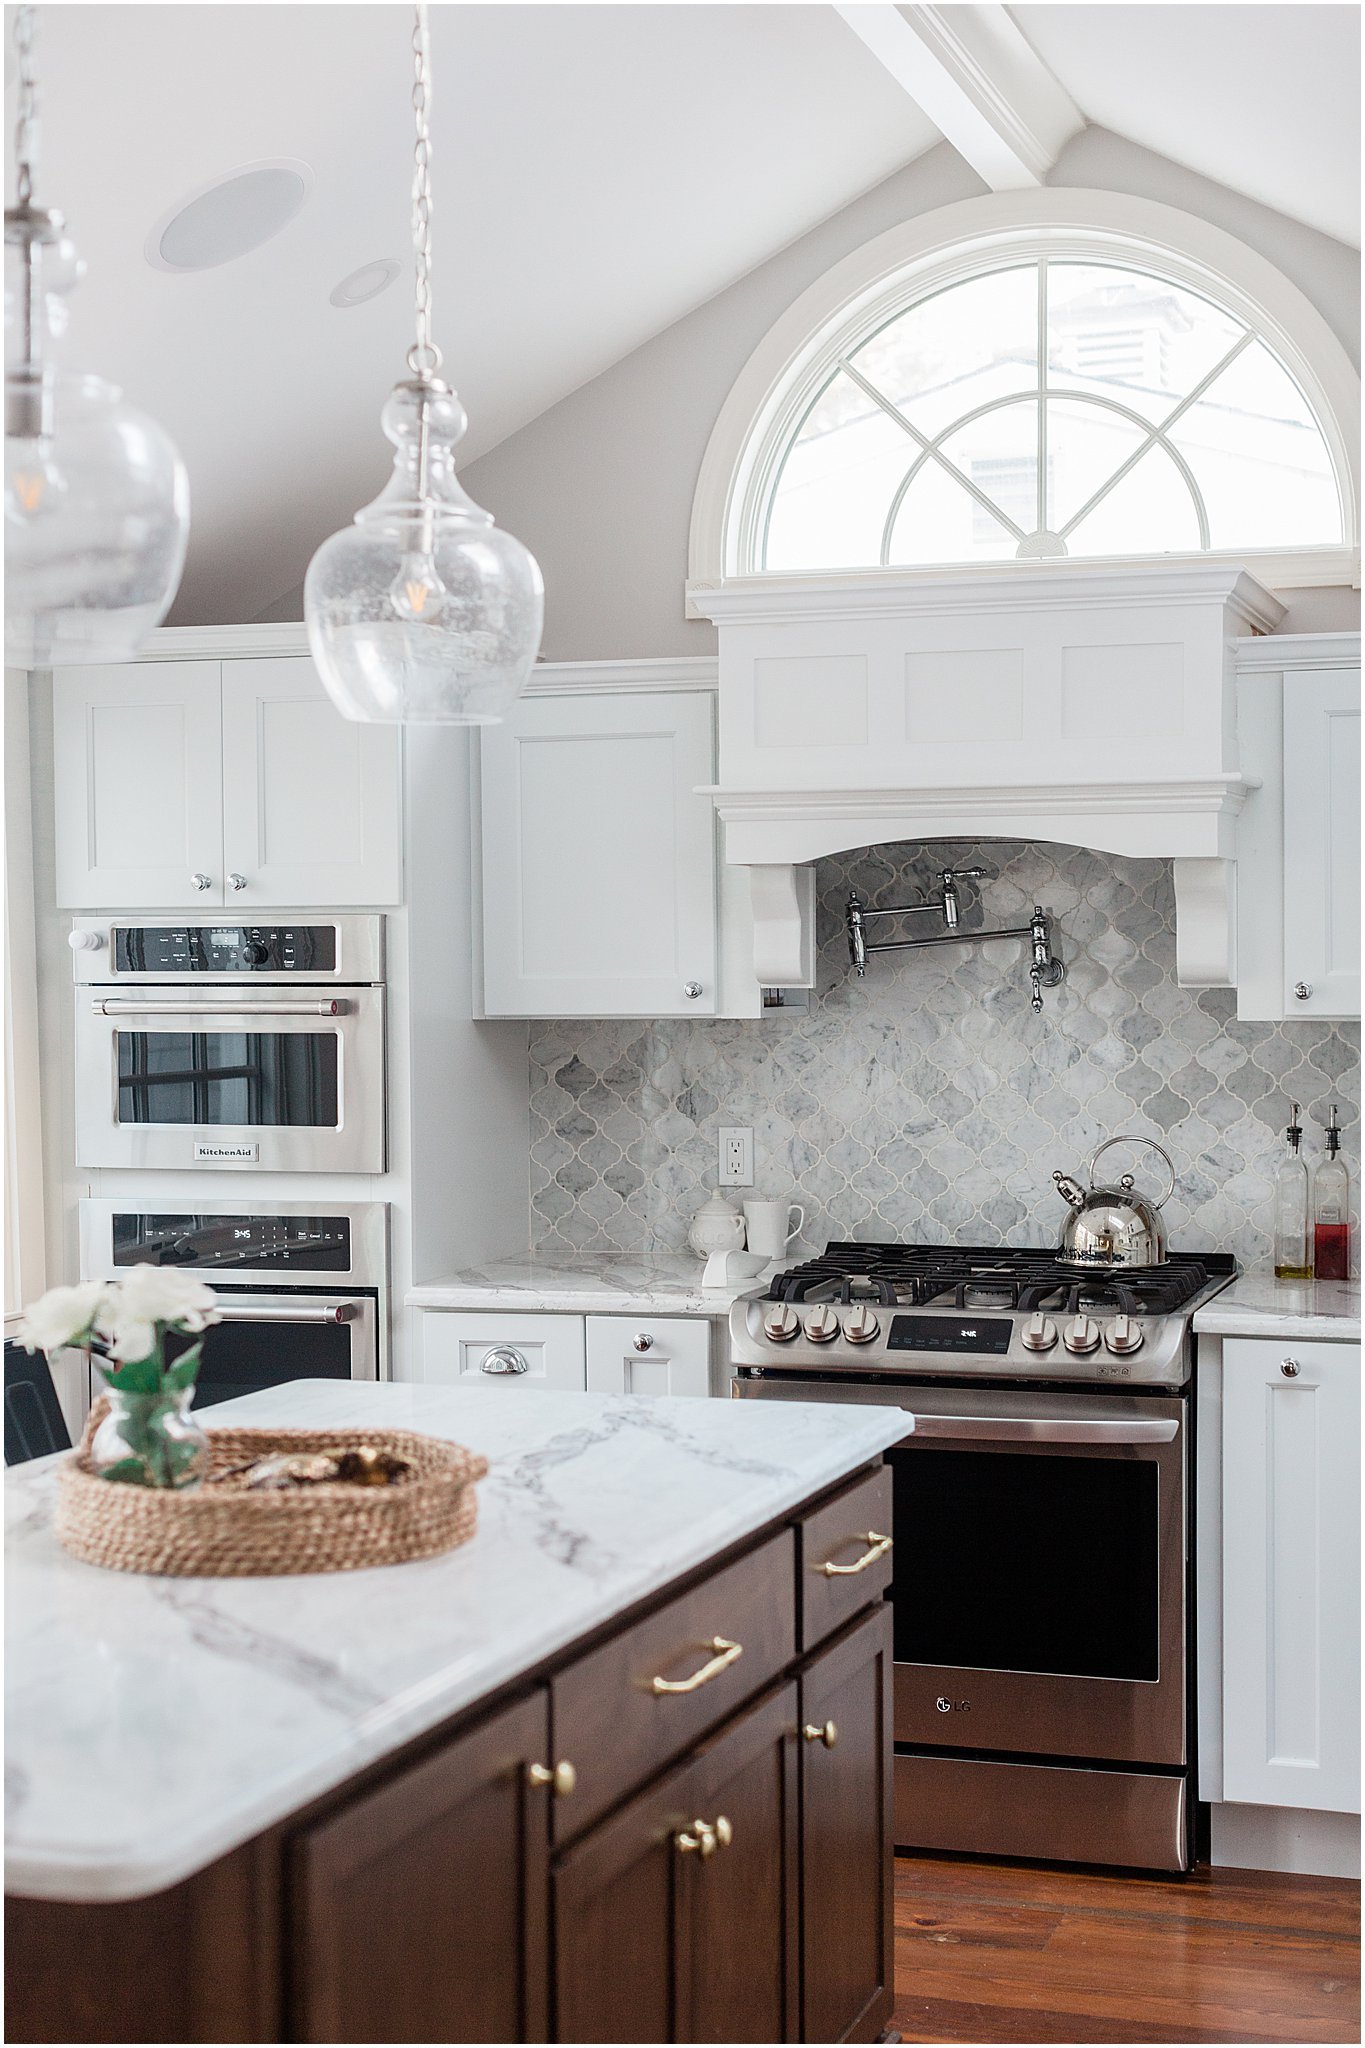
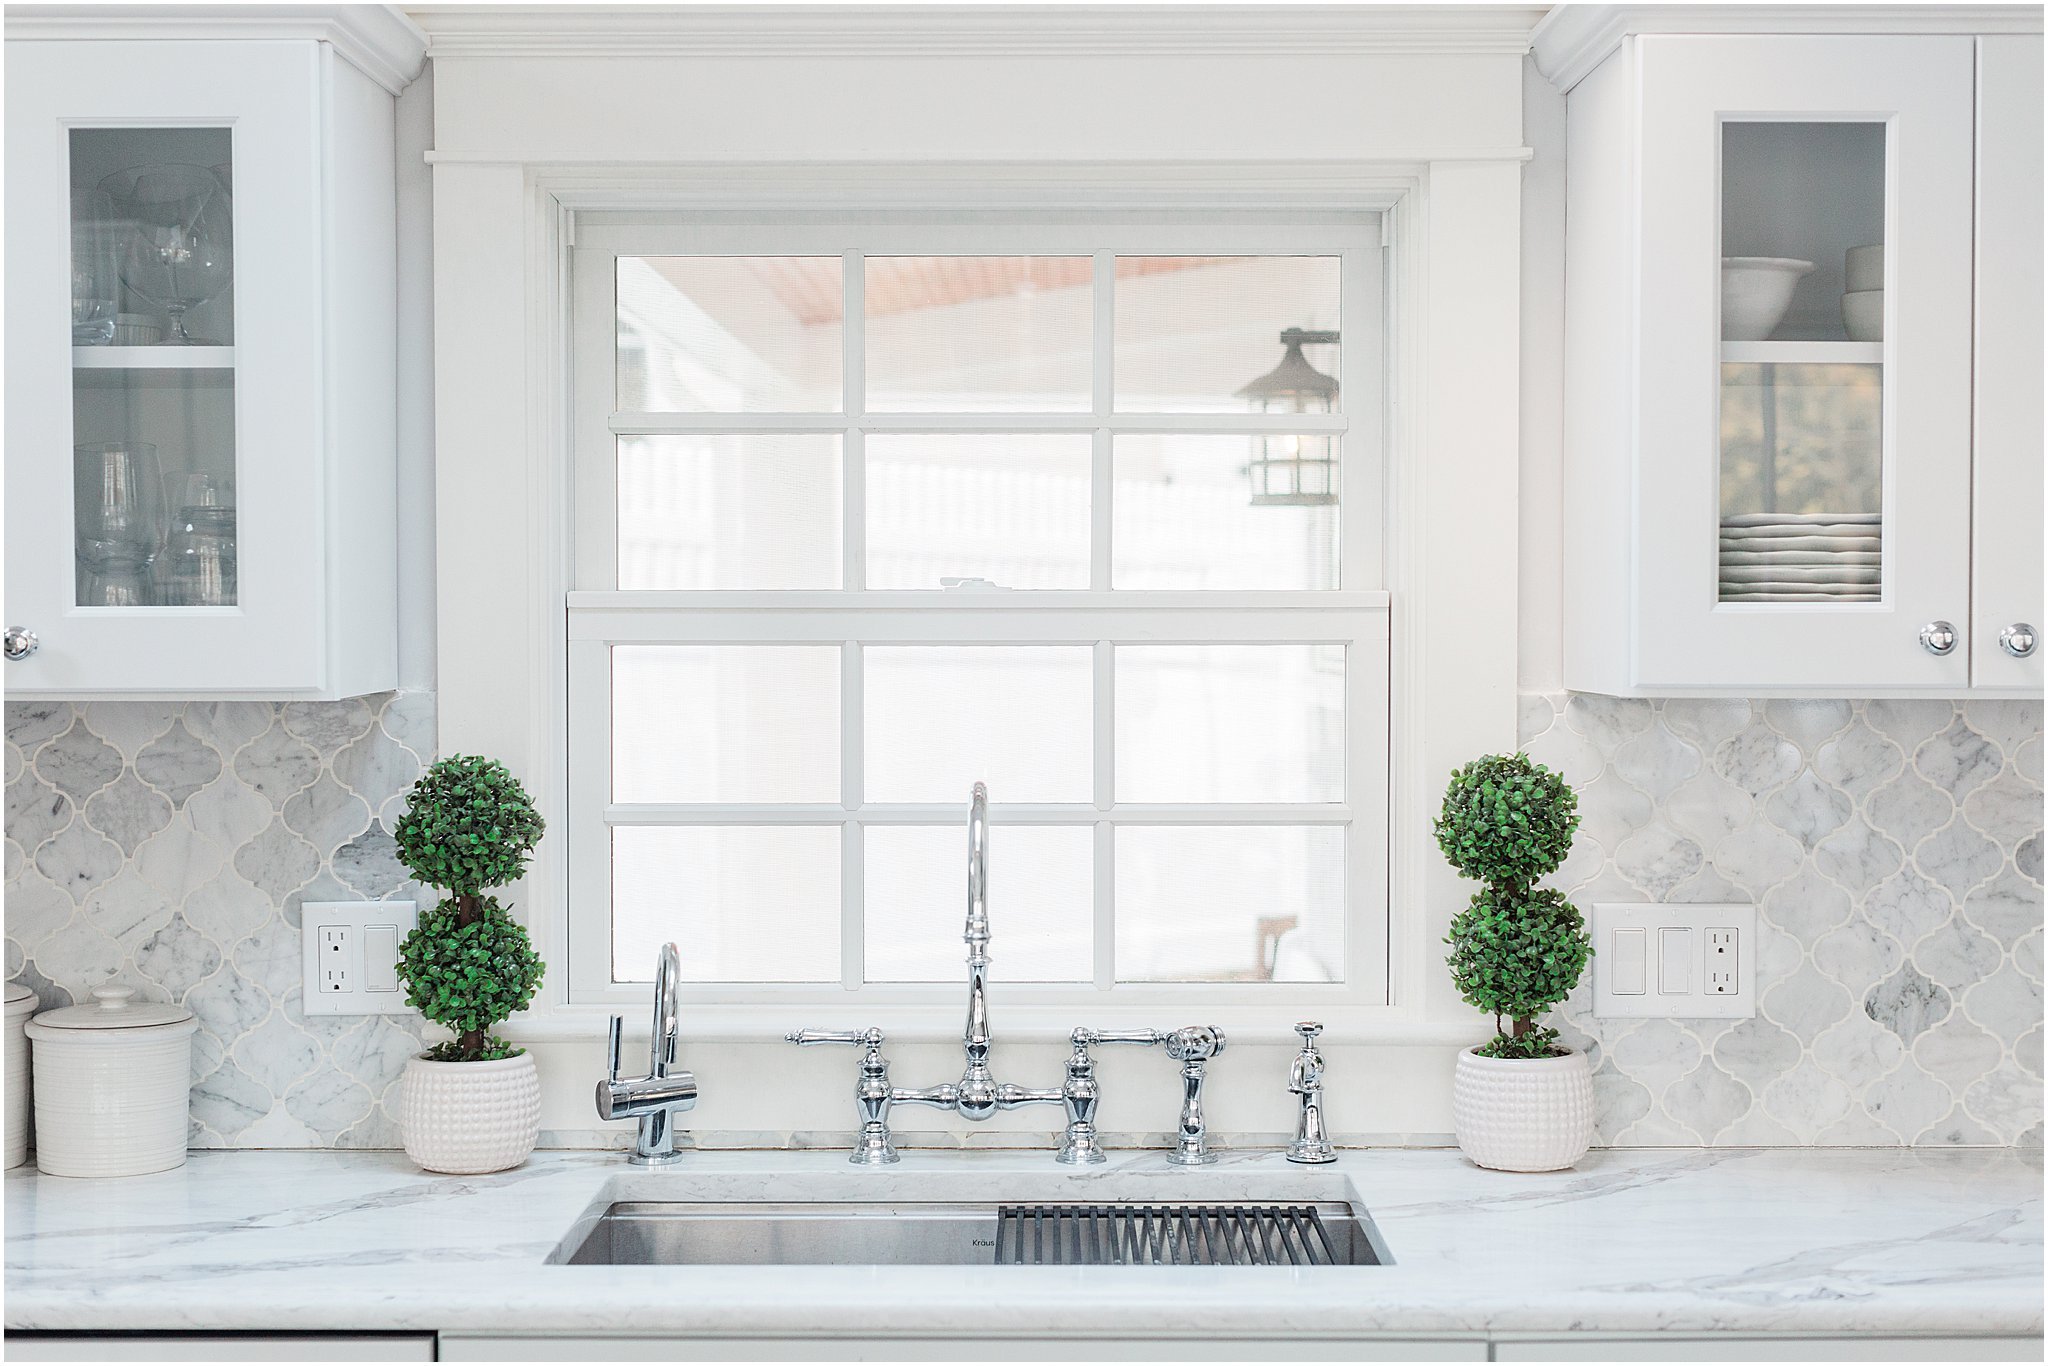
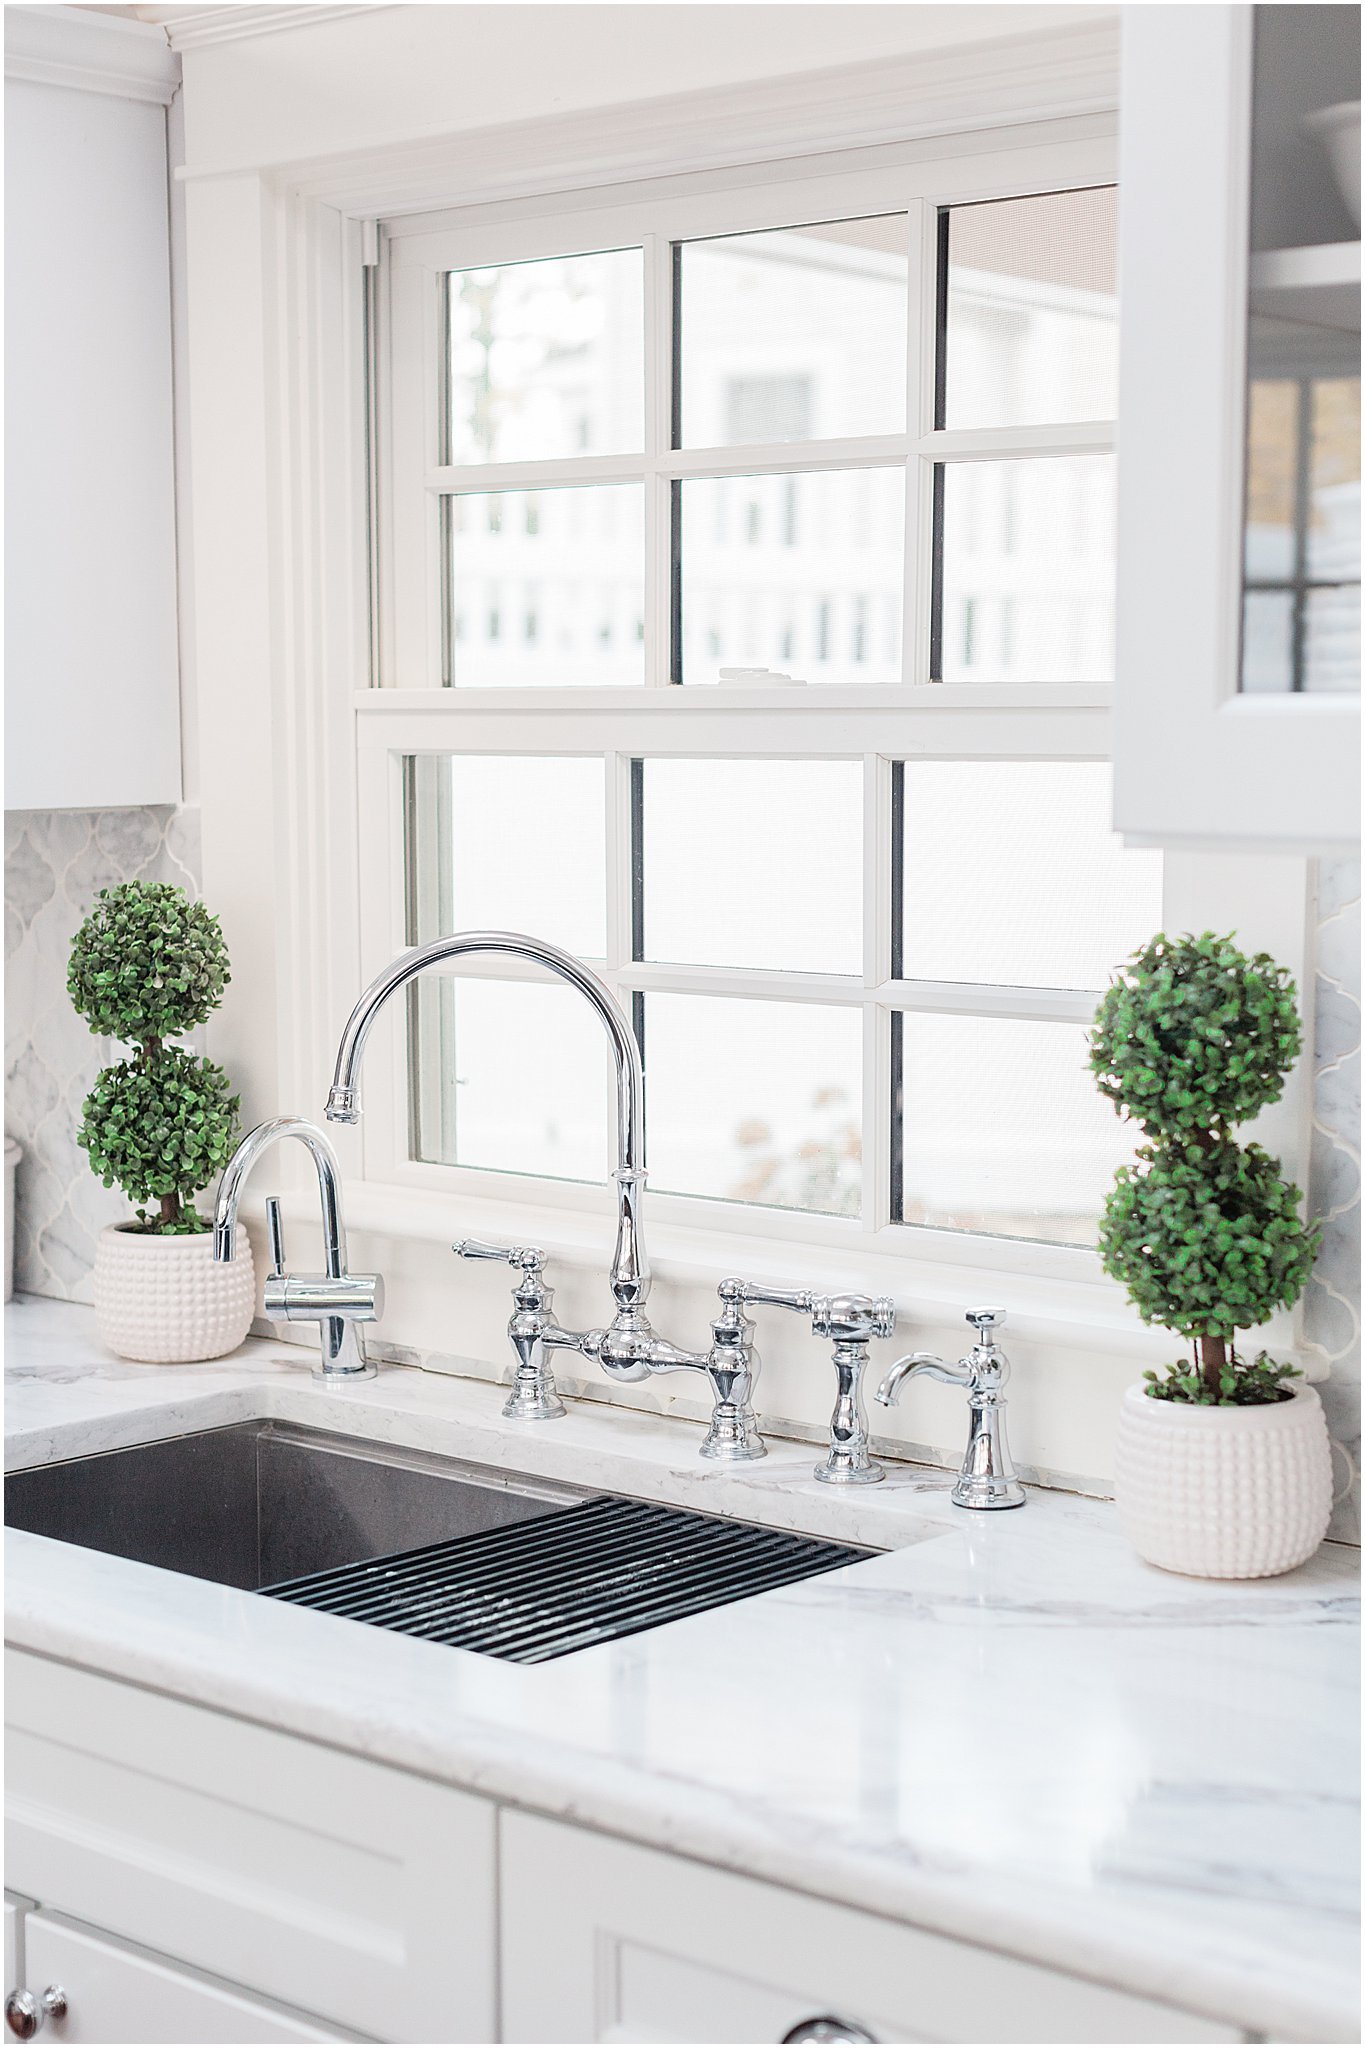
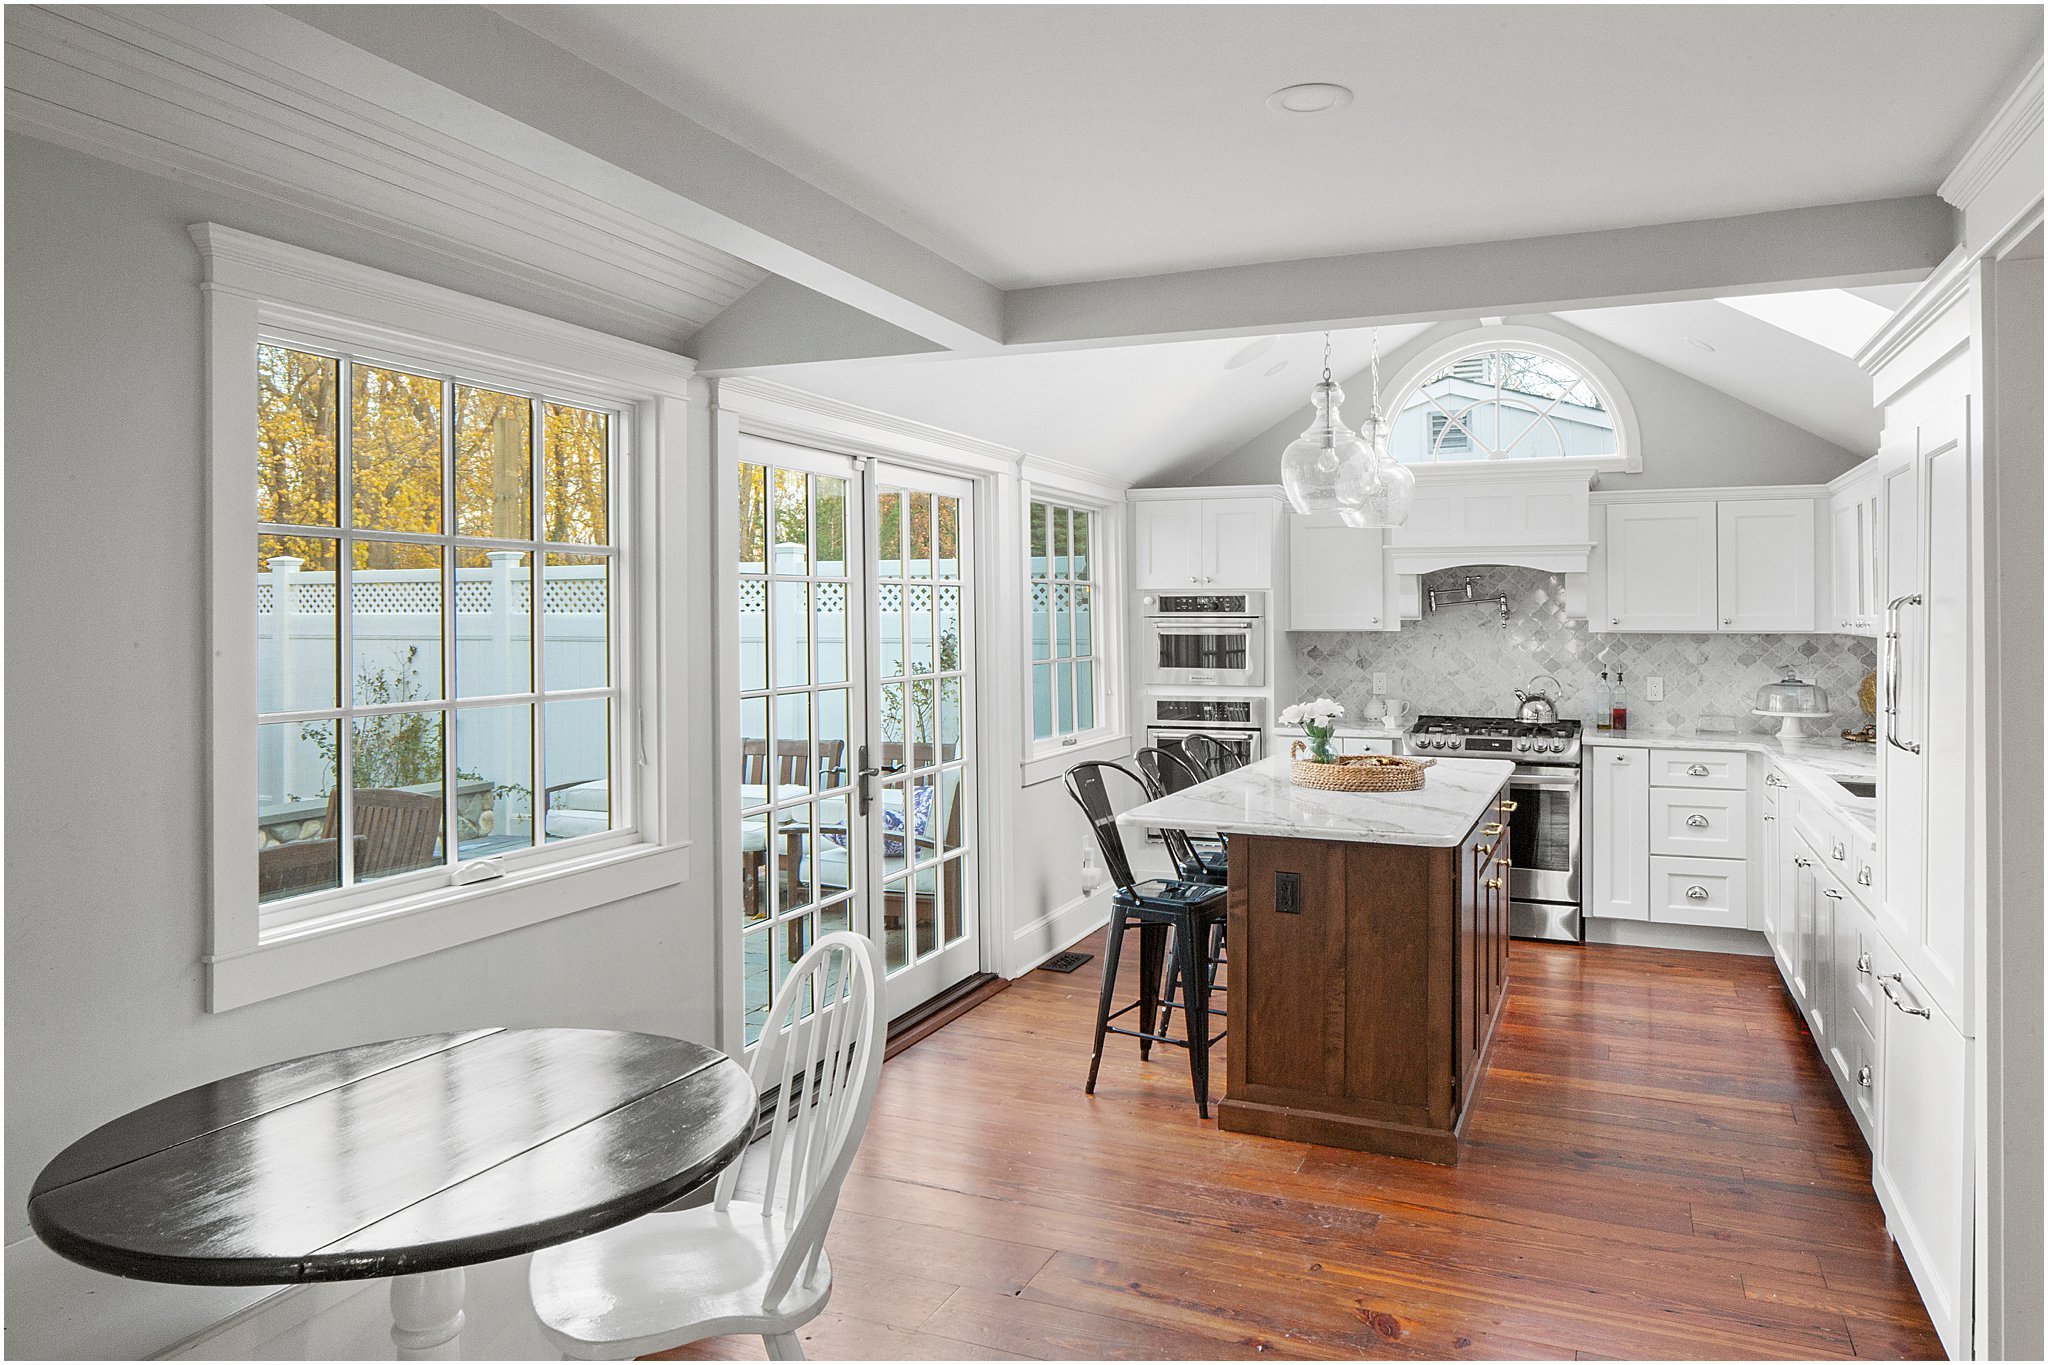
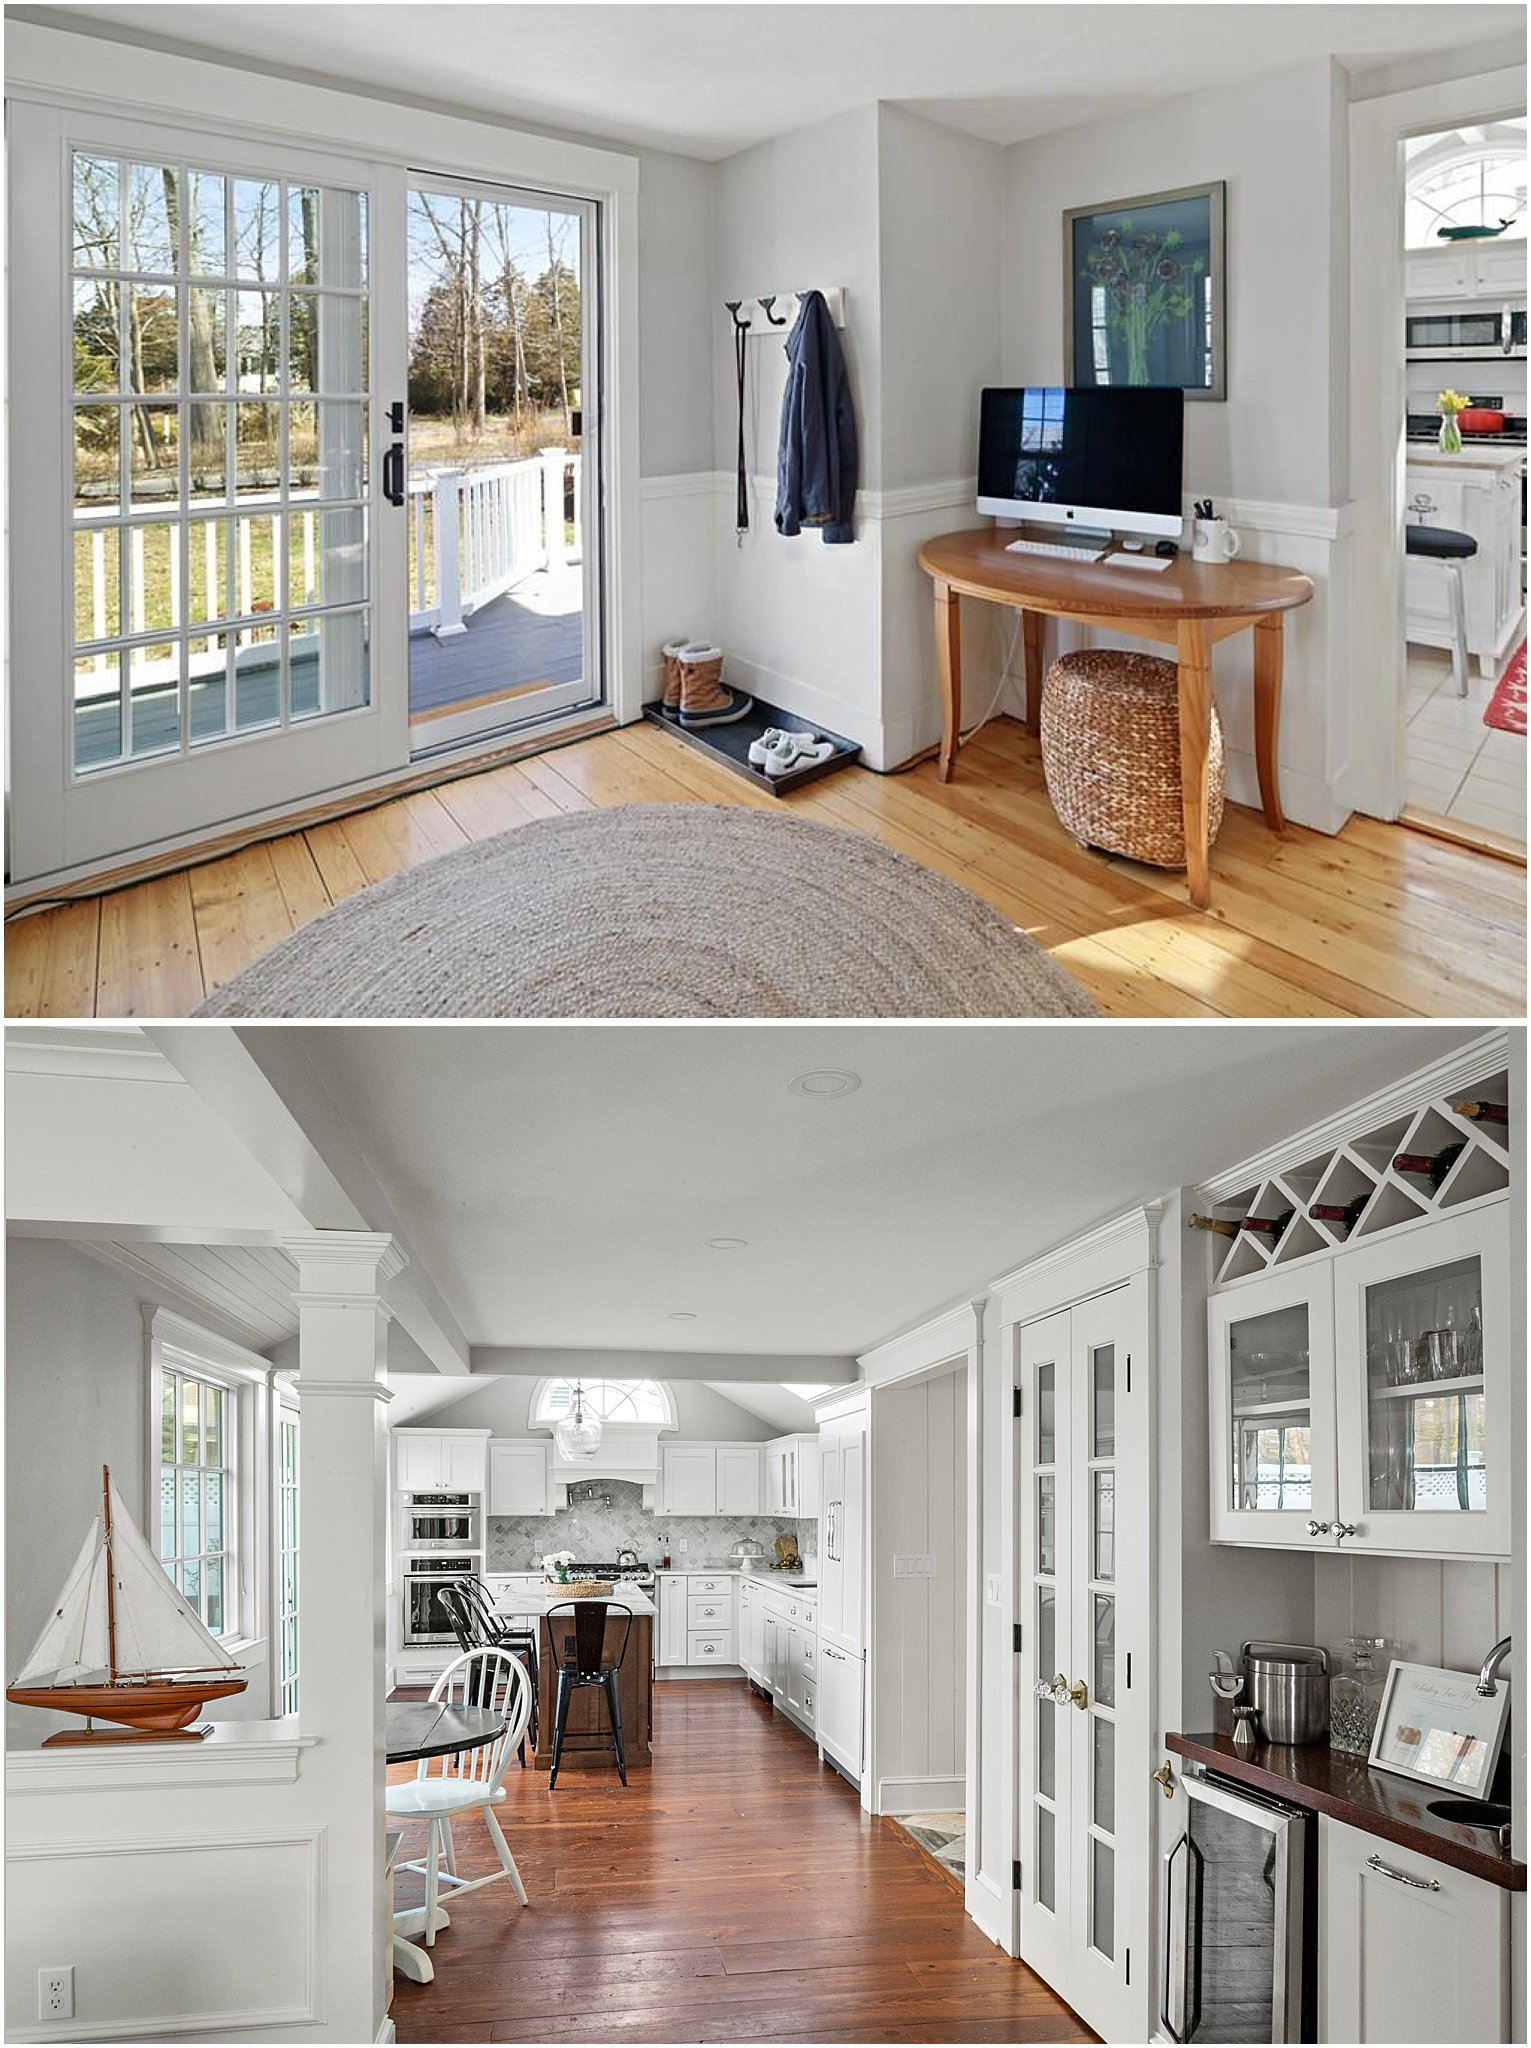
To the right in this final photo, you can see the entrance to the now mudroom. This used to be the entrance into living room that is now partly our office and partly our back mudroom. we needed to bump out a small amount in the back to add a powder room and more mudroom space, so that is the small third addition in the back I mentioned. The office isn’t quite finished (we are putting shelves in that will house more of the things we need for our businesses and is currently pretty messy), so we are leaving that off today’s post, but you can see the double wood doors below! Again NONE of this was bad before, it was simply just too tight and needed some modern functionality!
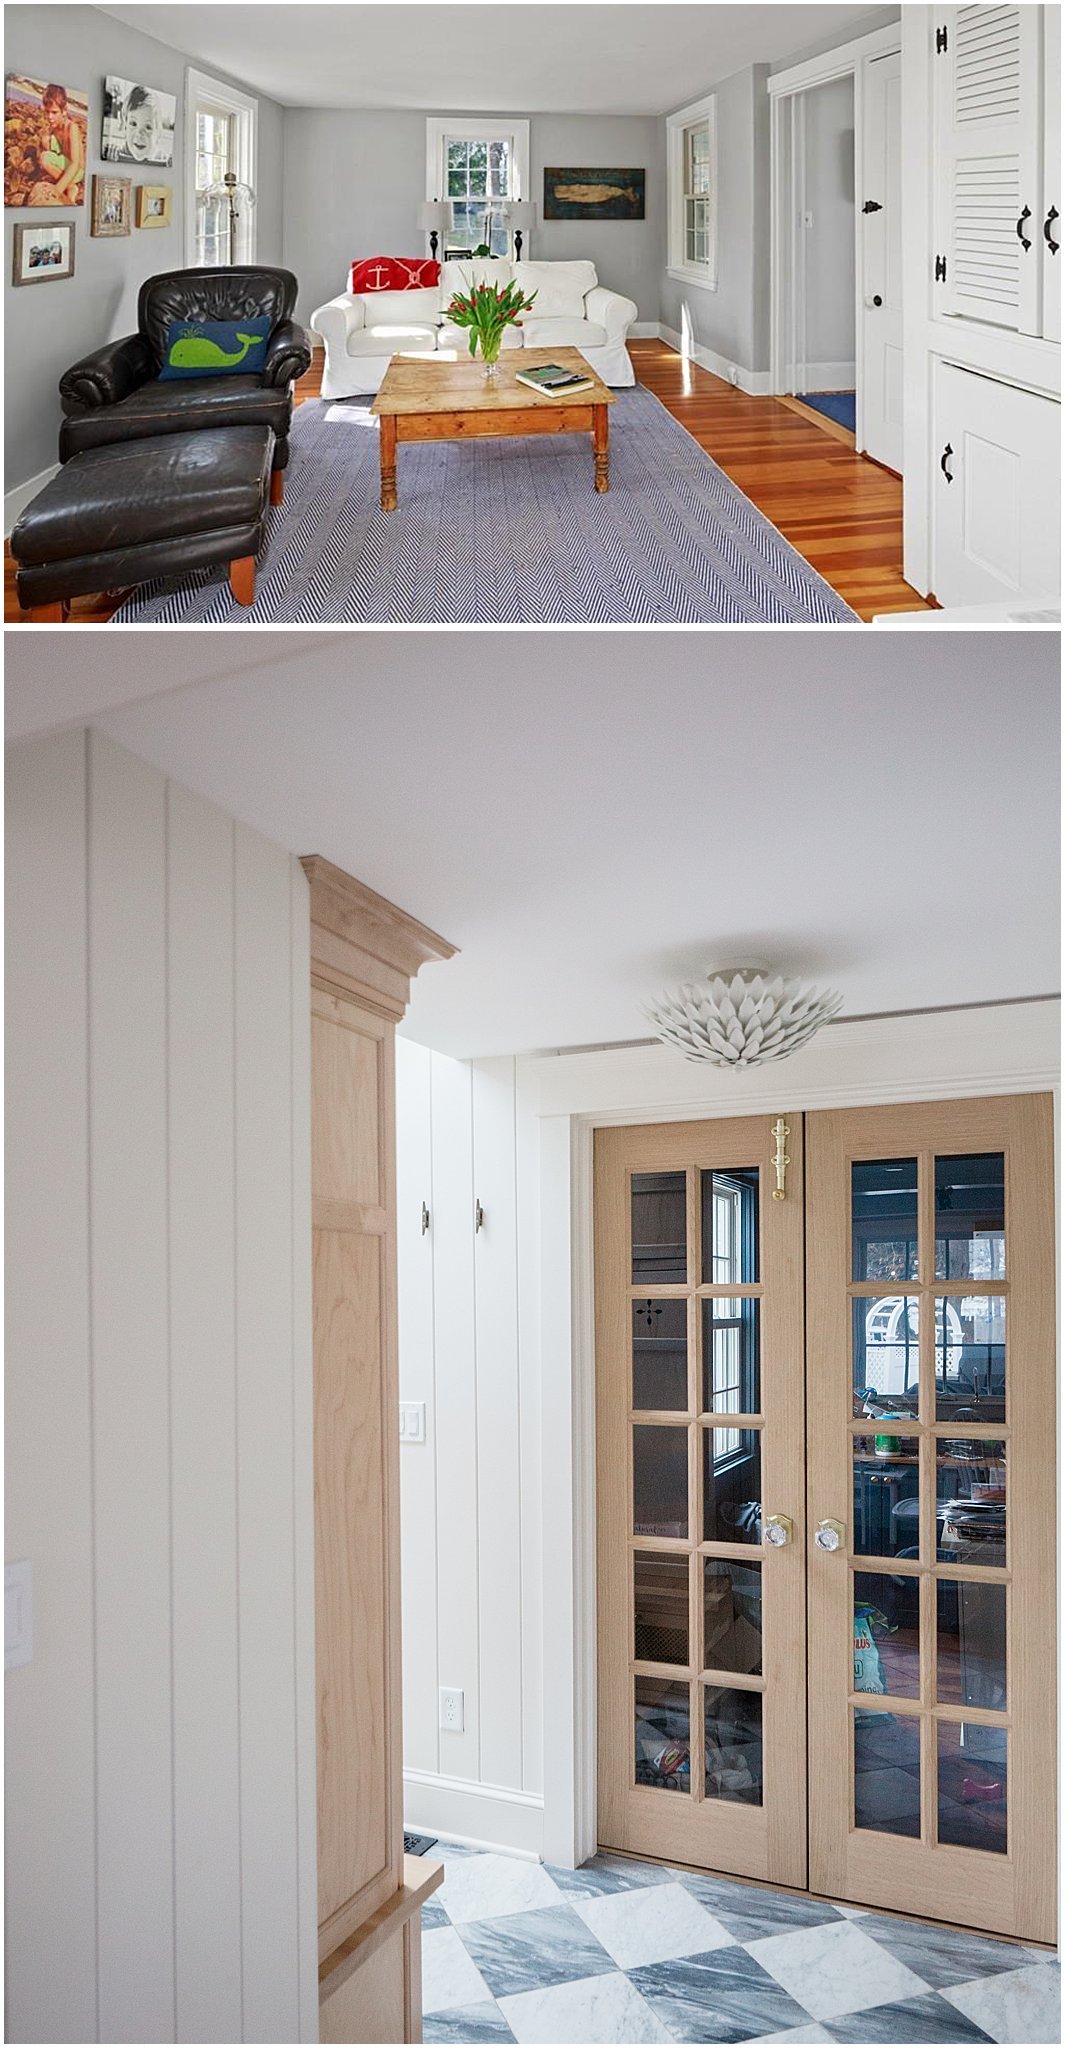
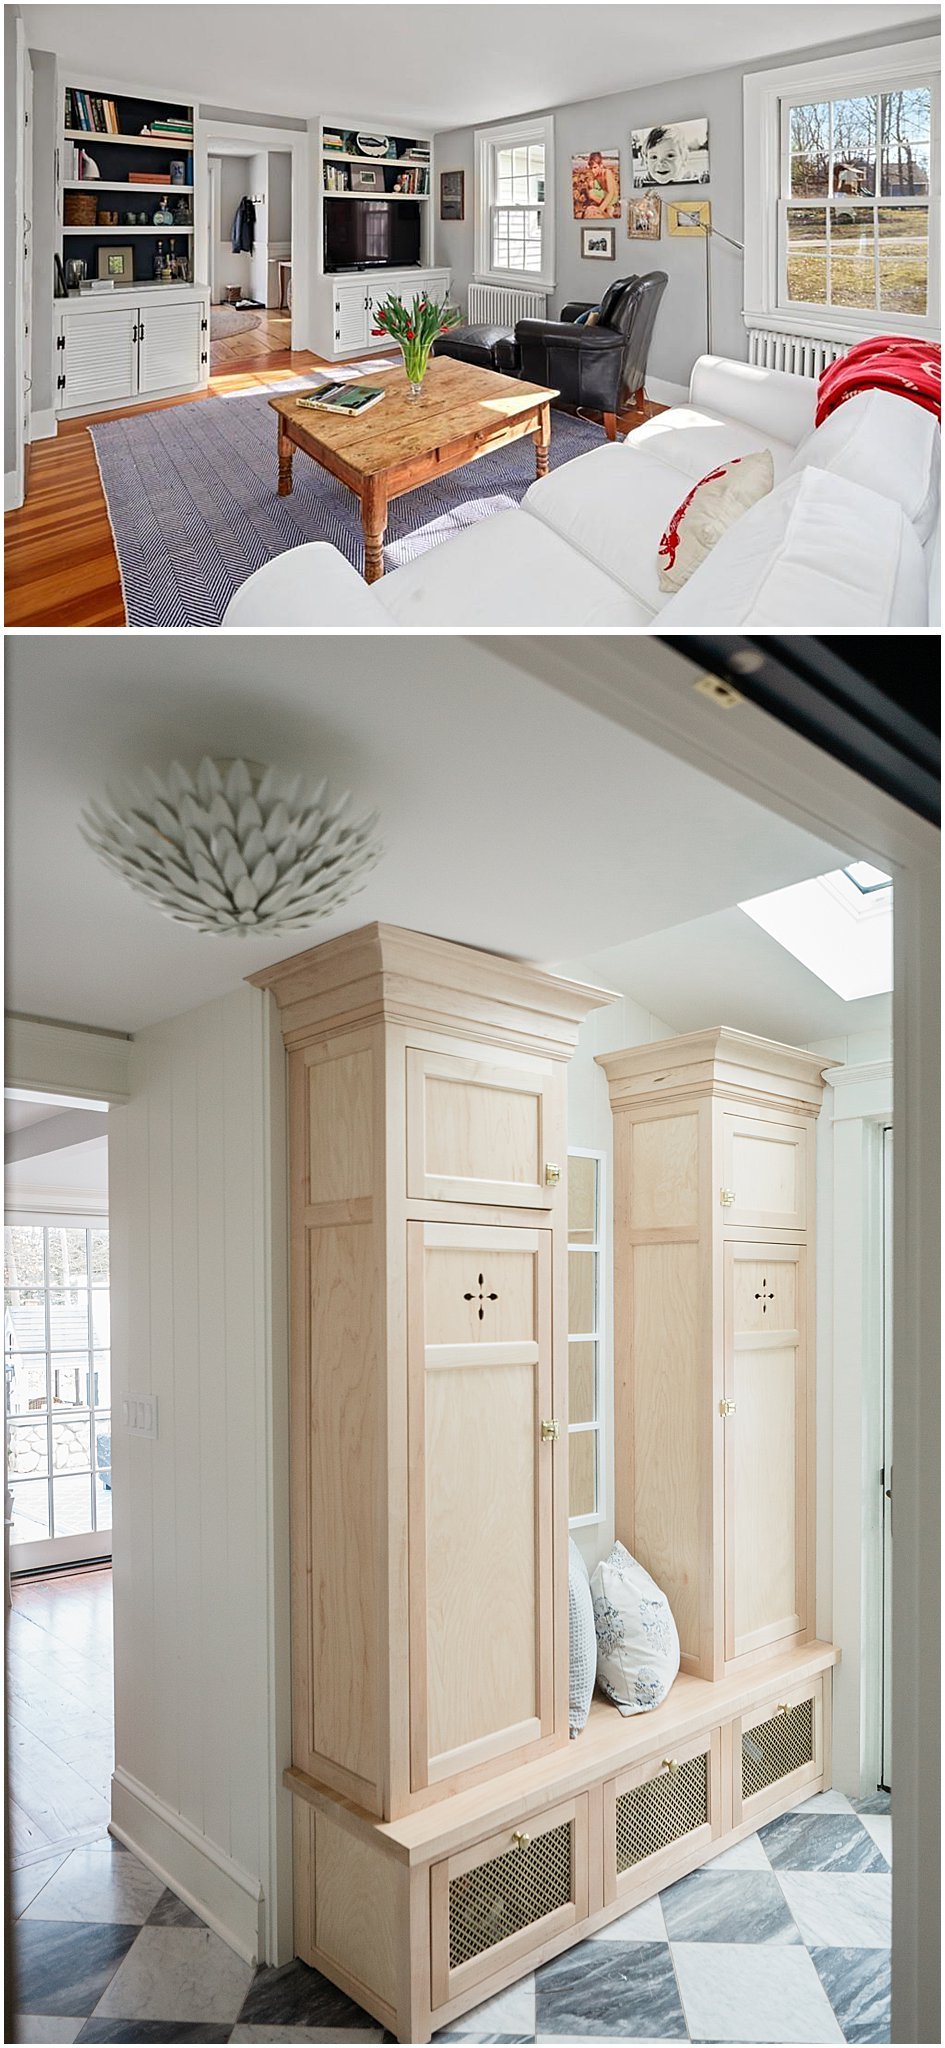
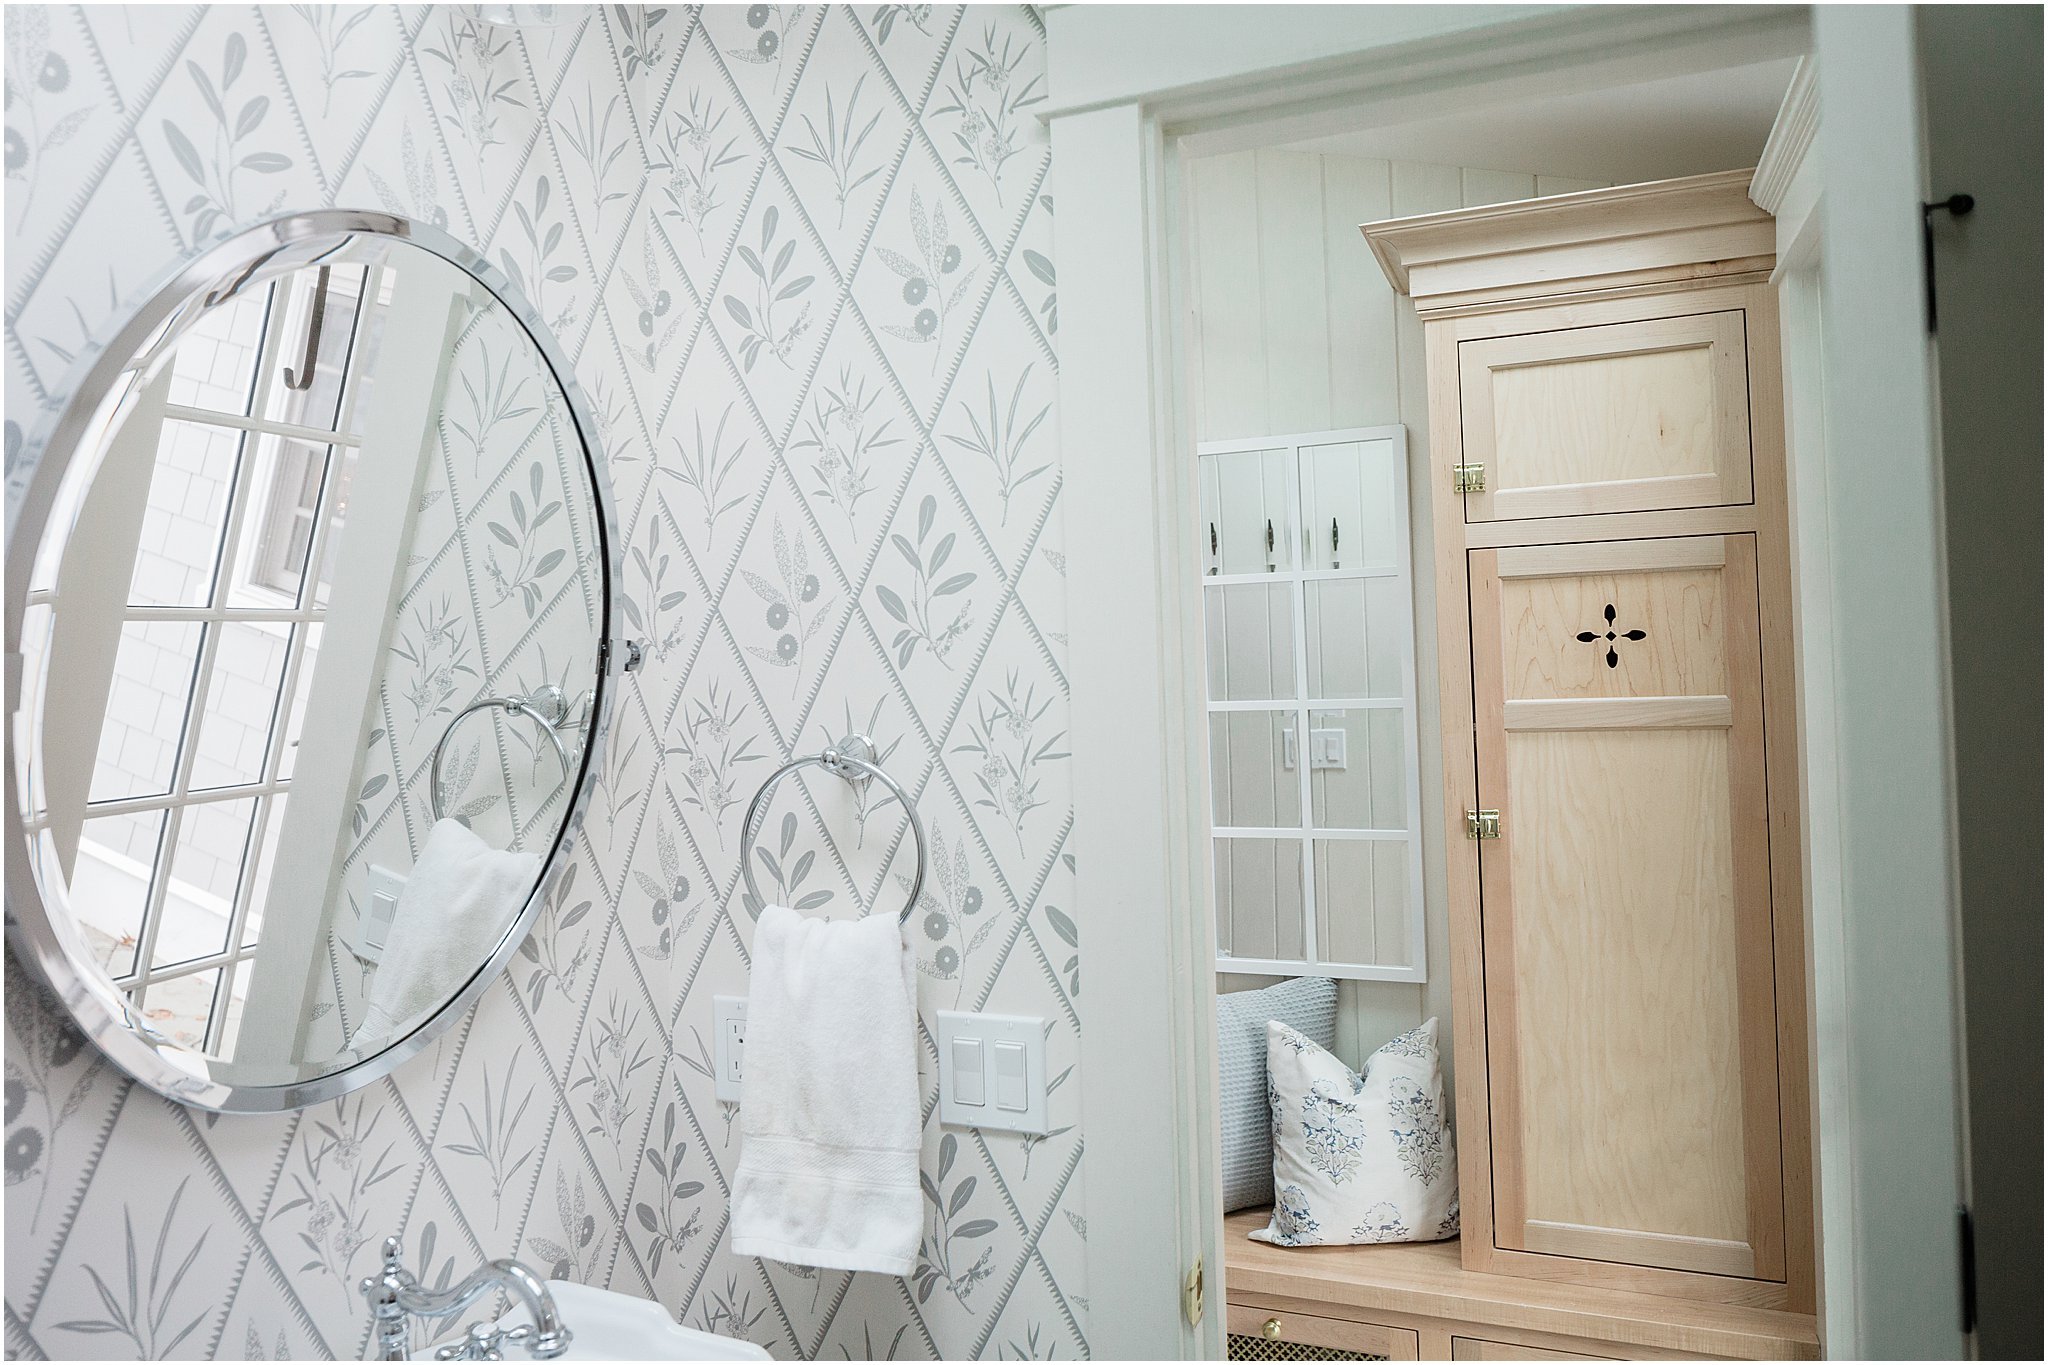
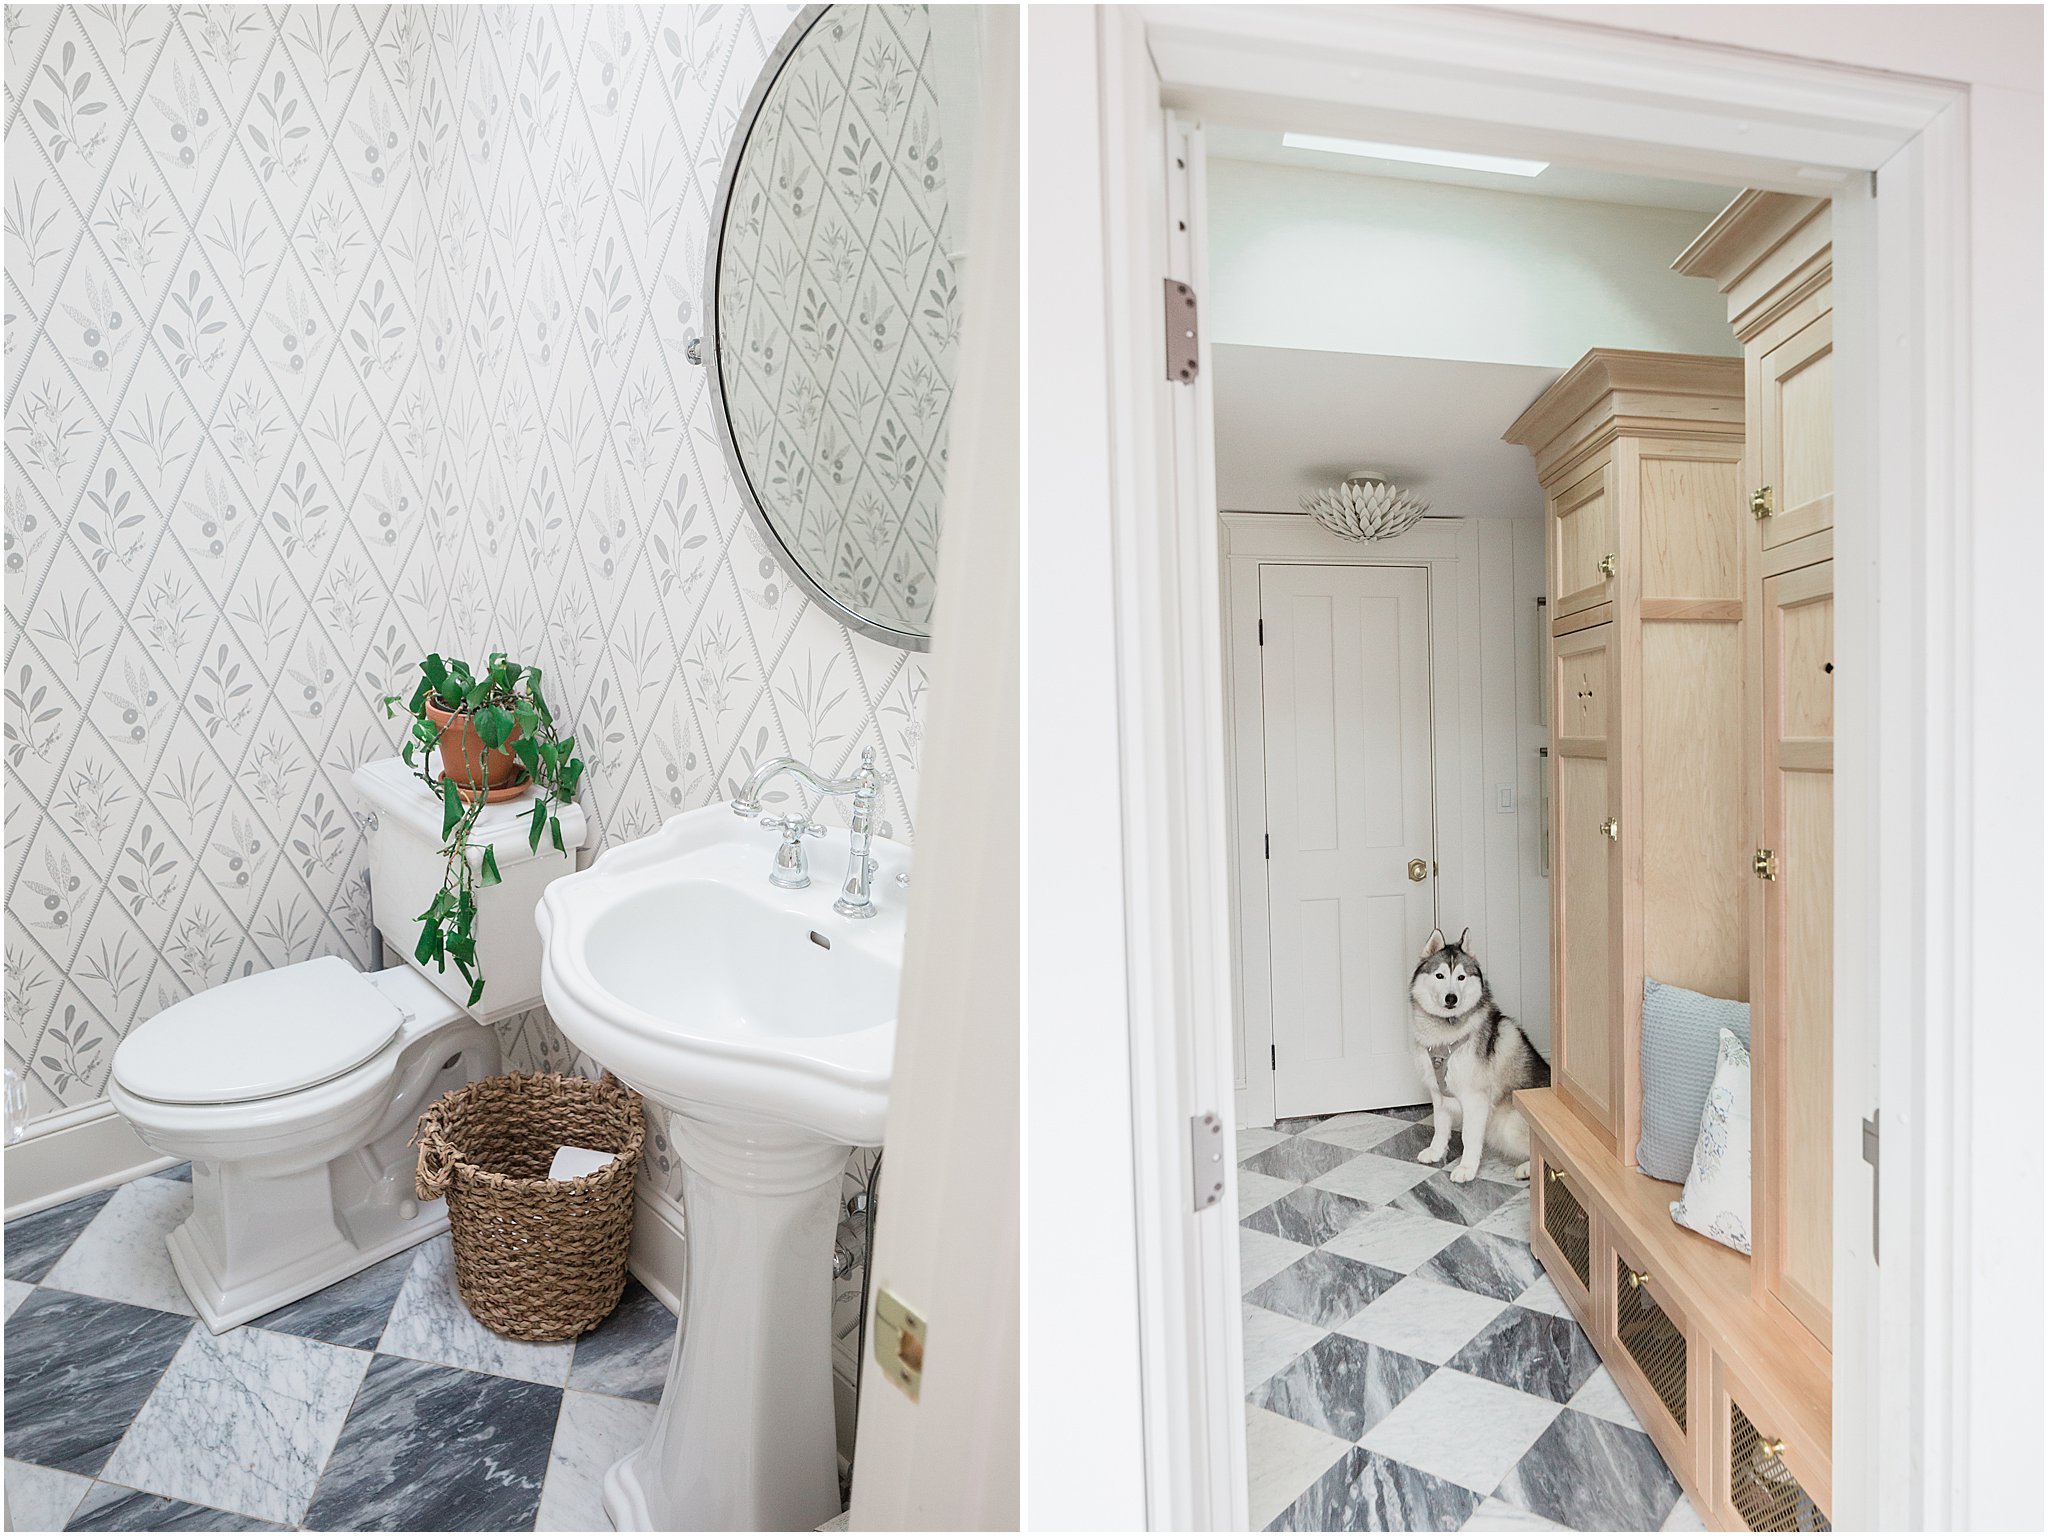
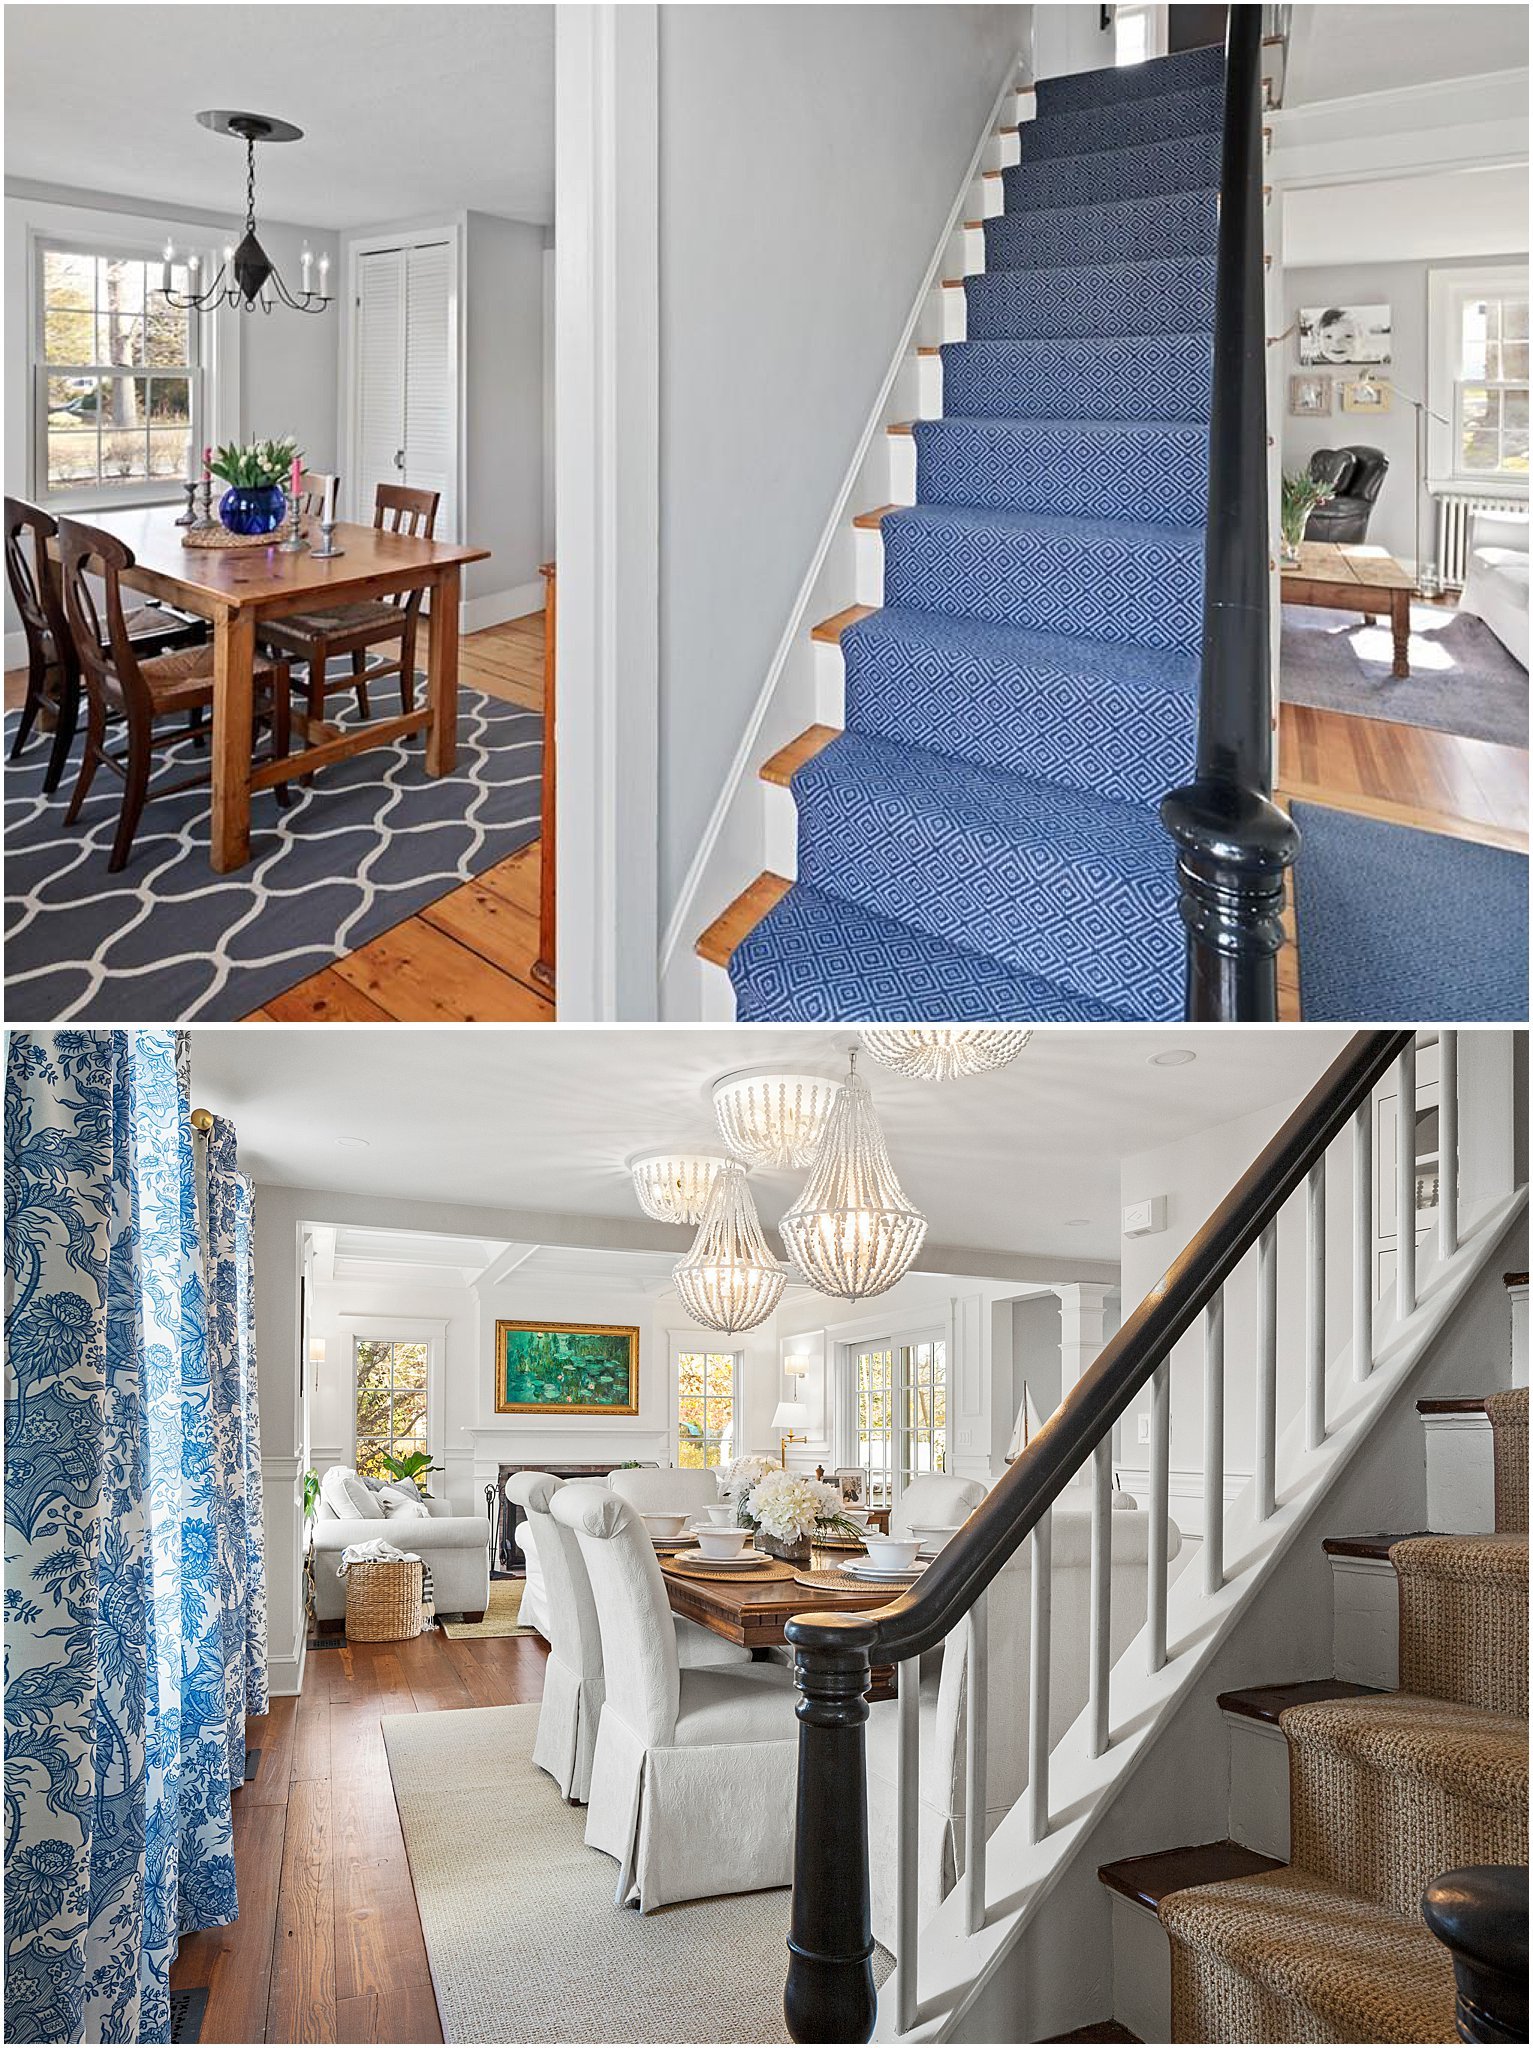
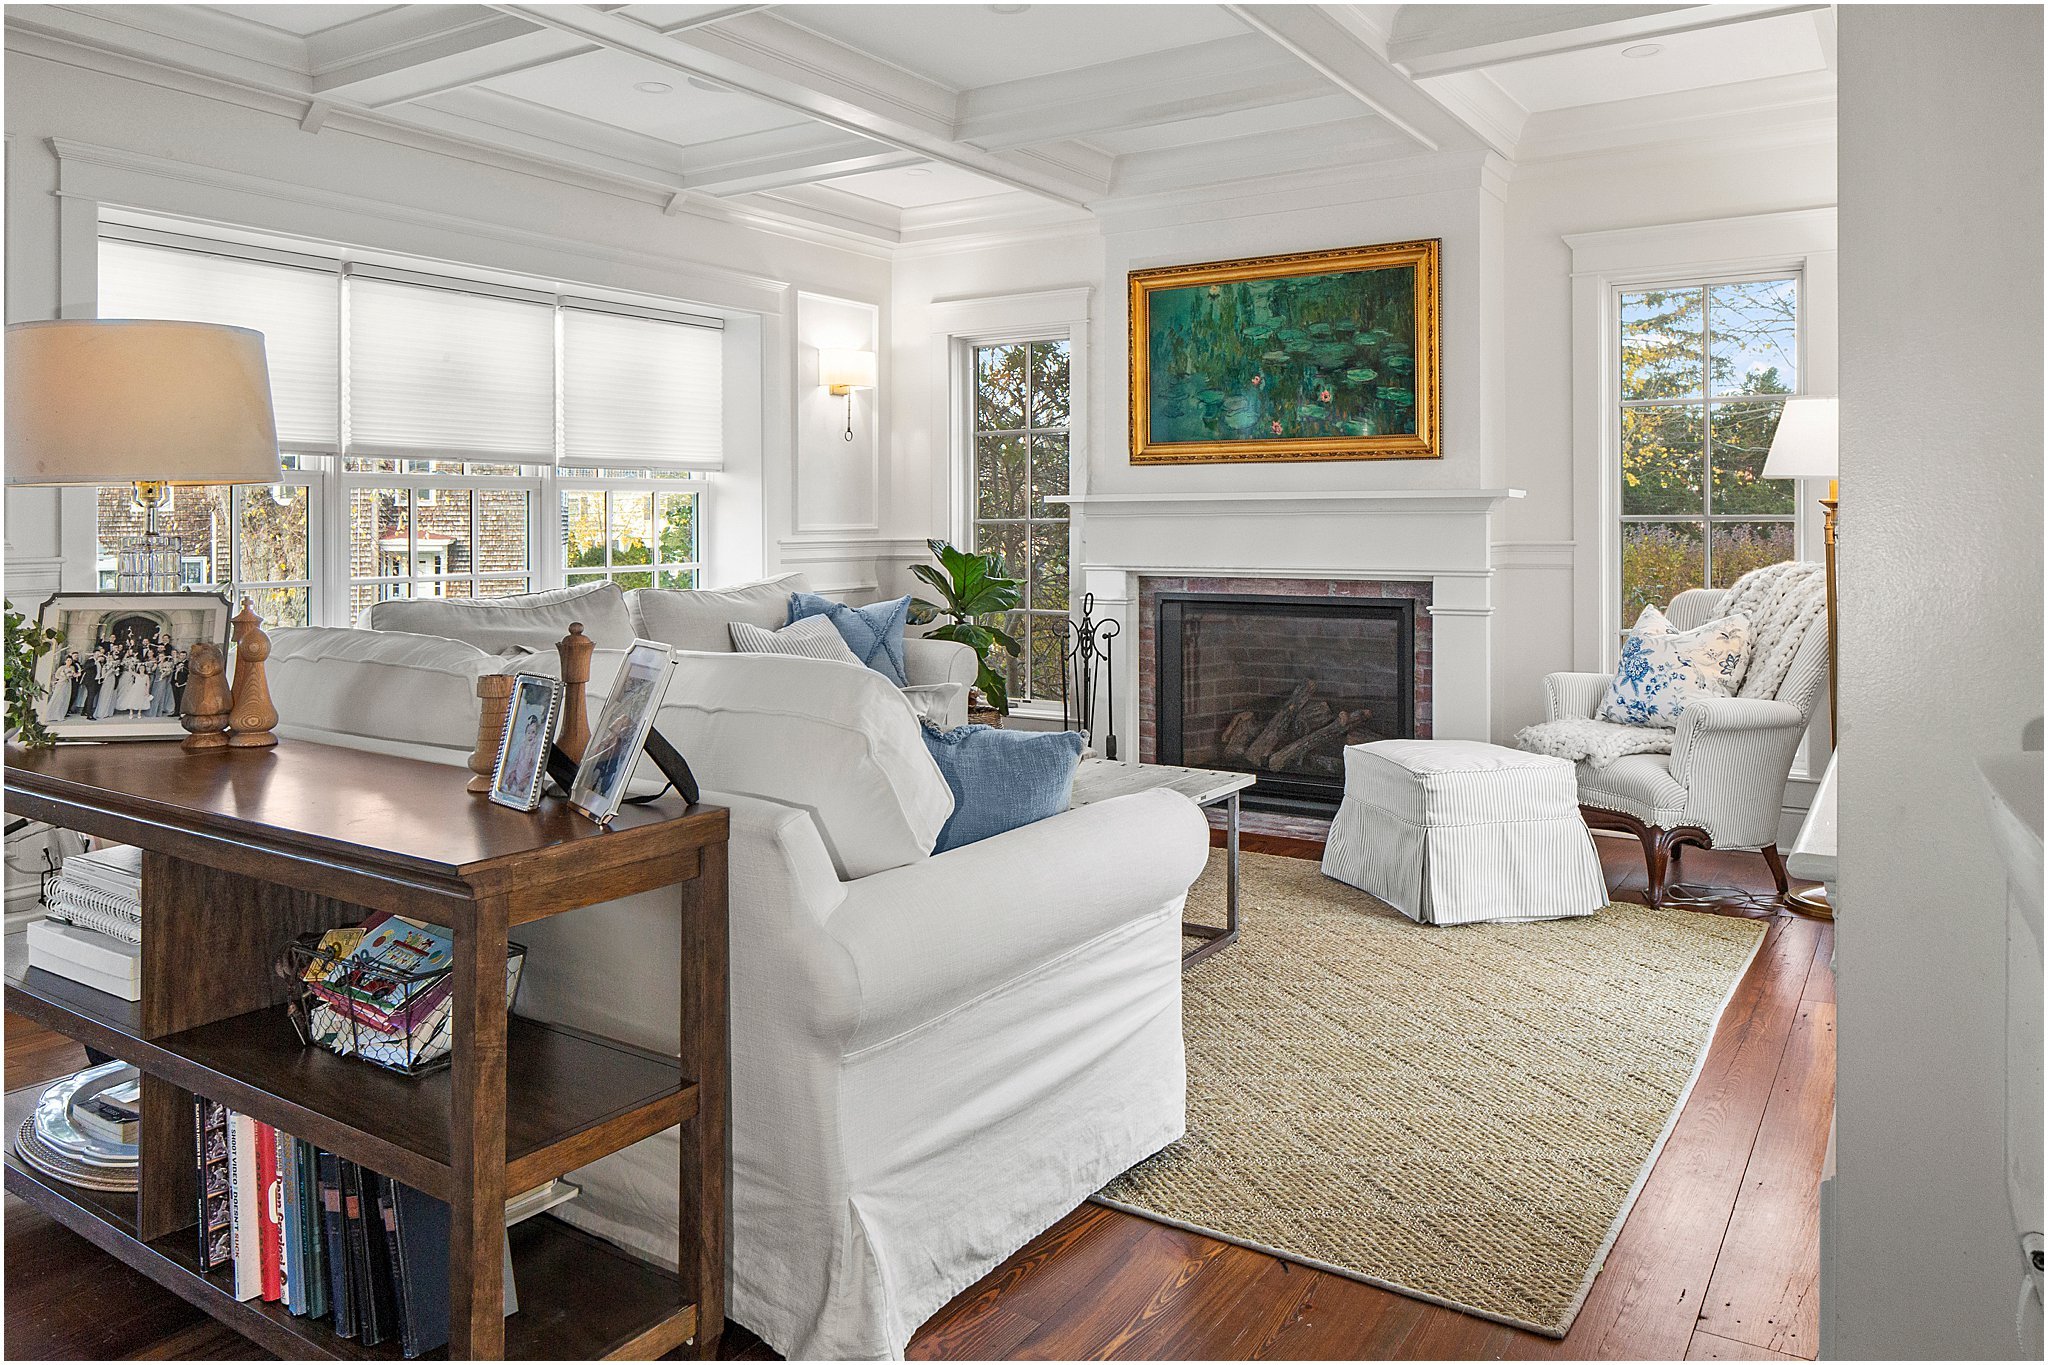
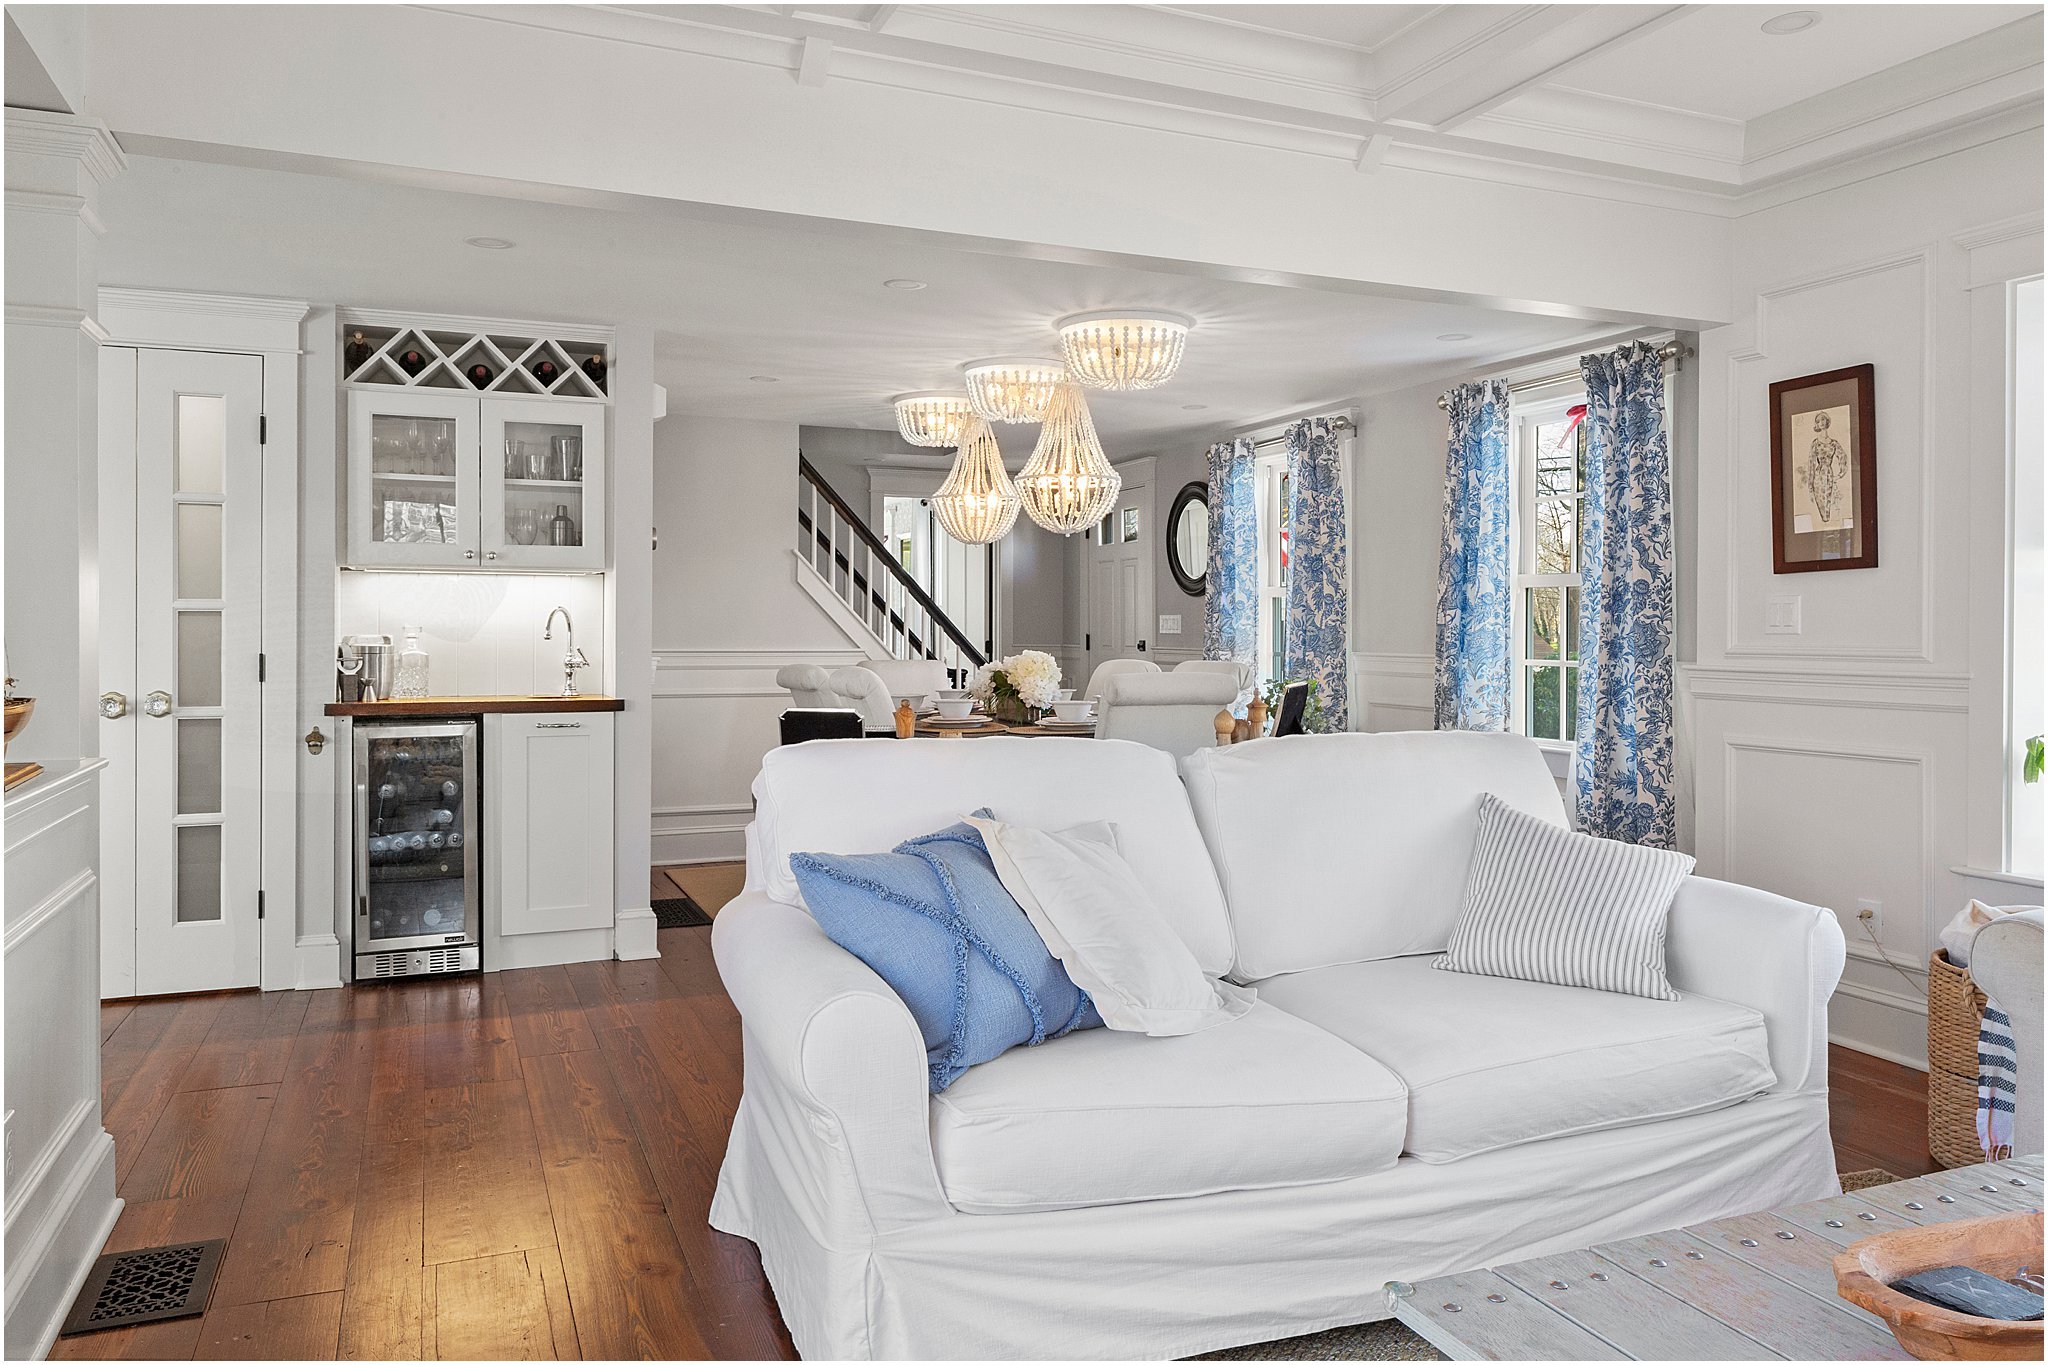
Next, we go to the open living room dining room where we added the entire space that is now the living room as the bottom part of a two story addition. This creates an L with the kitchen and is the perfect hybrid open/closed concept from the kitchen. It provides enough of a separation to have two activities at the same time, but still the connectivity to be able to peak around and see if needed.
Right next to the front door there used to be a sunroom that we used to use as our office (the previous owners had a daybed and their peloton in there as you can see!). We took that entire structure down and built a two story addition for a guest suite below and a master bedroom above. Just below is the now guest bedroom! Again because of the rain, we couldn’t salvage all of the beautiful original floors, but what we did was repurposed into this room and we love it!
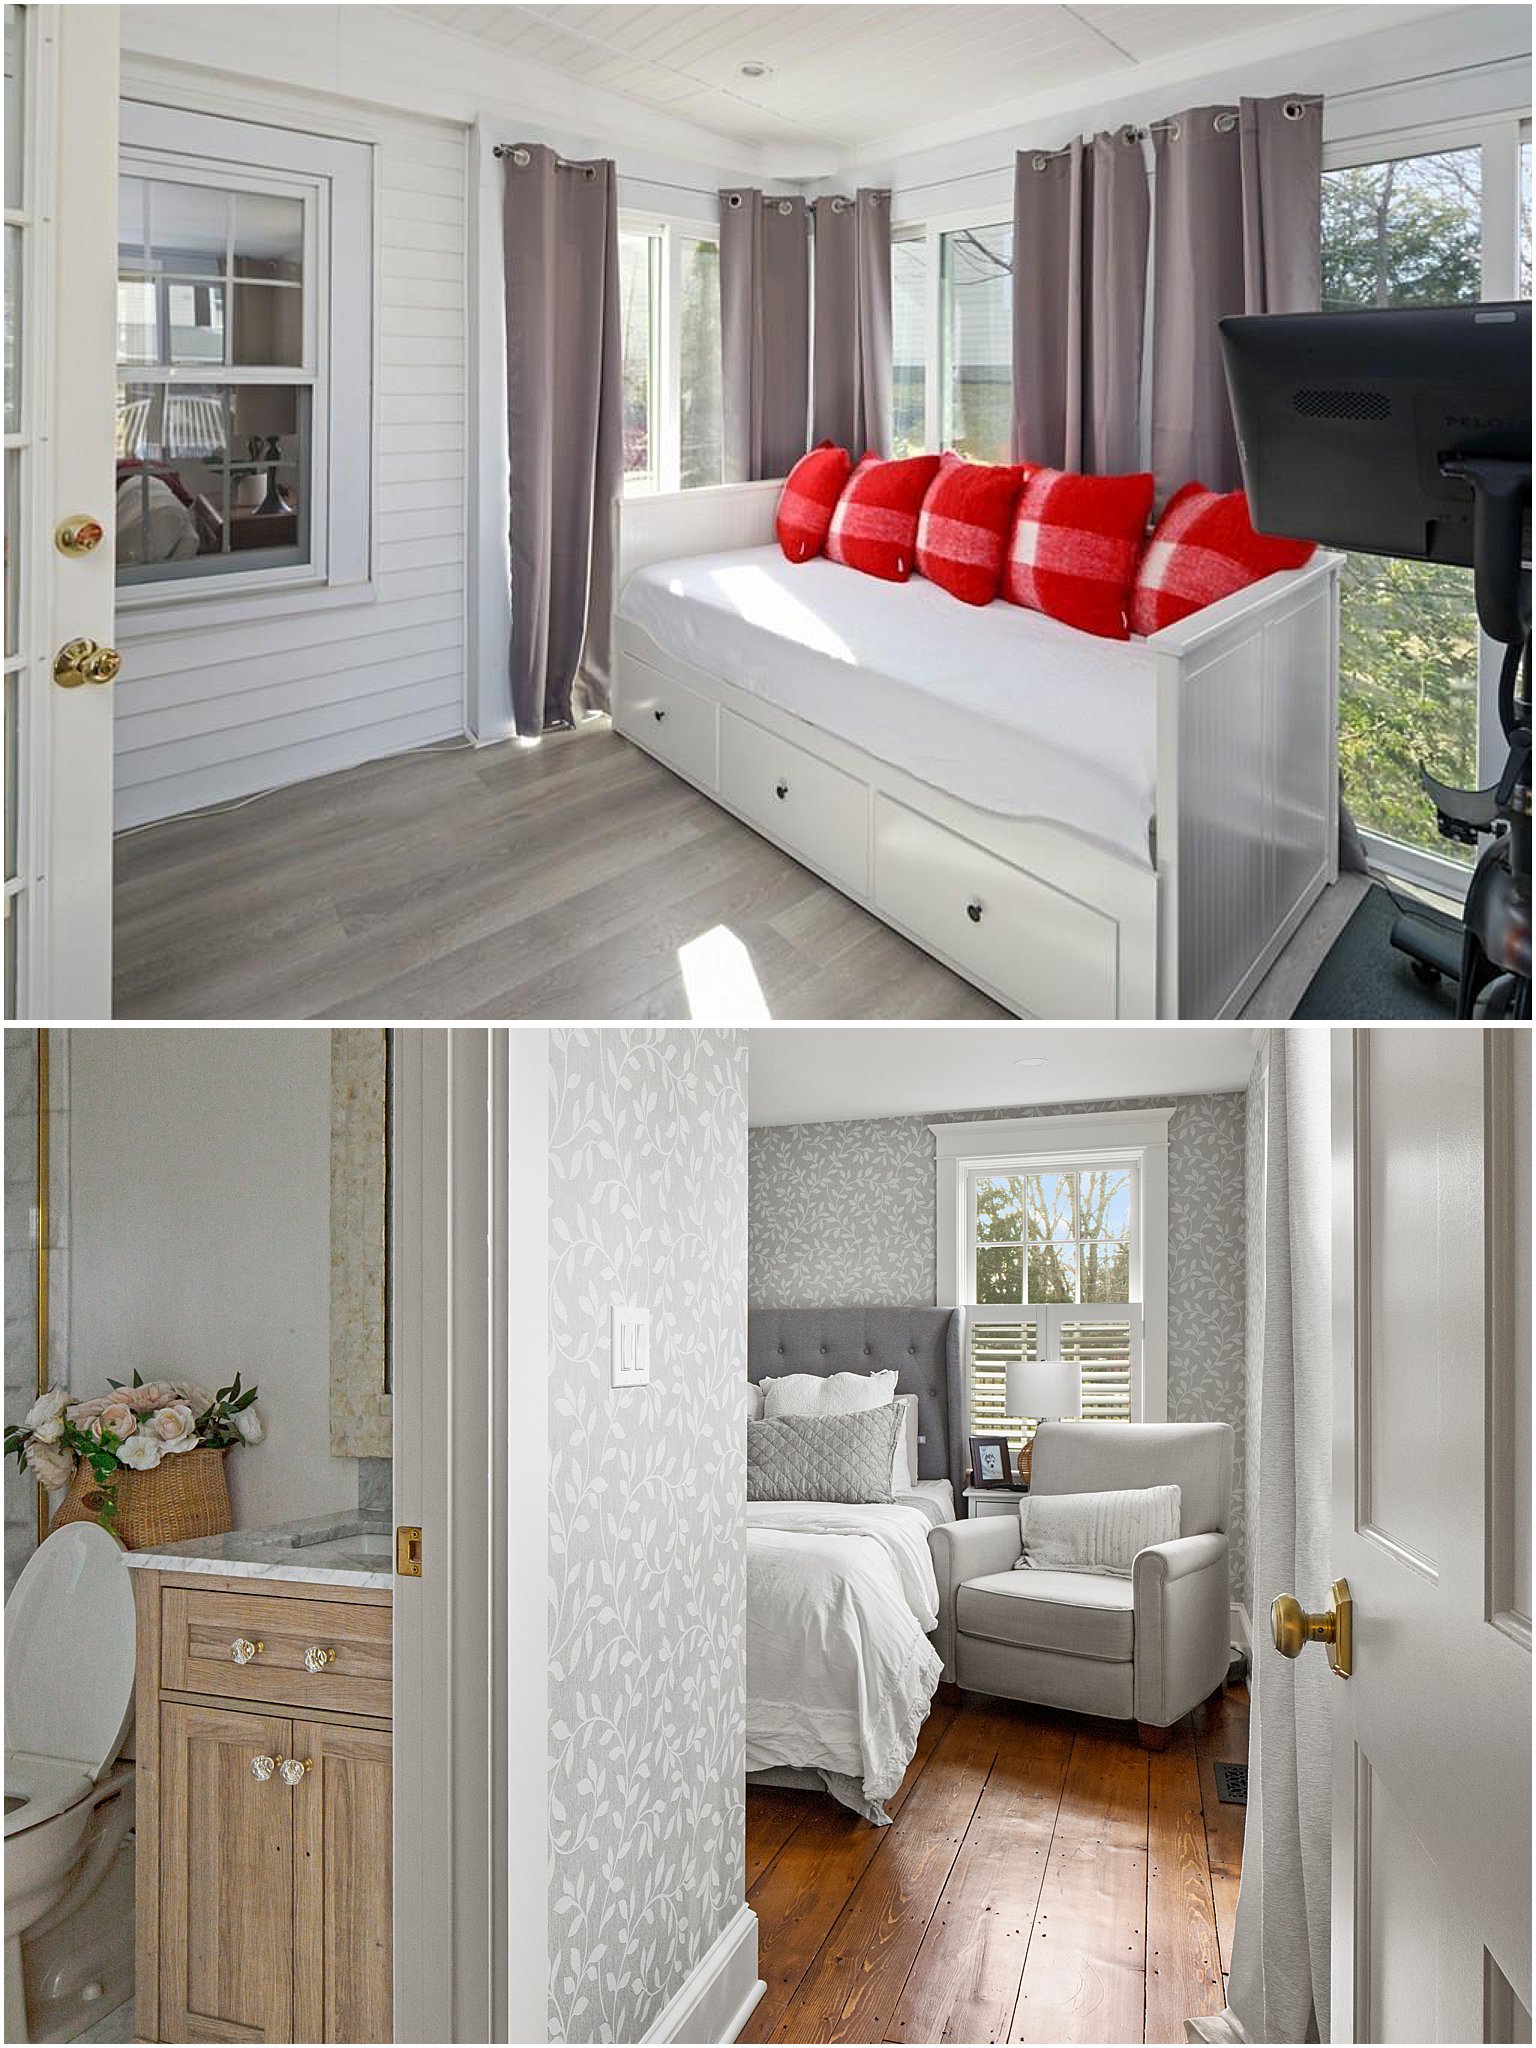
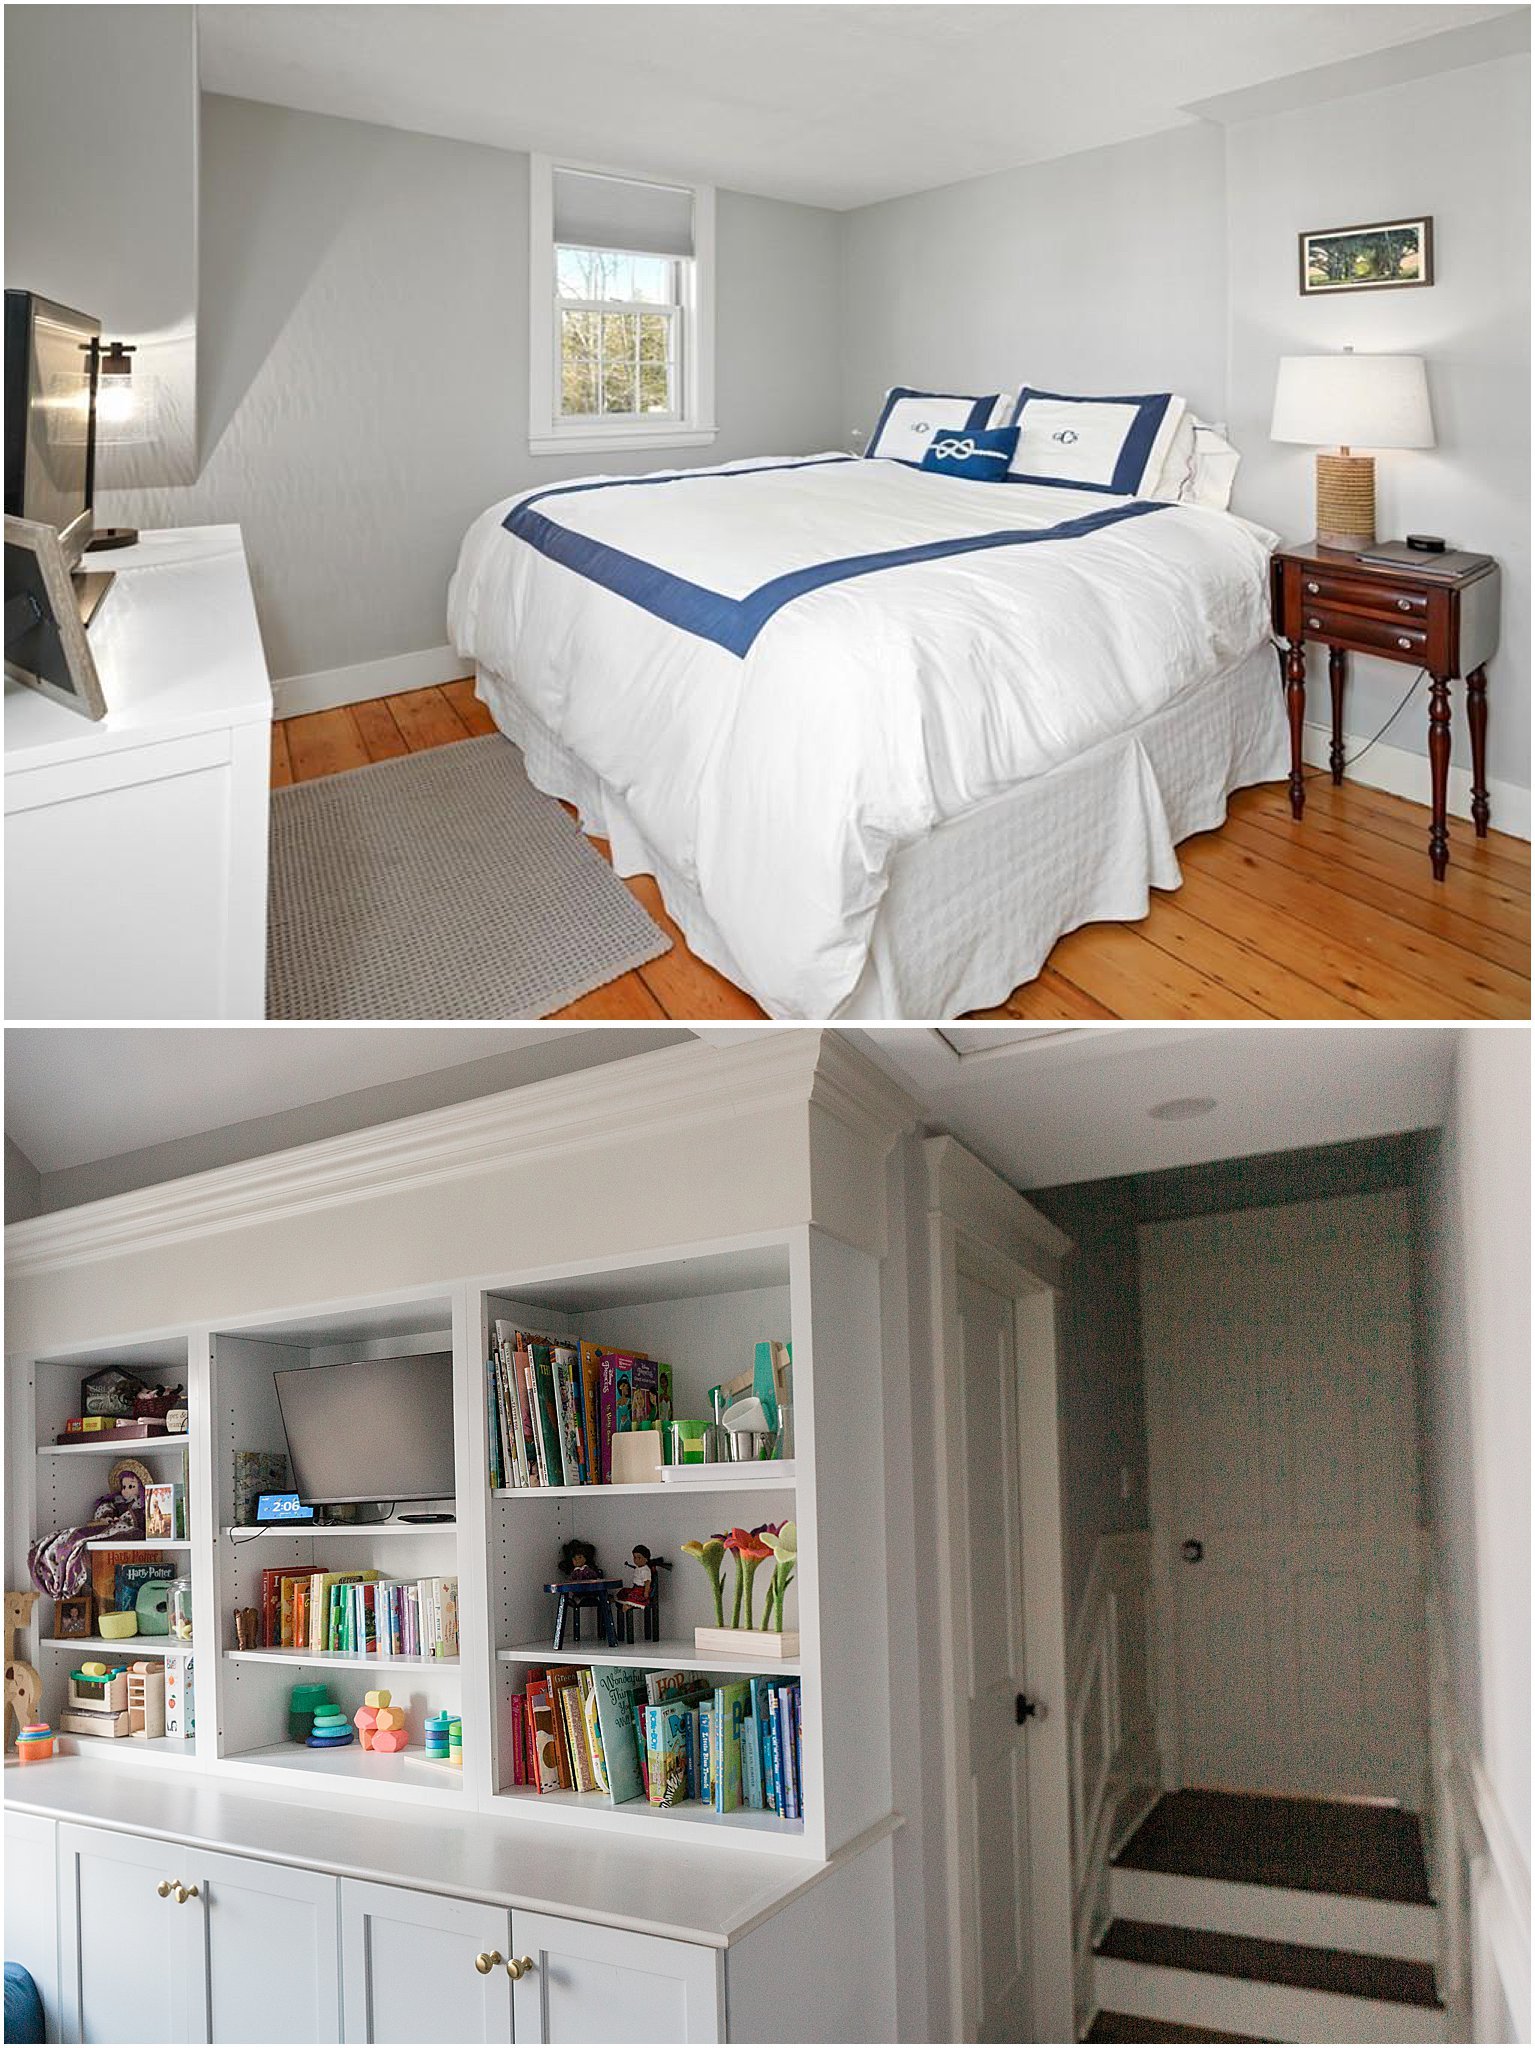
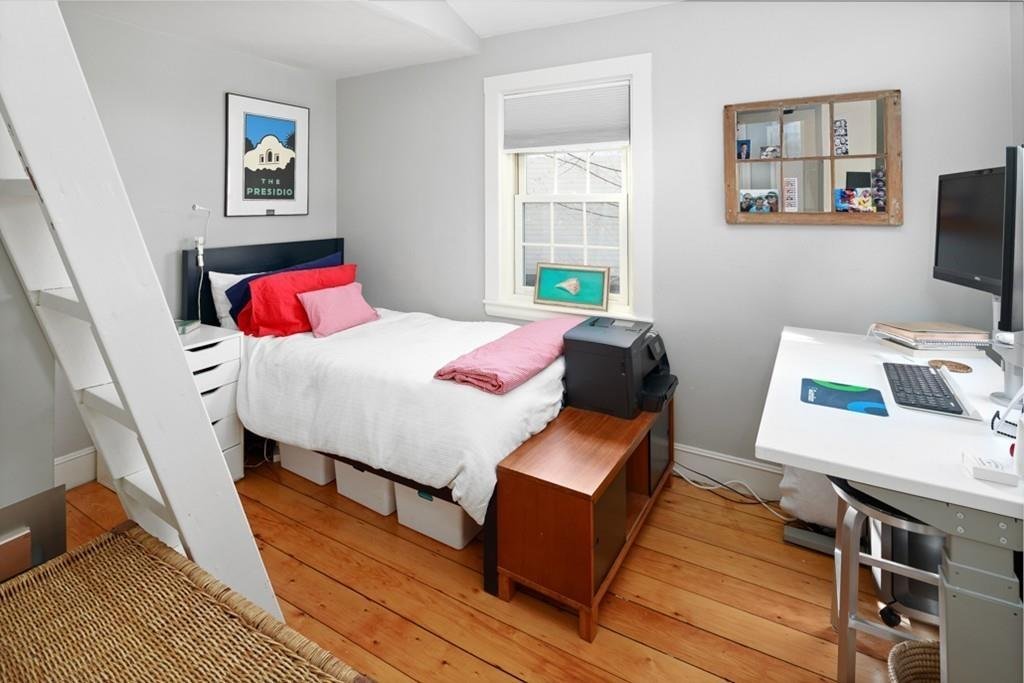
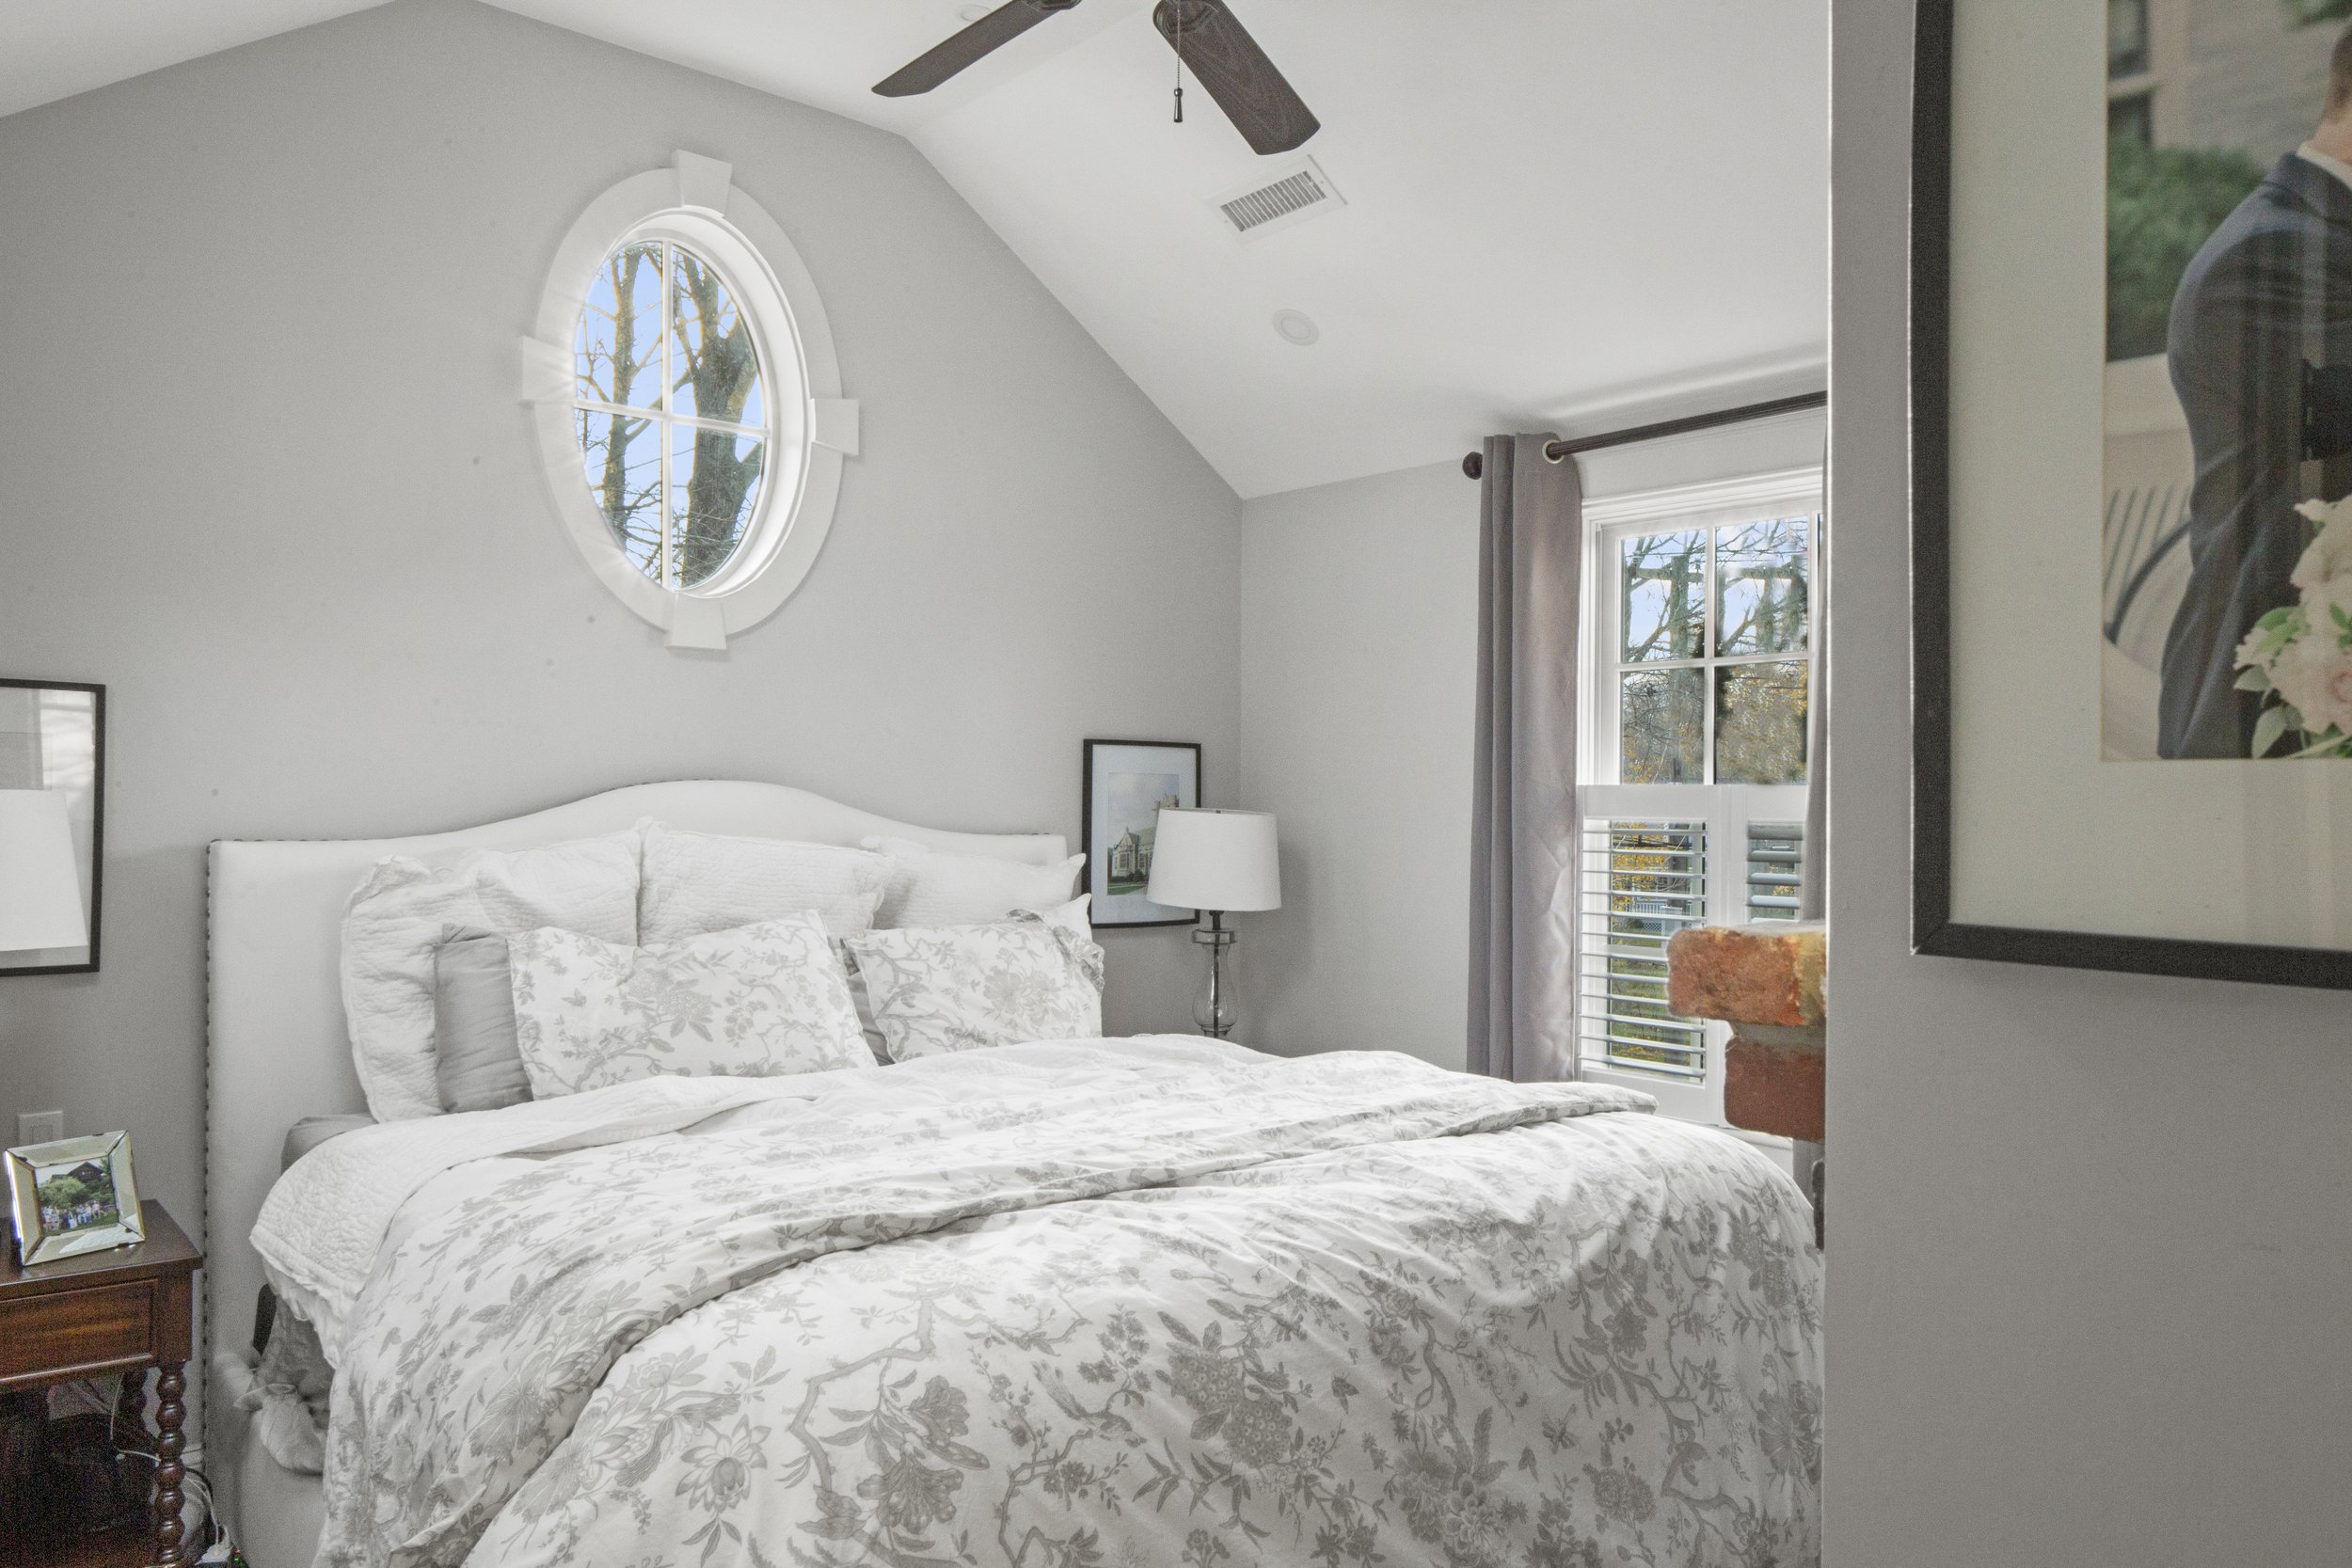
At the top of the stairs is a bathroom that we virtually didn’t touch (just changed the window) and a small bedroom that used to be the second largest in the house - now it is the smallest by far. The footprint of the bedroom didn’t change, but our very own Chris Kerr added all of the detailed molding you see!
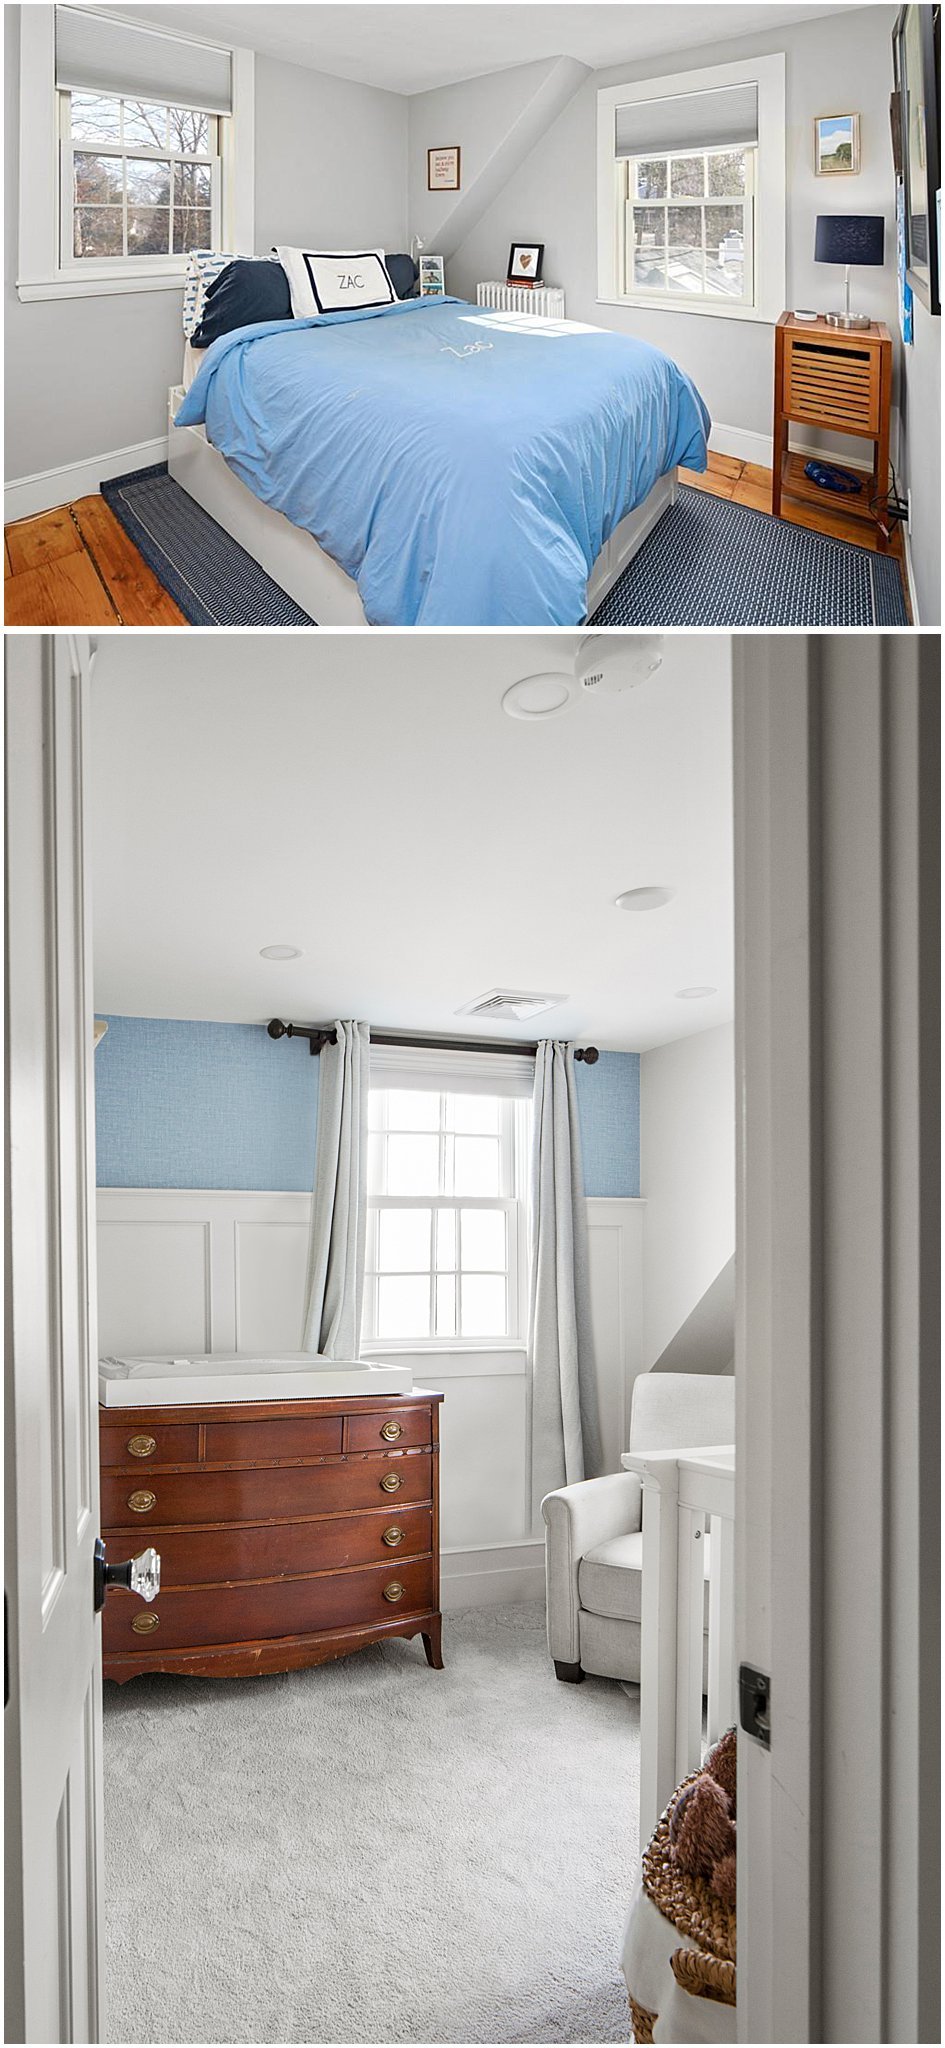
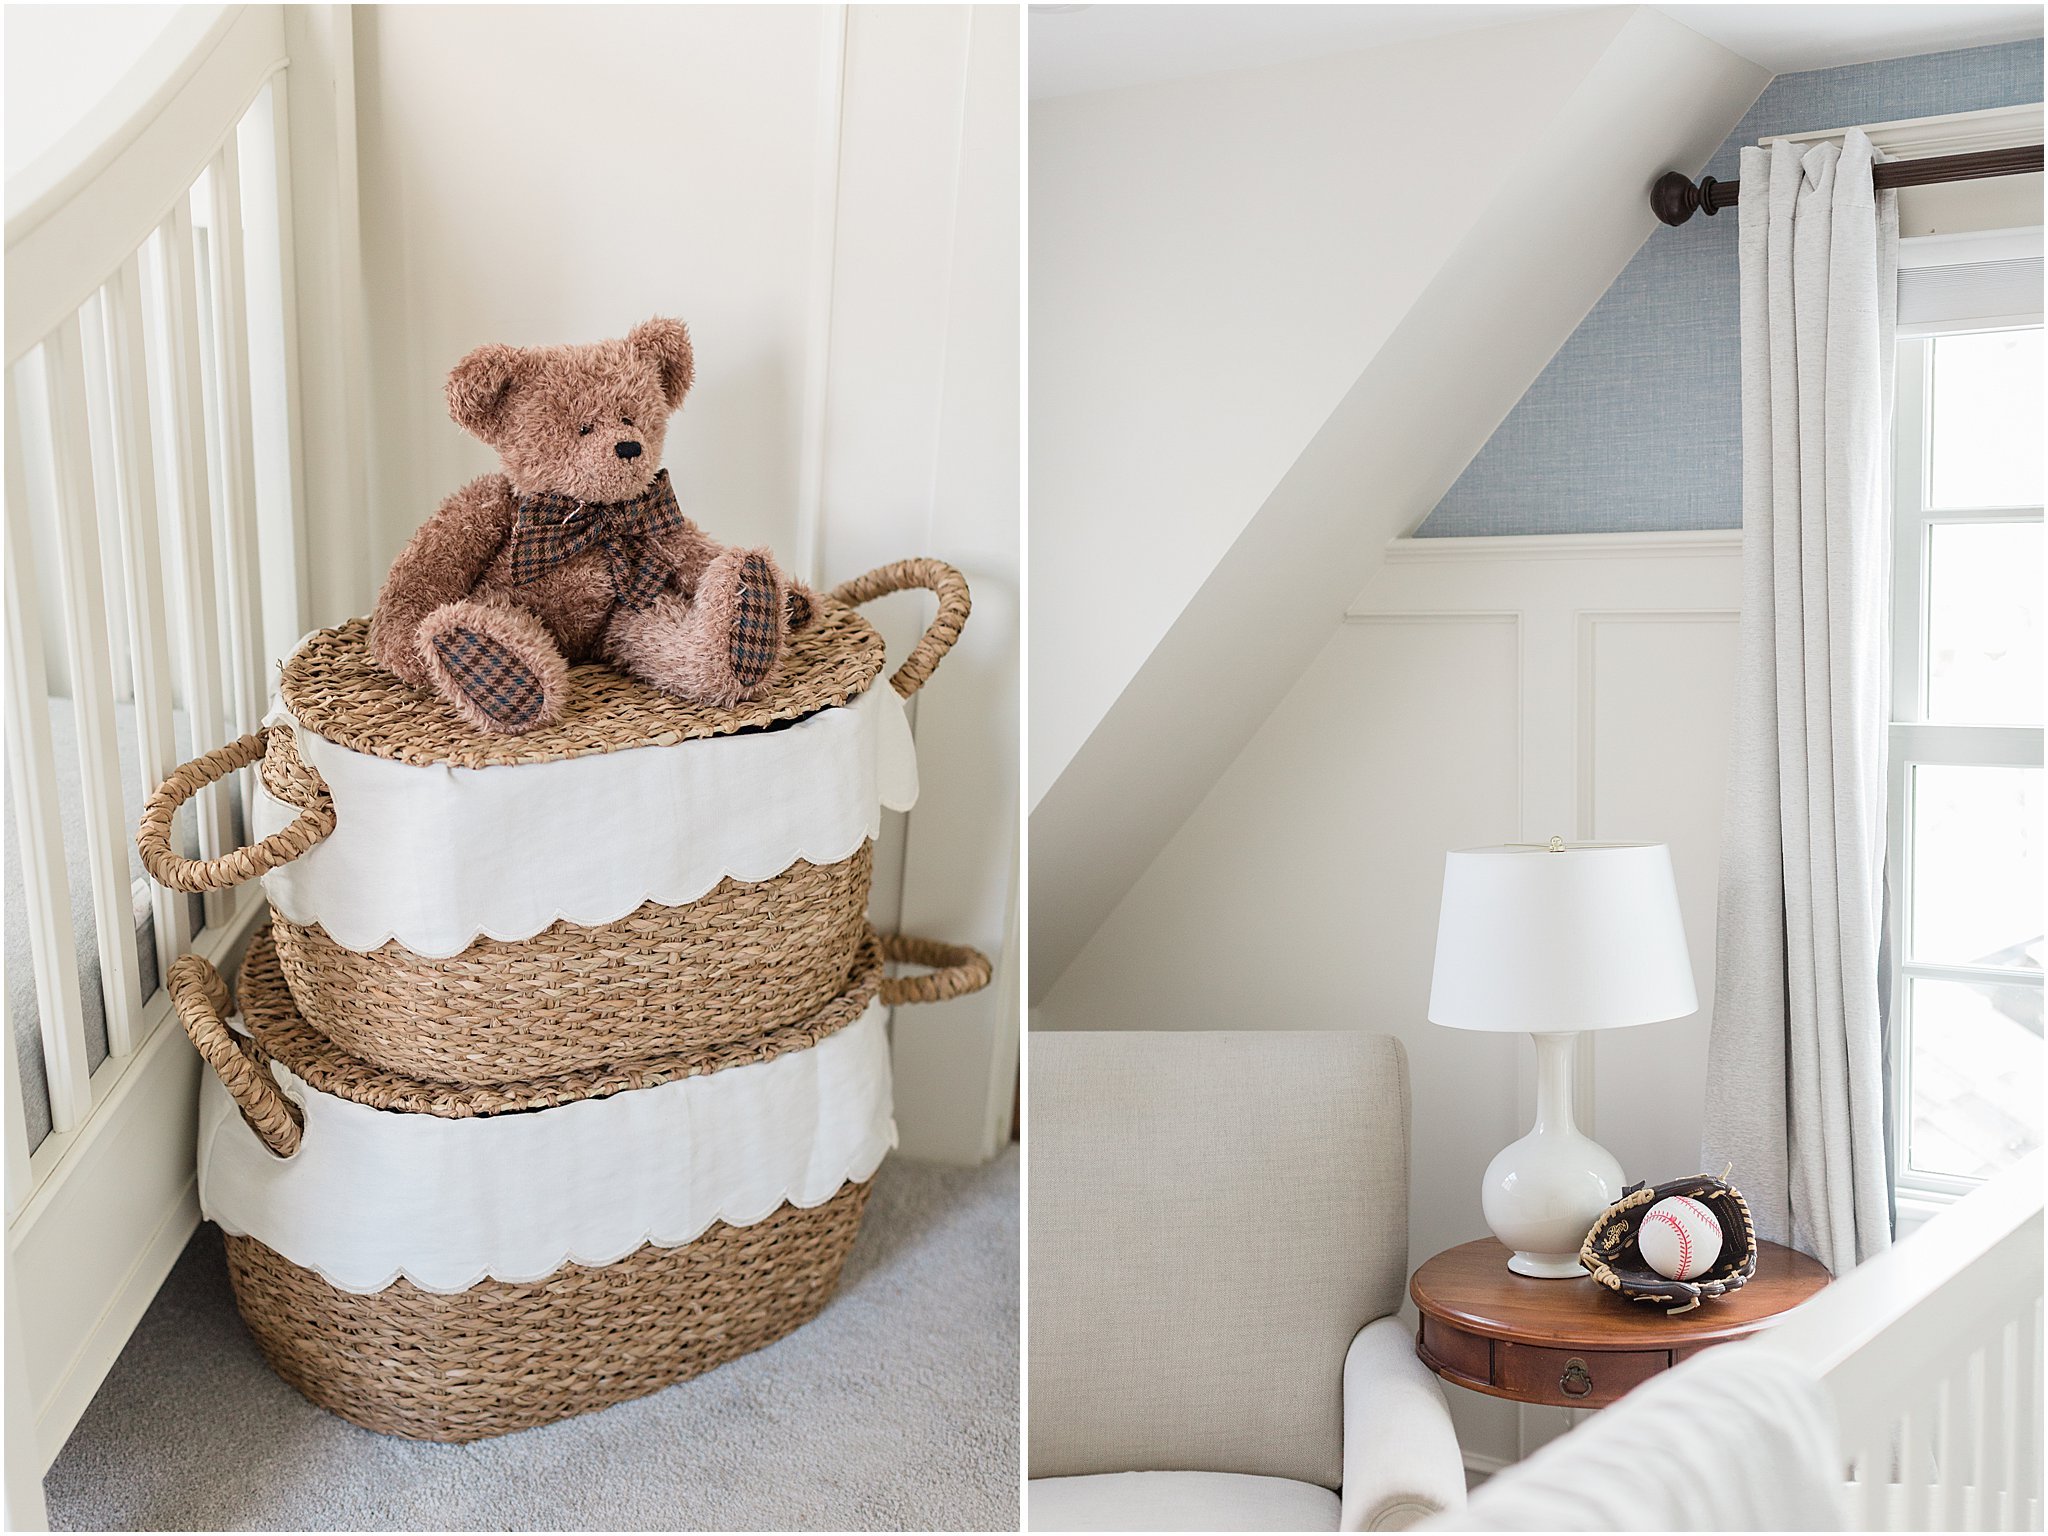
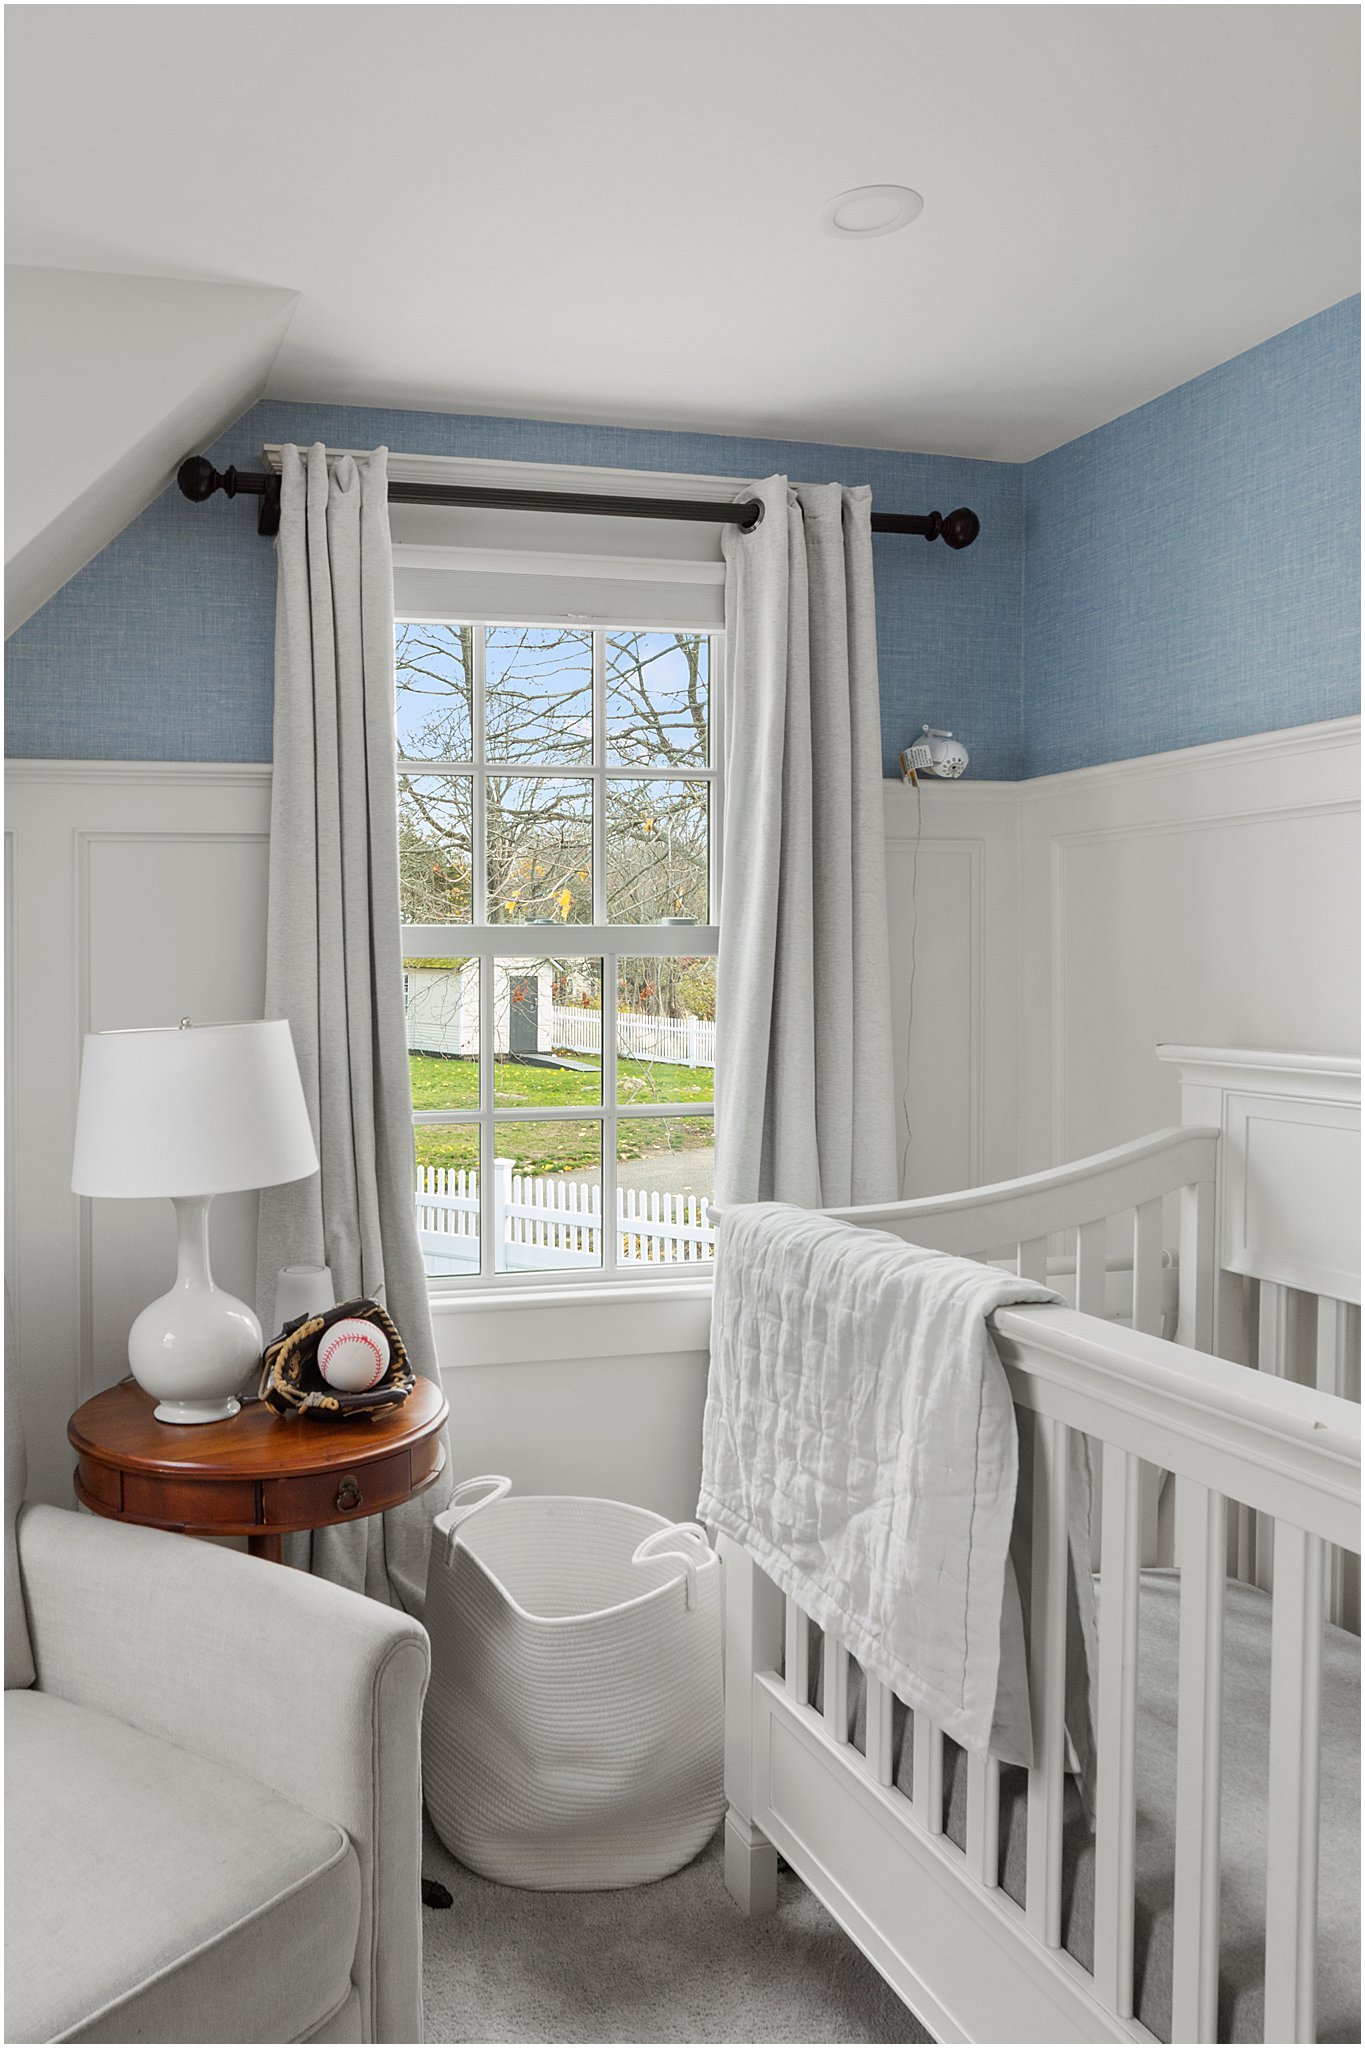
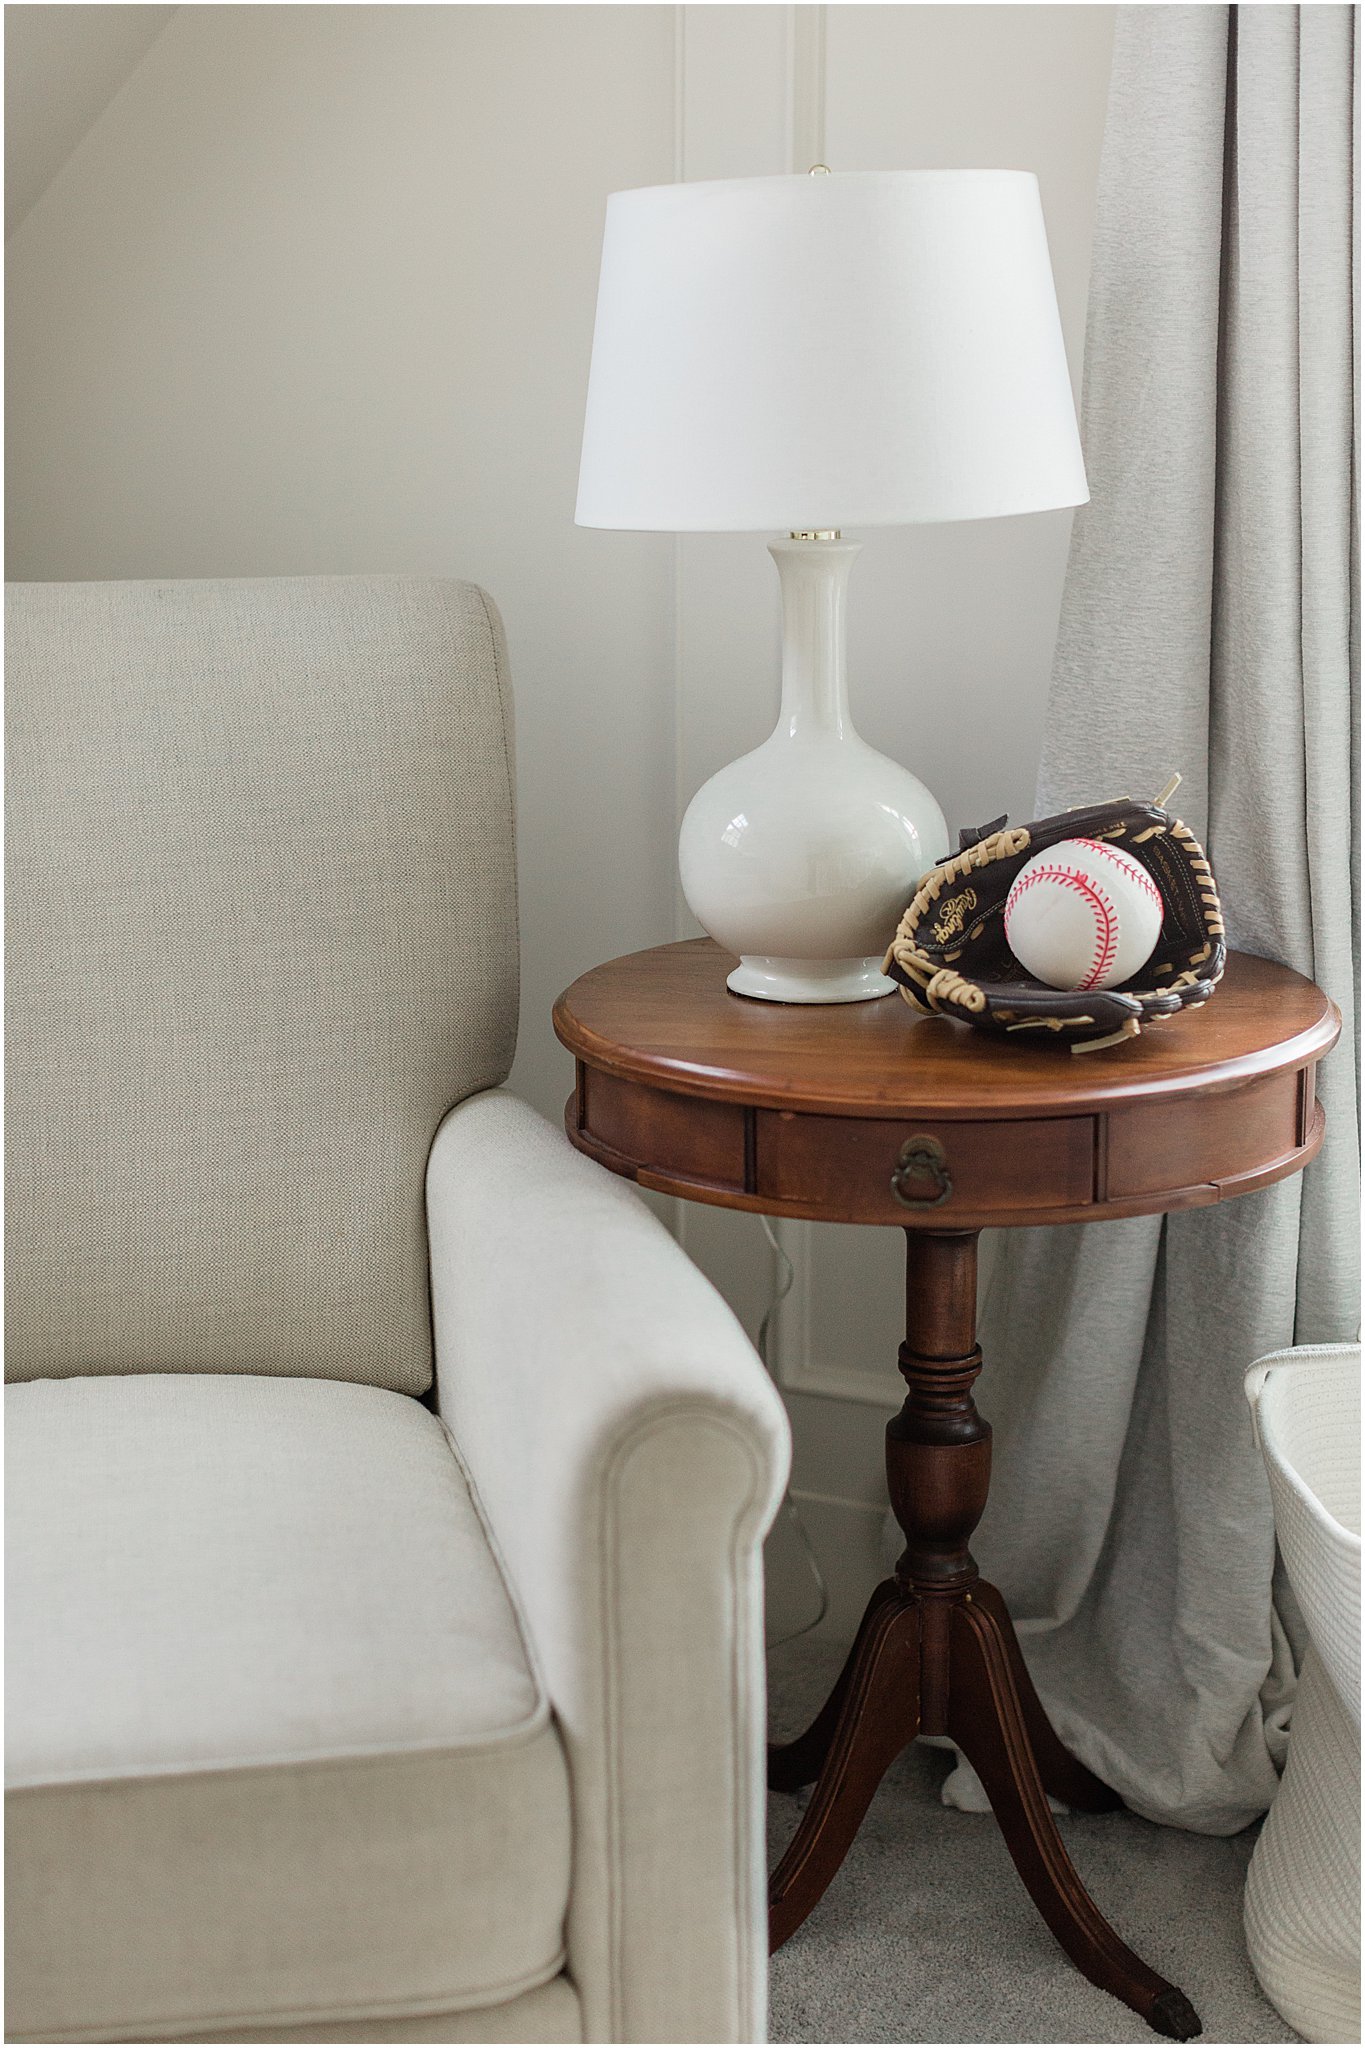
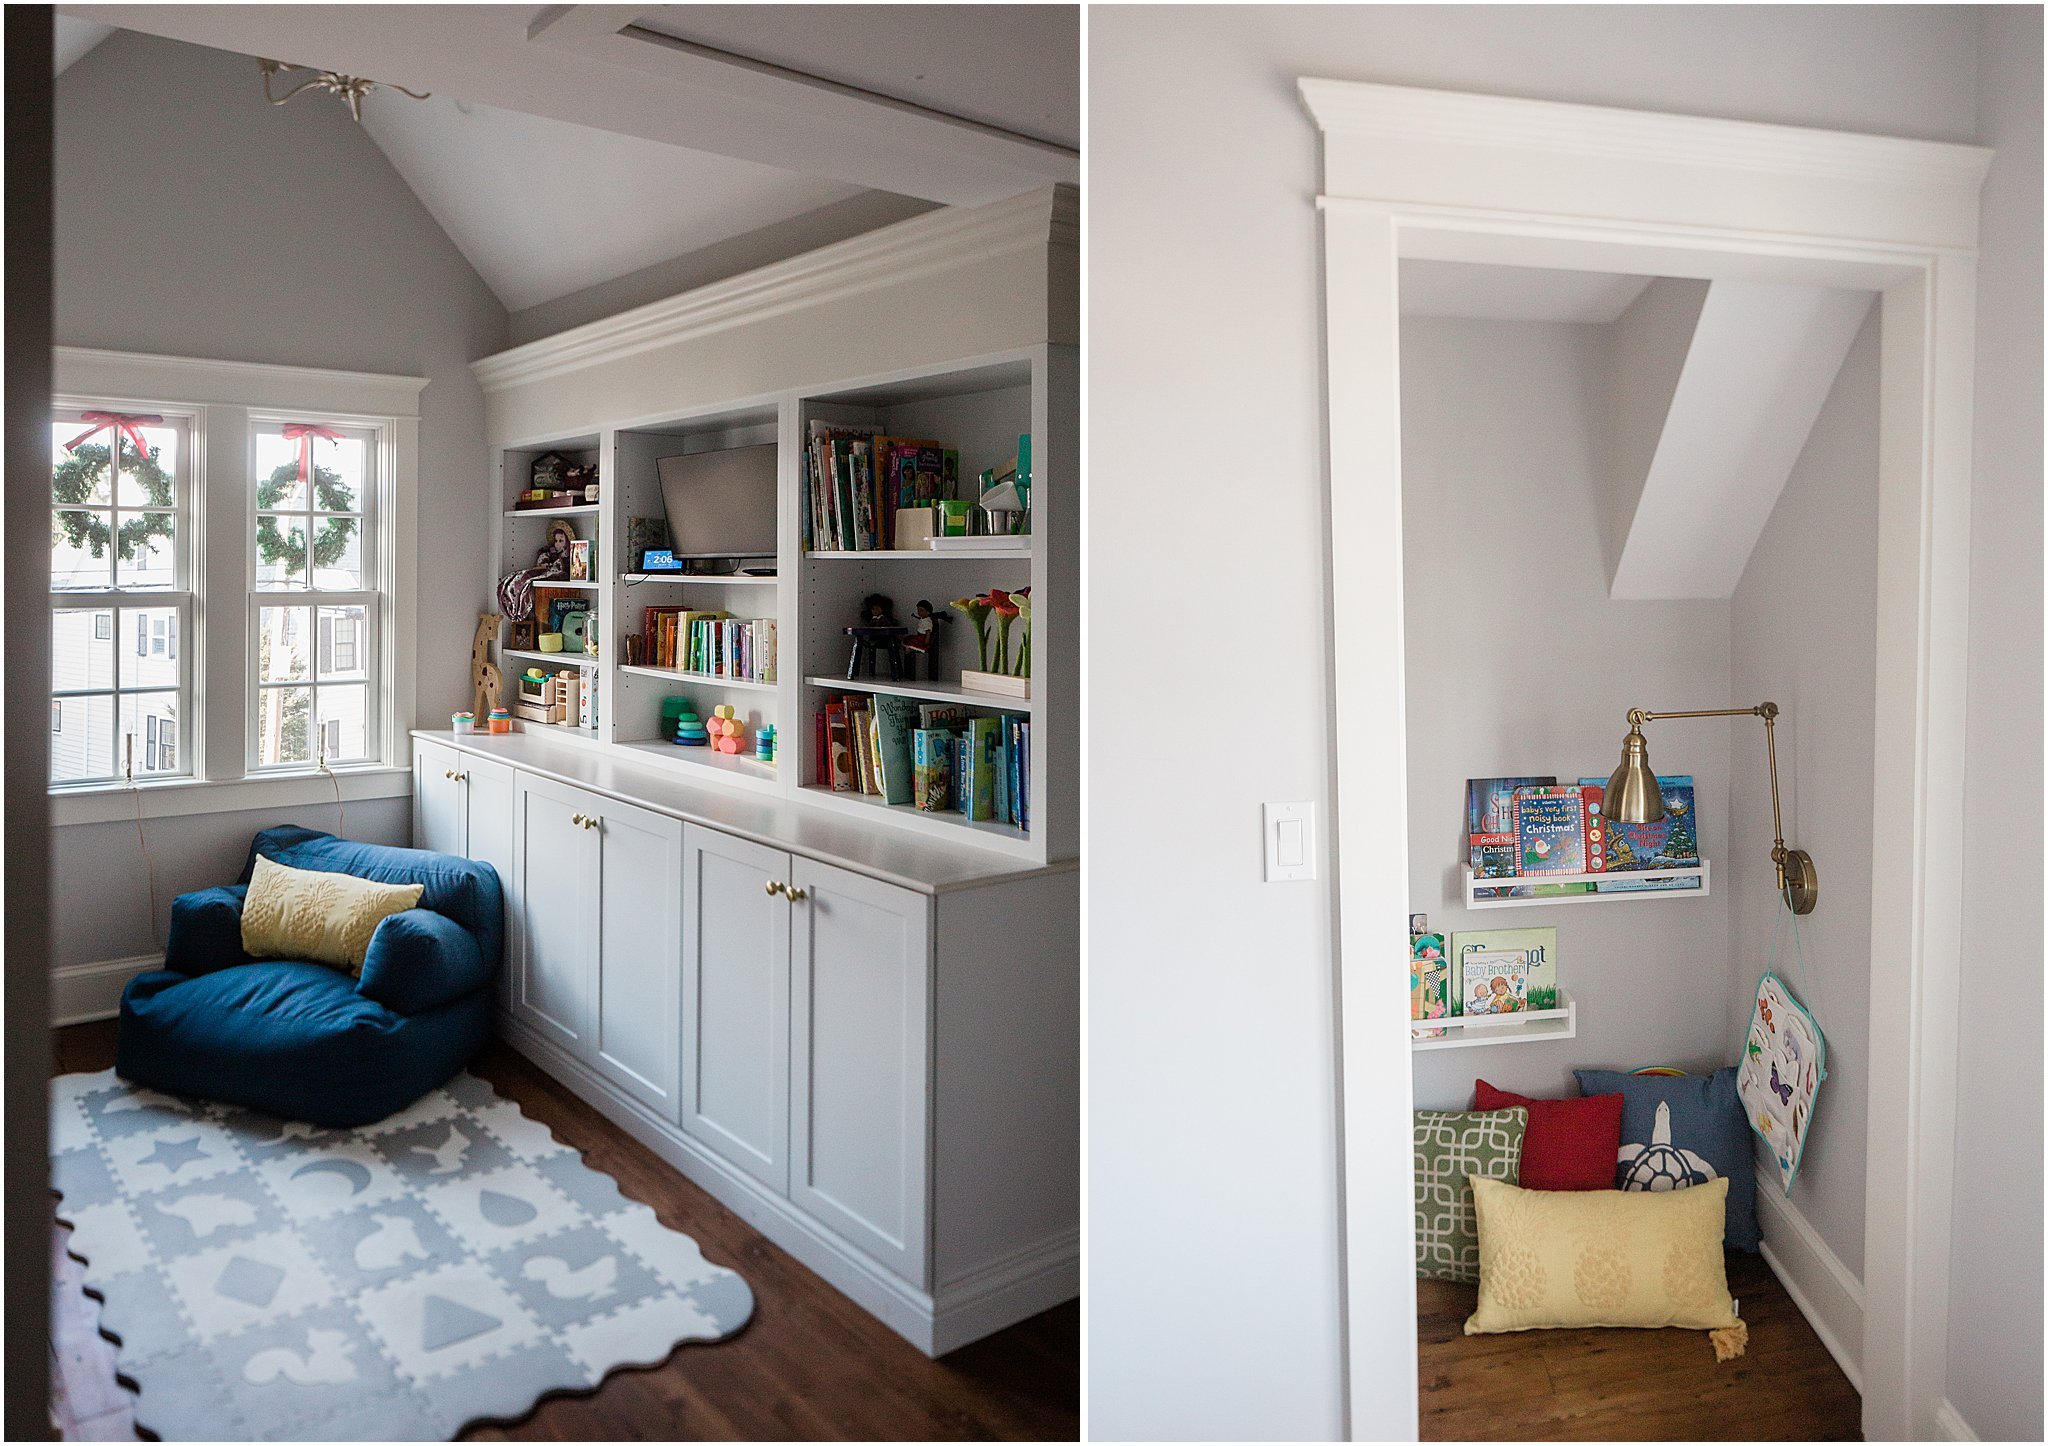
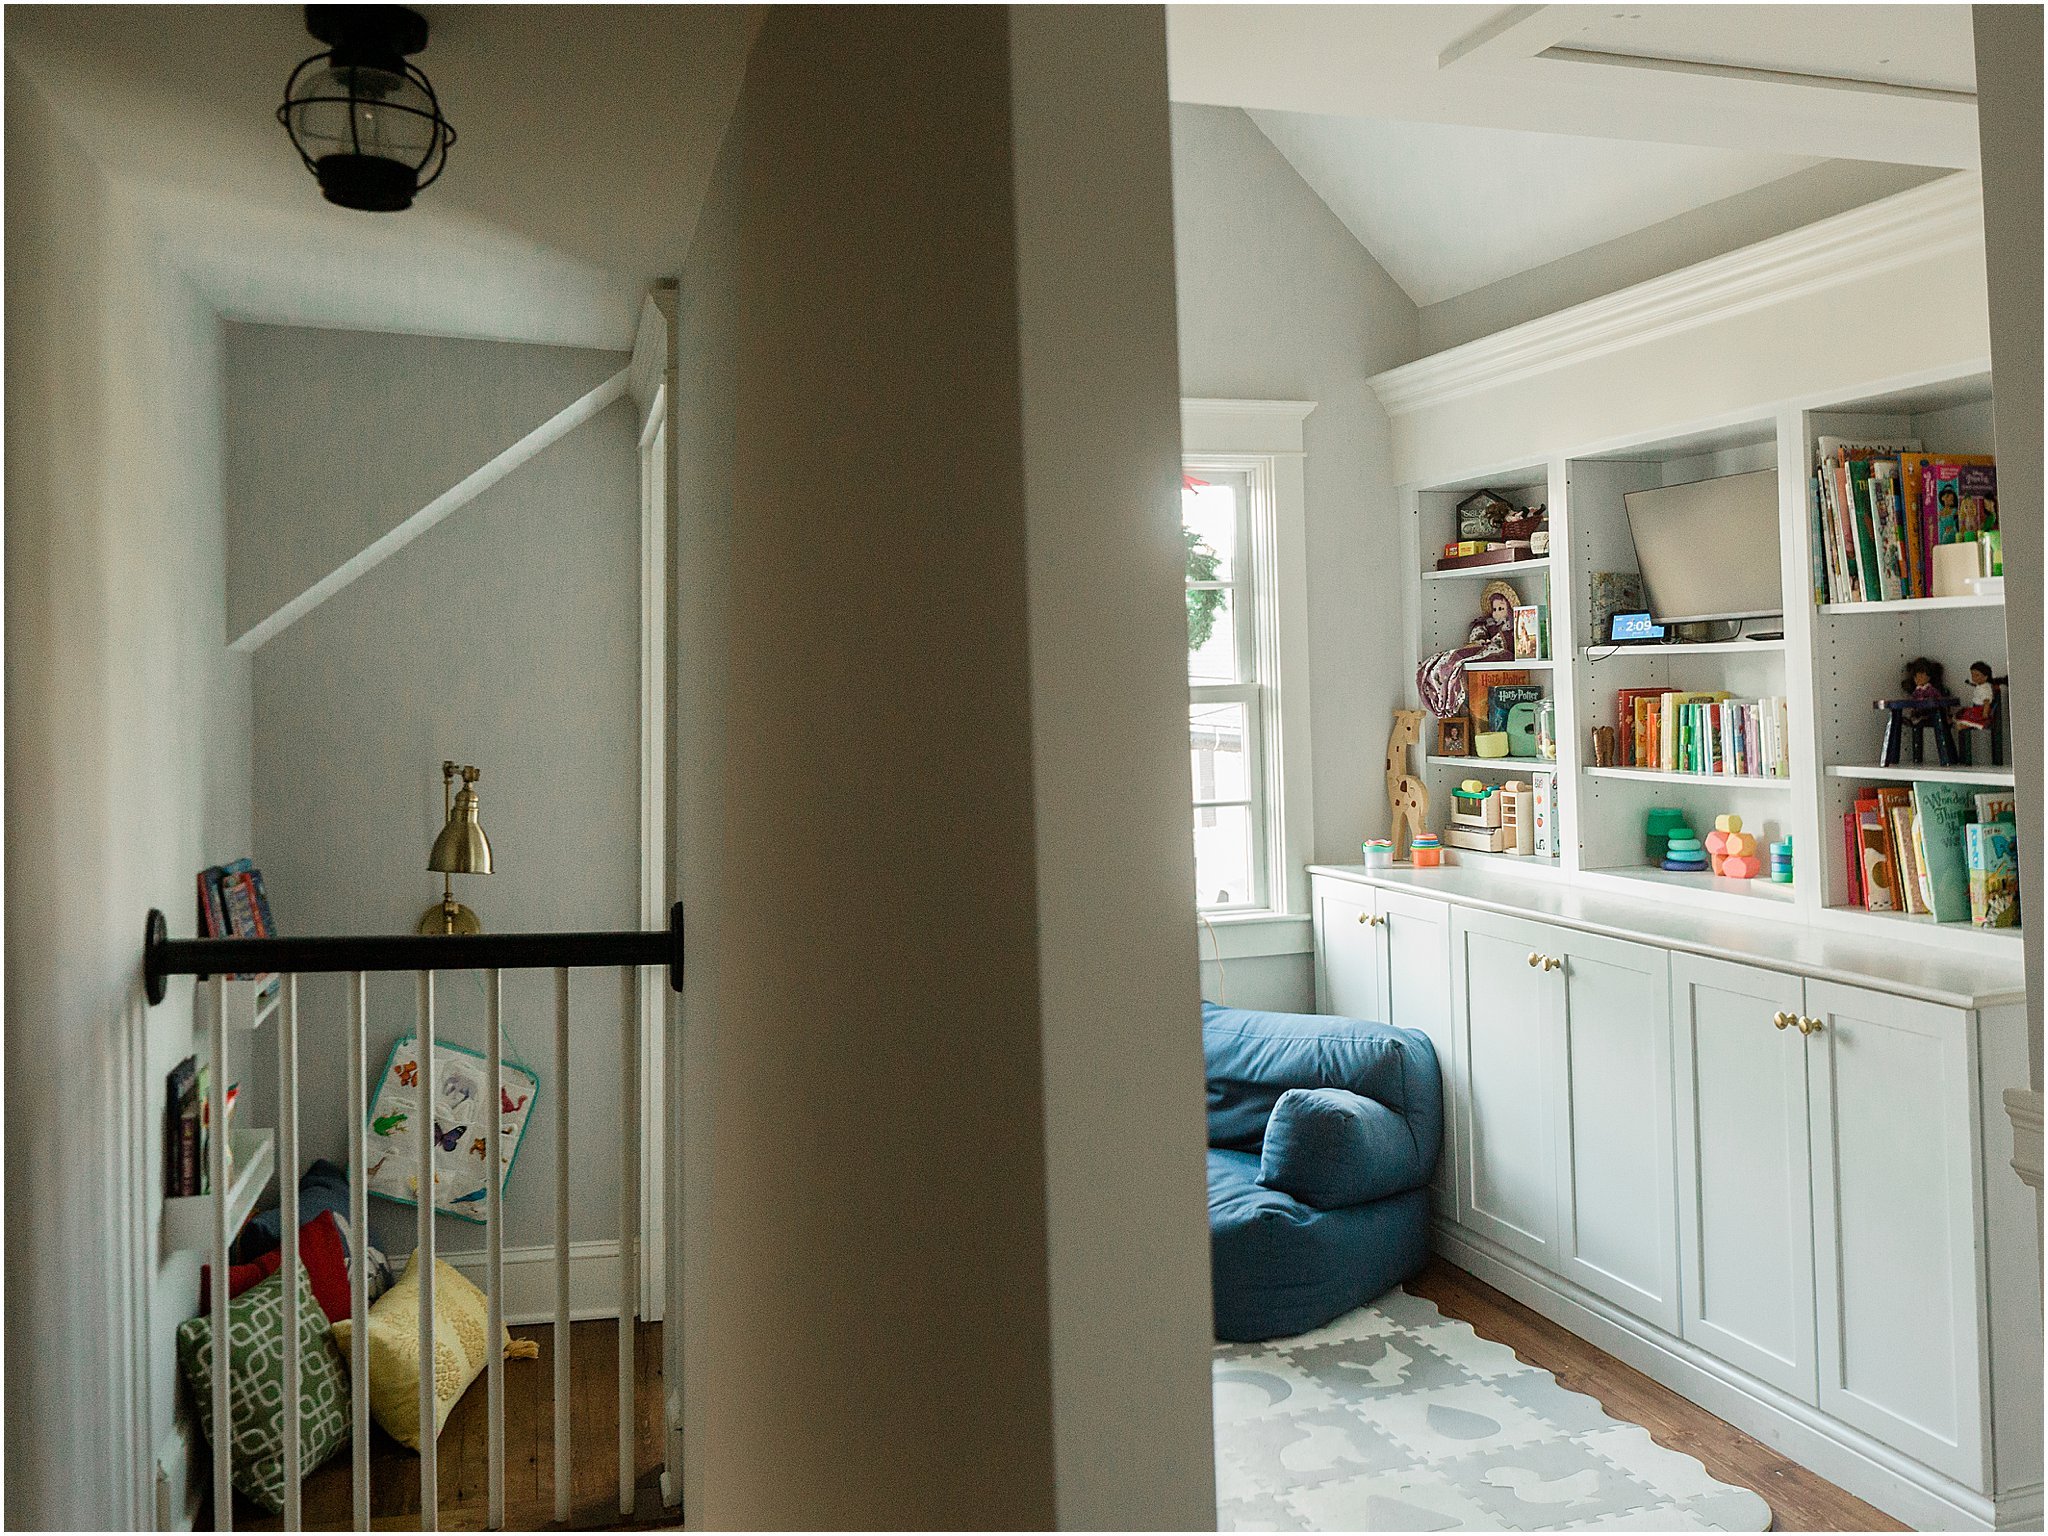
The primary bedroom was turned into a playroom and laundry room (laundry room is not quite finished so it is not pictured here). In this first picture of the bedroom below, to the right of the window we created a hallway to our daughters room (with the laundry to the left) and used the remaining space for the playroom. We turned the oddly shaped closet into a reading nook with open railing for now, with full plans to turn it into a closet again if necessary. It is a fun way to connect with the kids while they are upstairs playing and we are downstairs working!
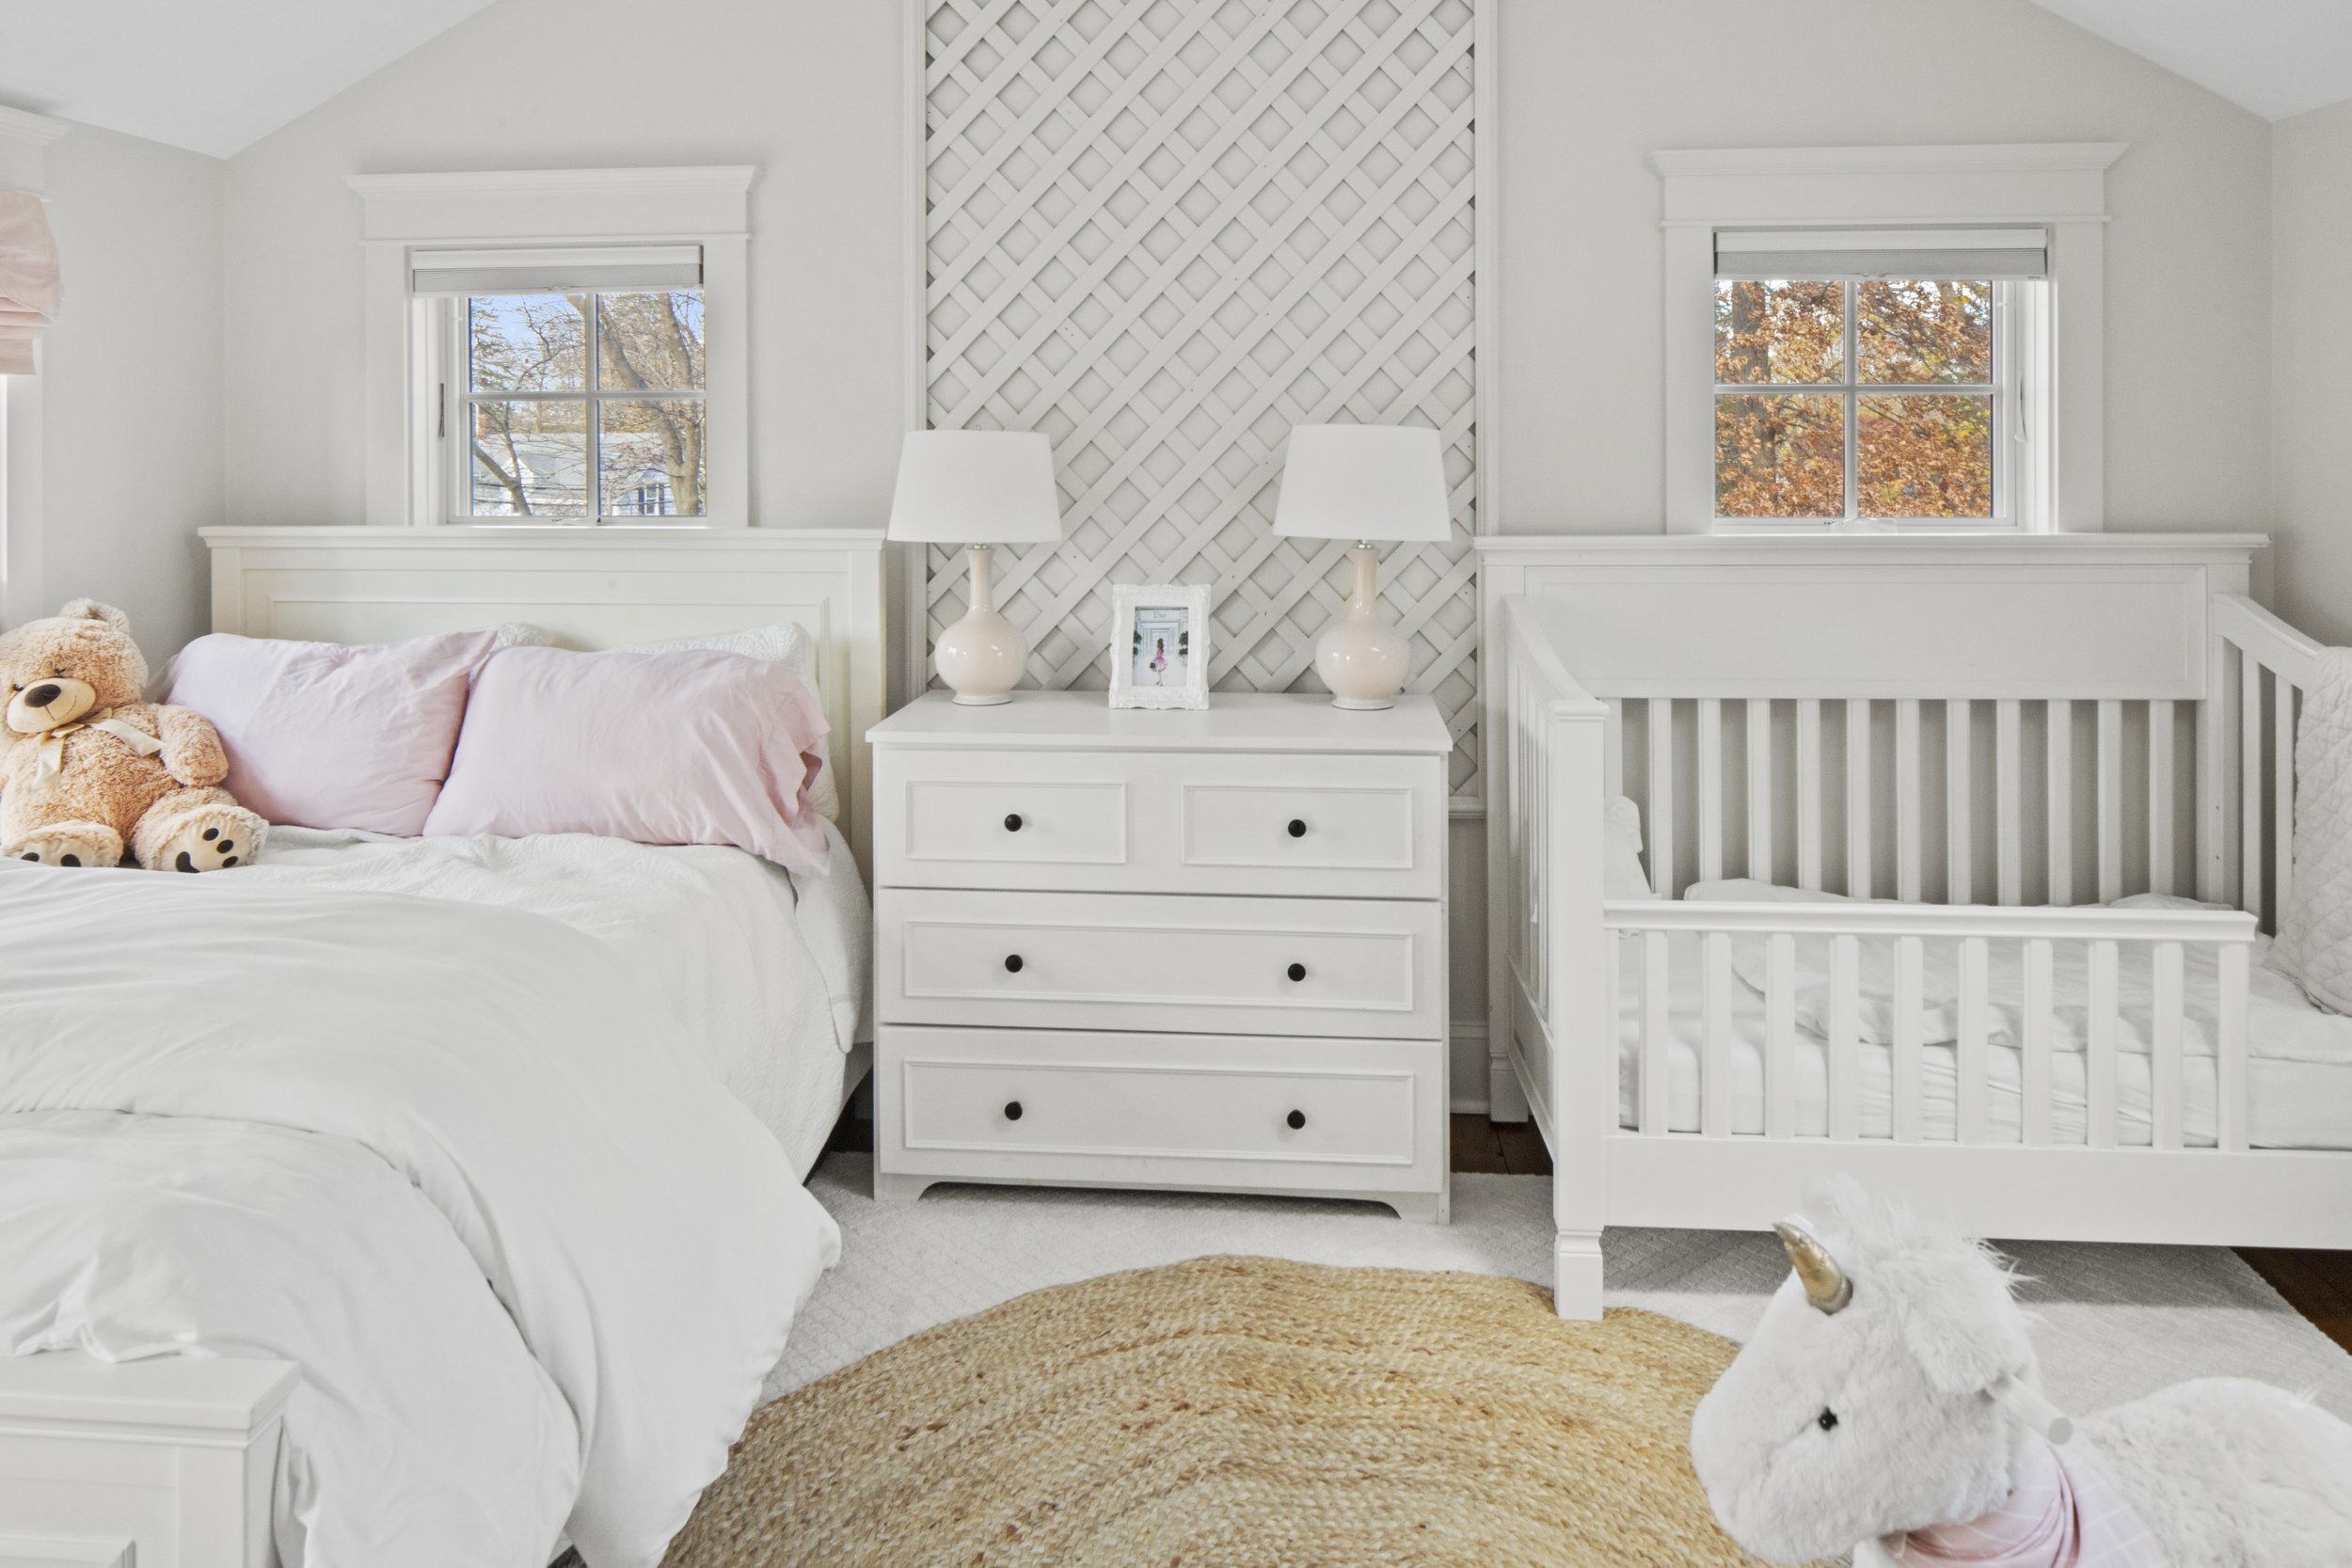
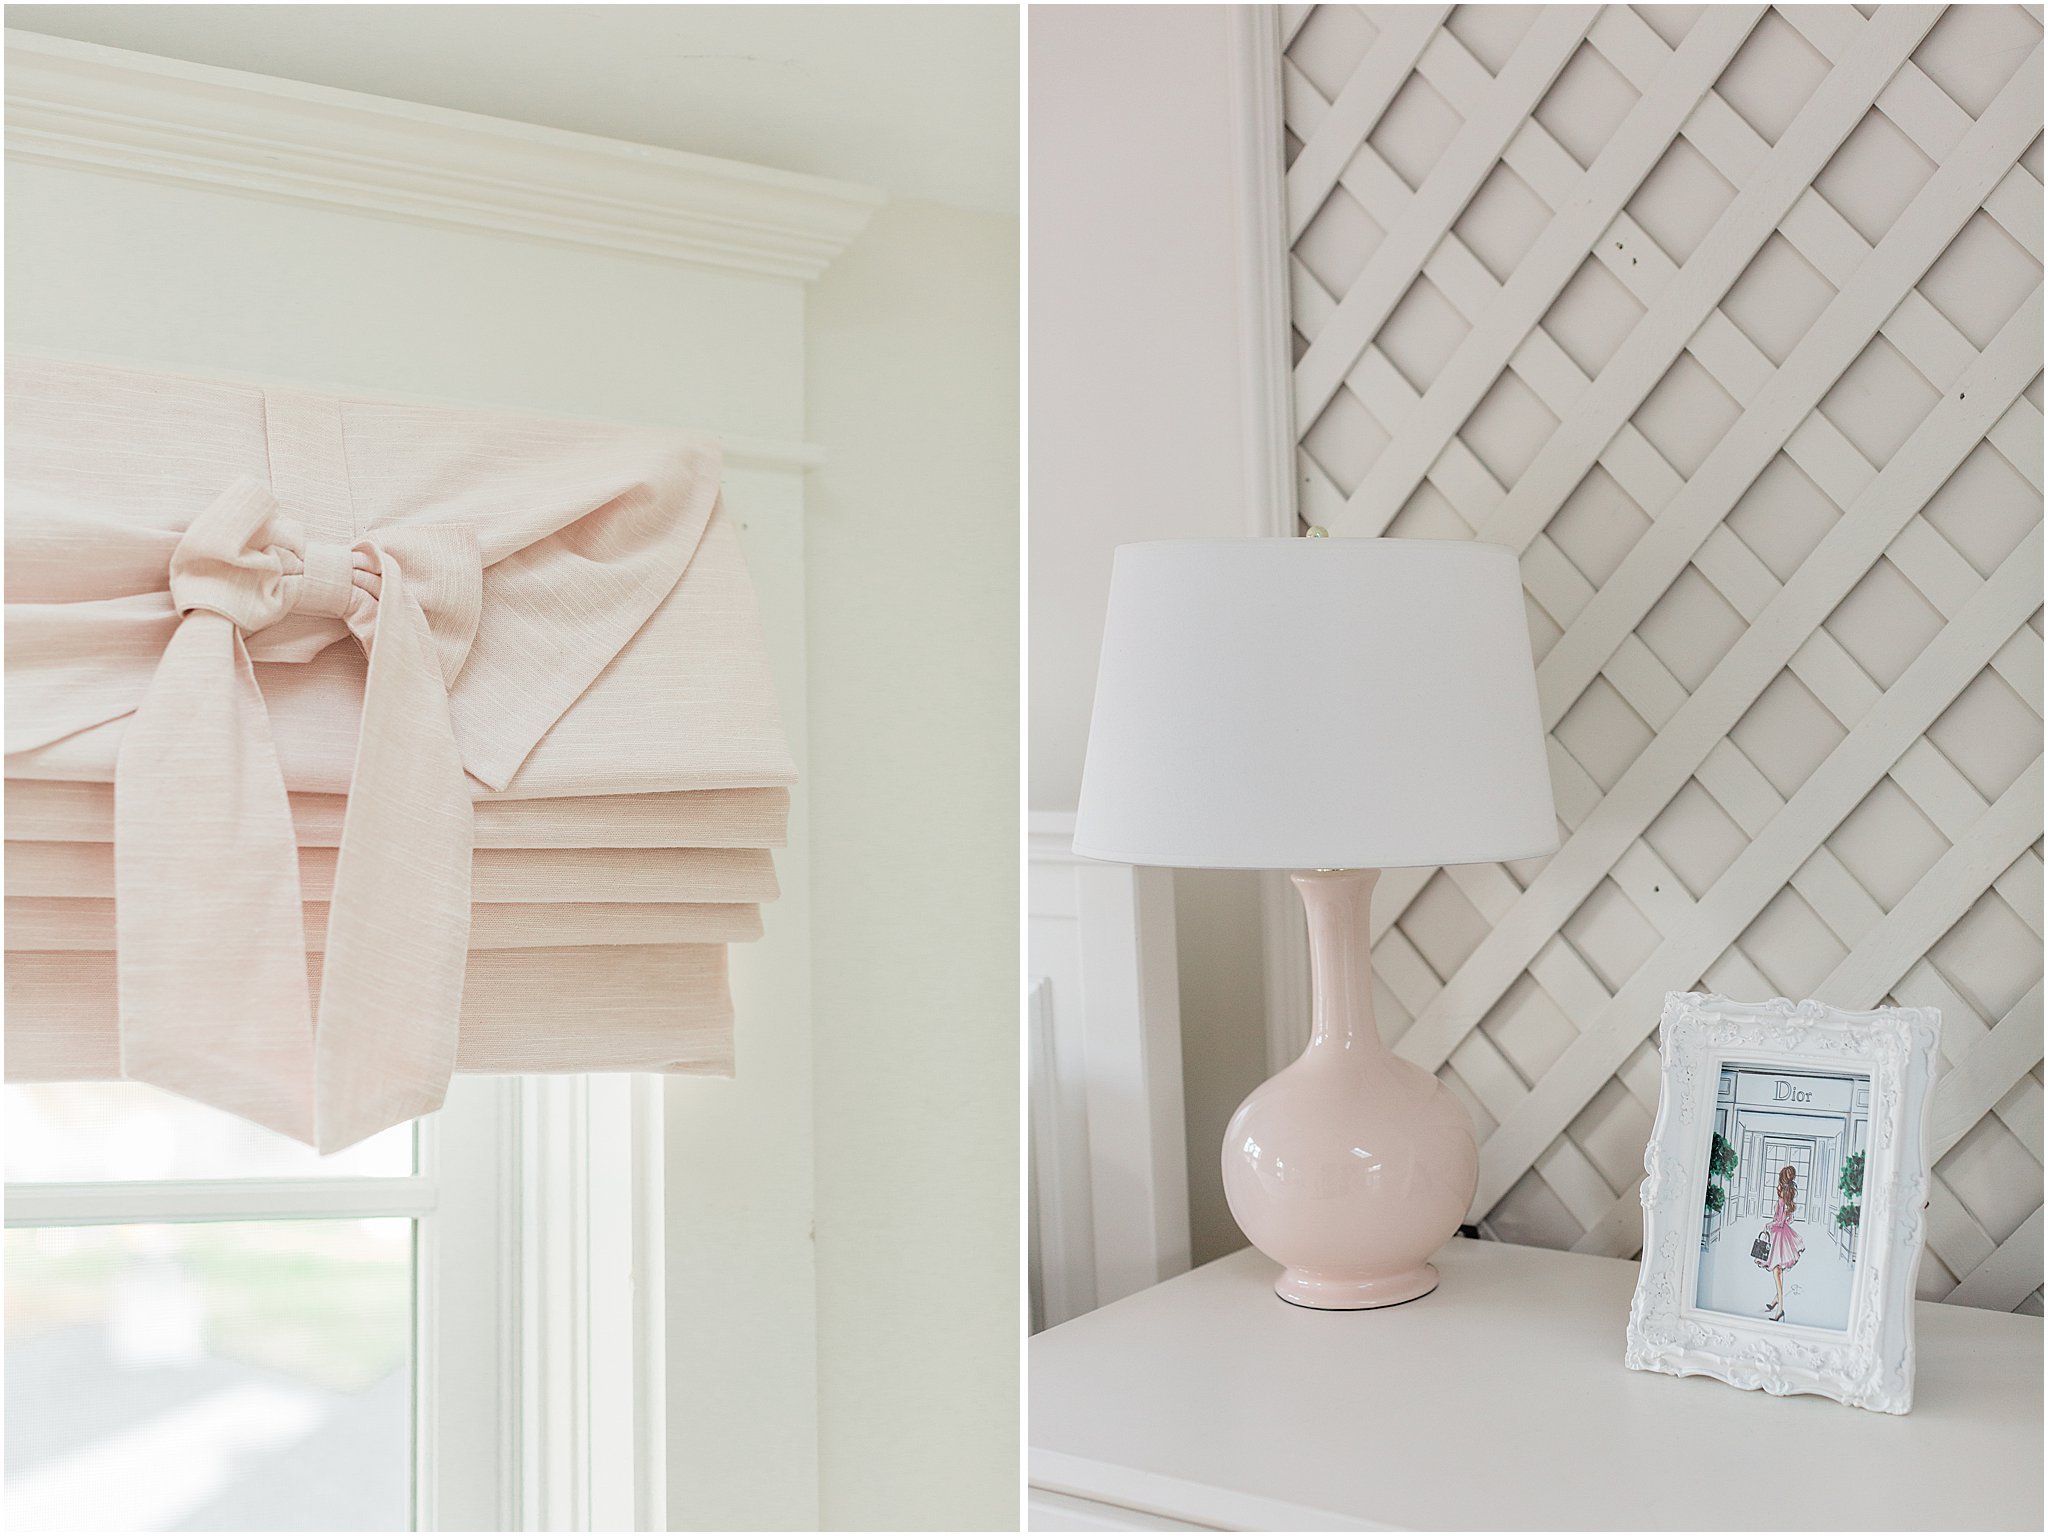
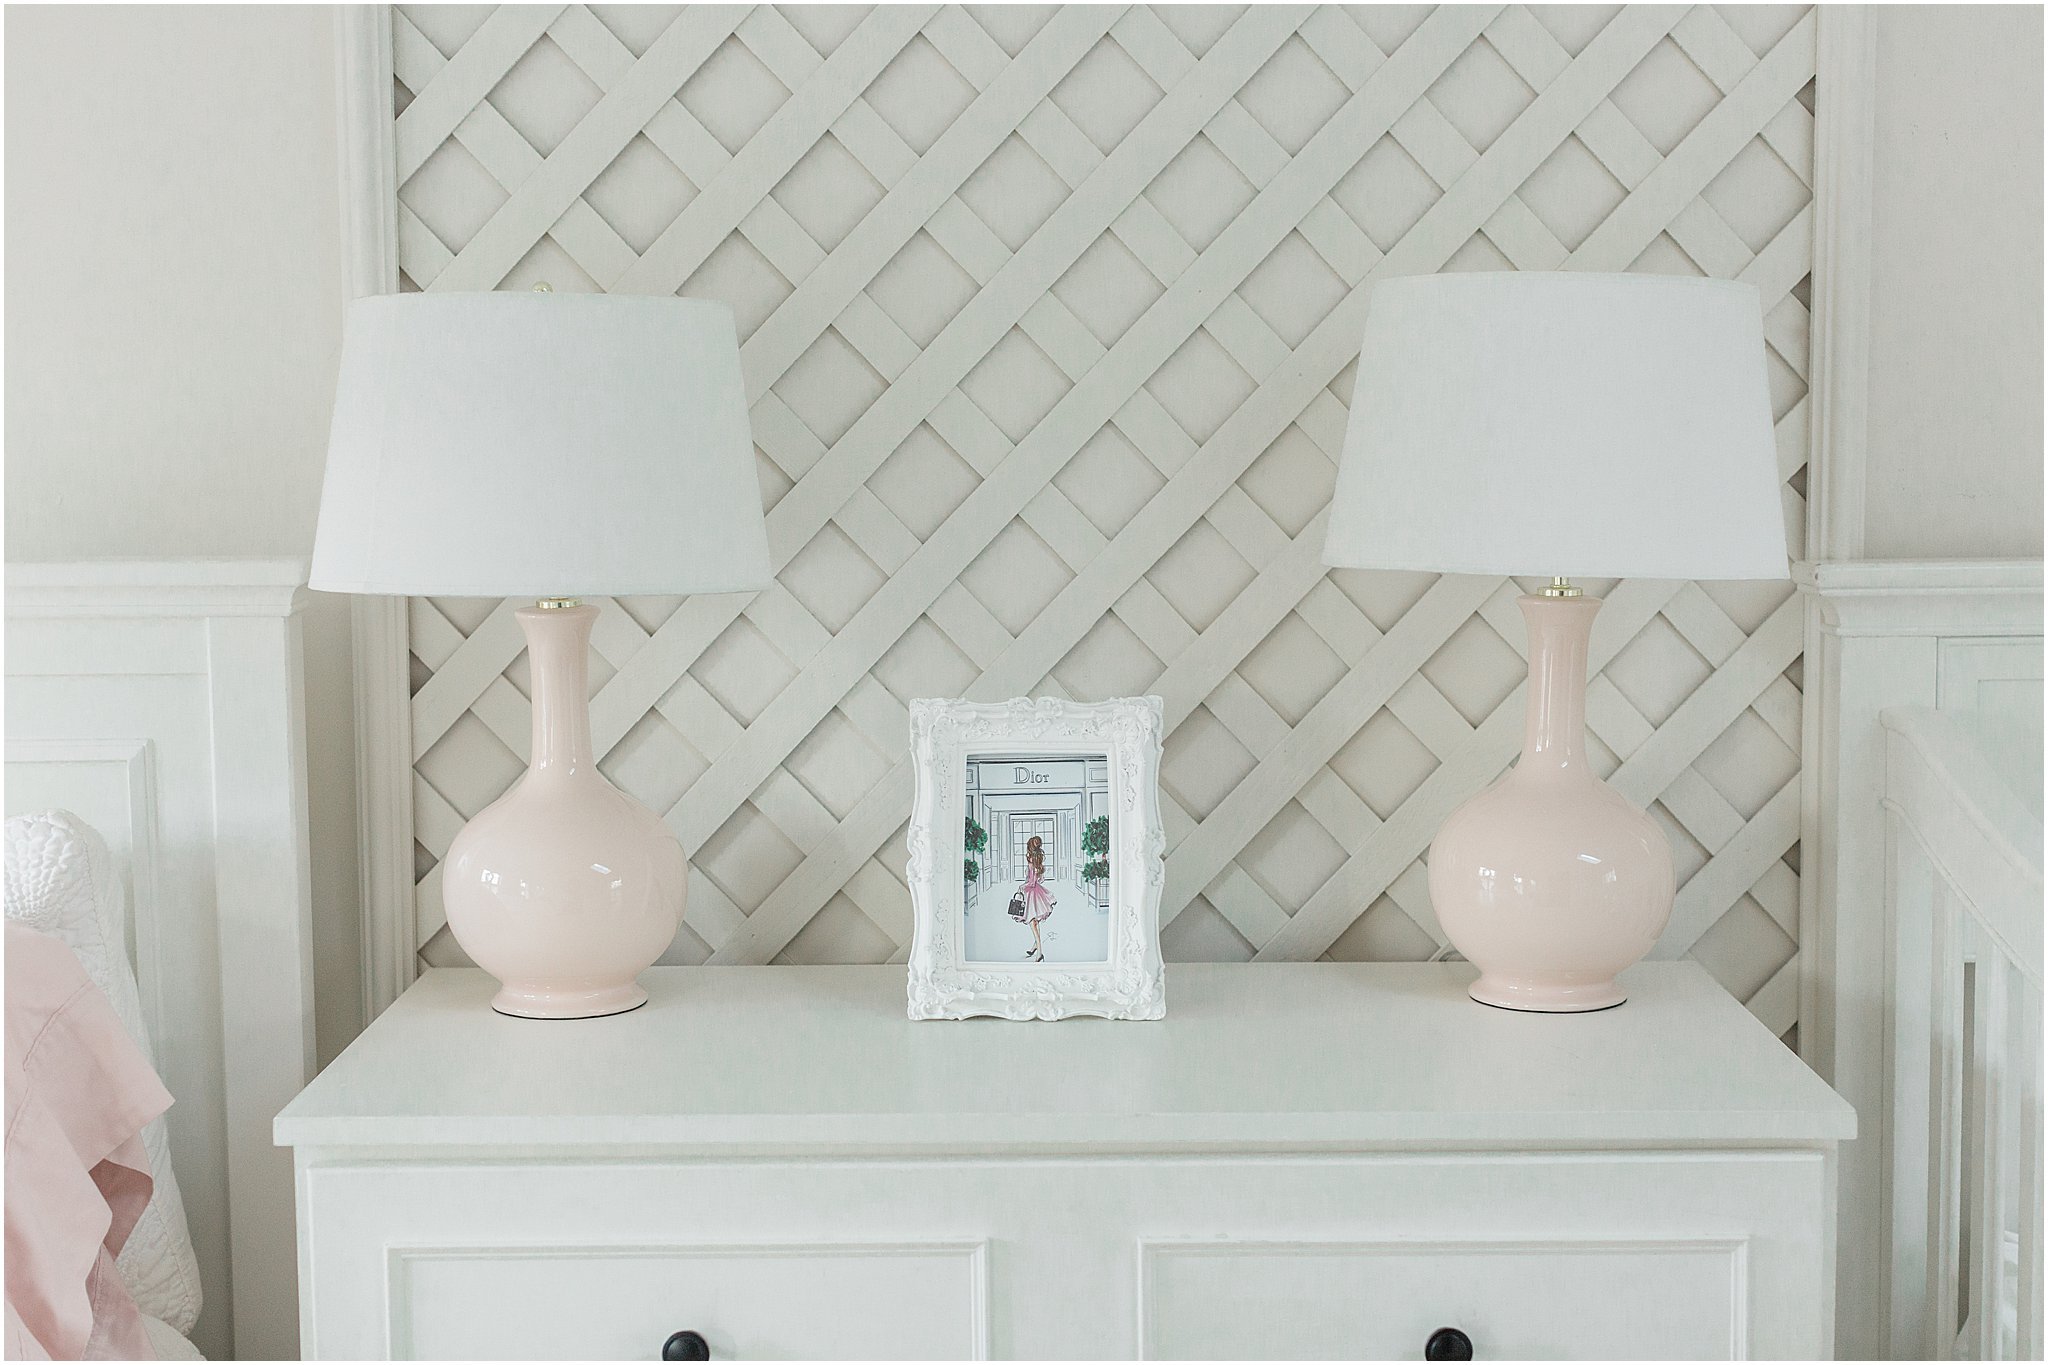
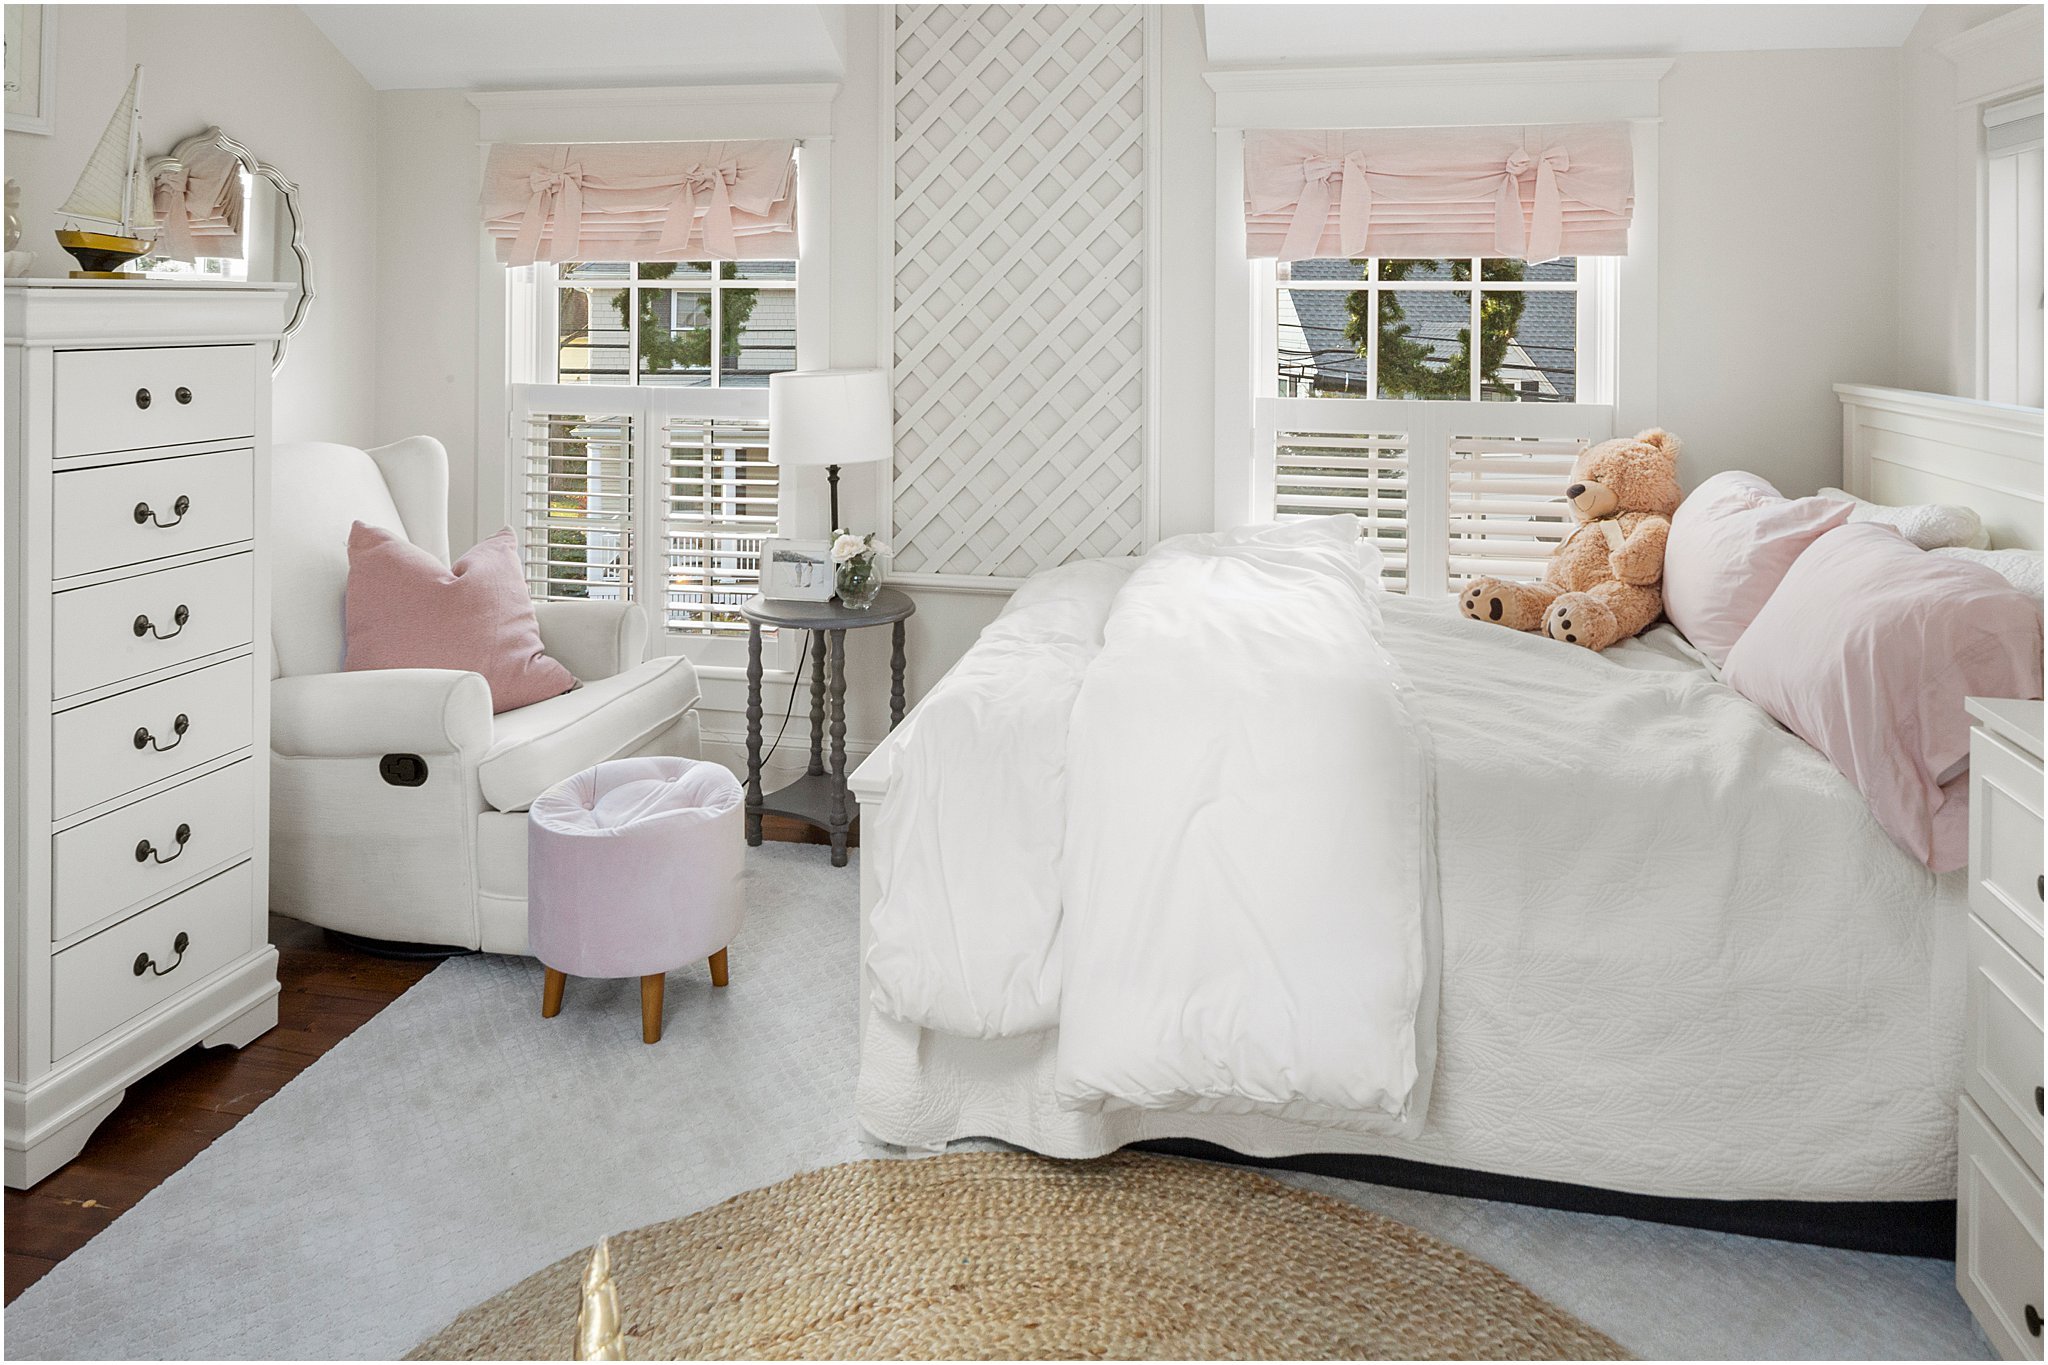
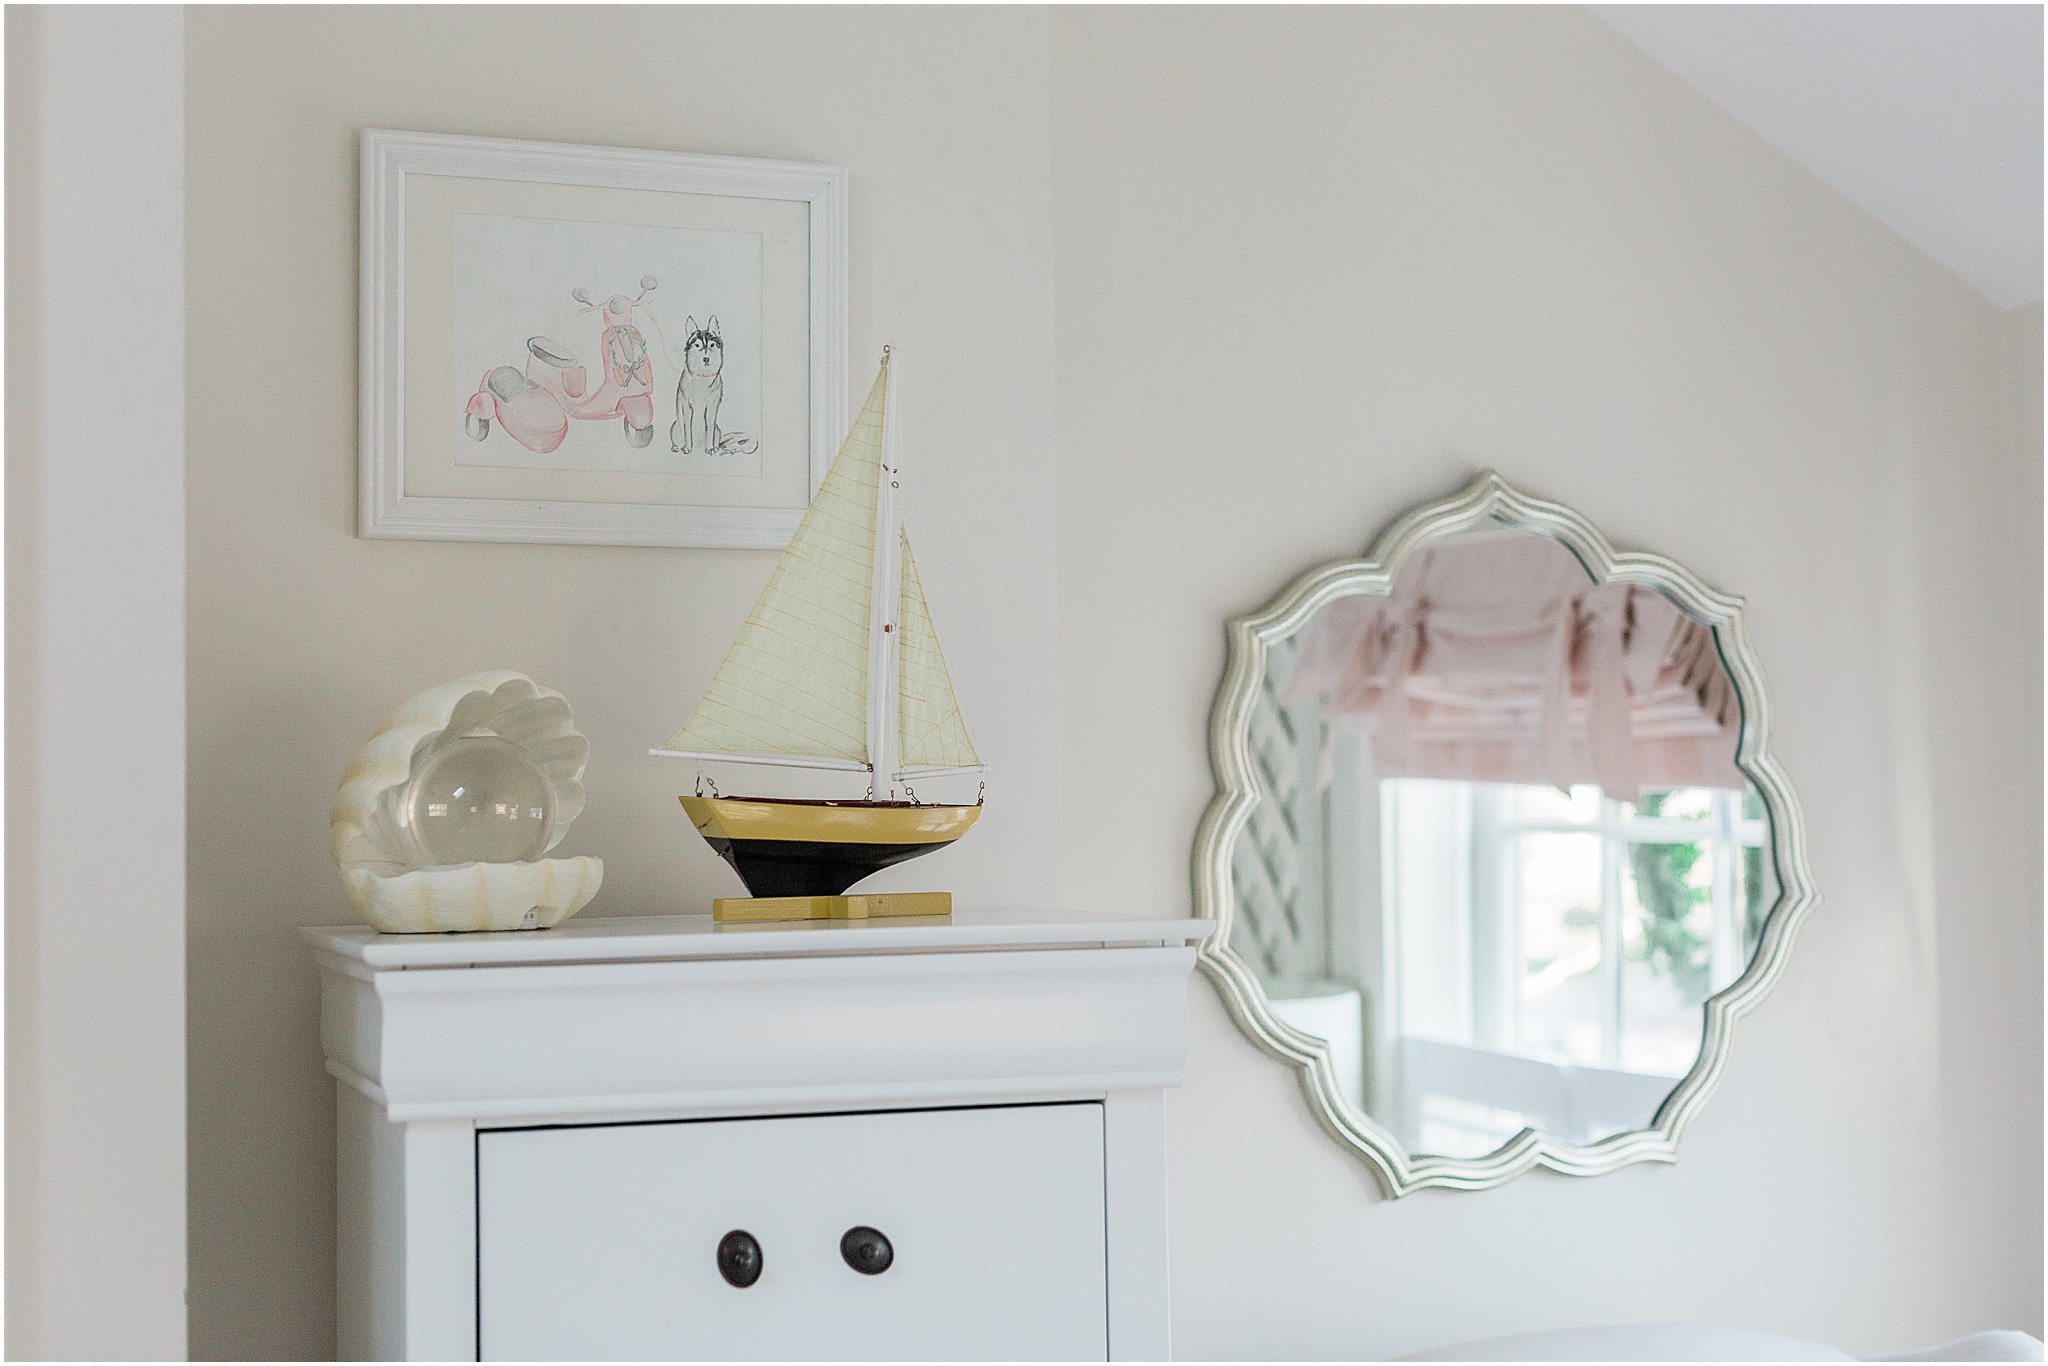
Our daughters room was lovingly referred to as the “princess room” or the “treehouse room” throughout the project. High ceilings, large floor area, full view of the top of our 120 year old Japanese Maple outside and whimsical touches led many of the workers (and the movers) to believe it was the master. It’s safe to say our daughter loves her room because on trips she always says she misses it.
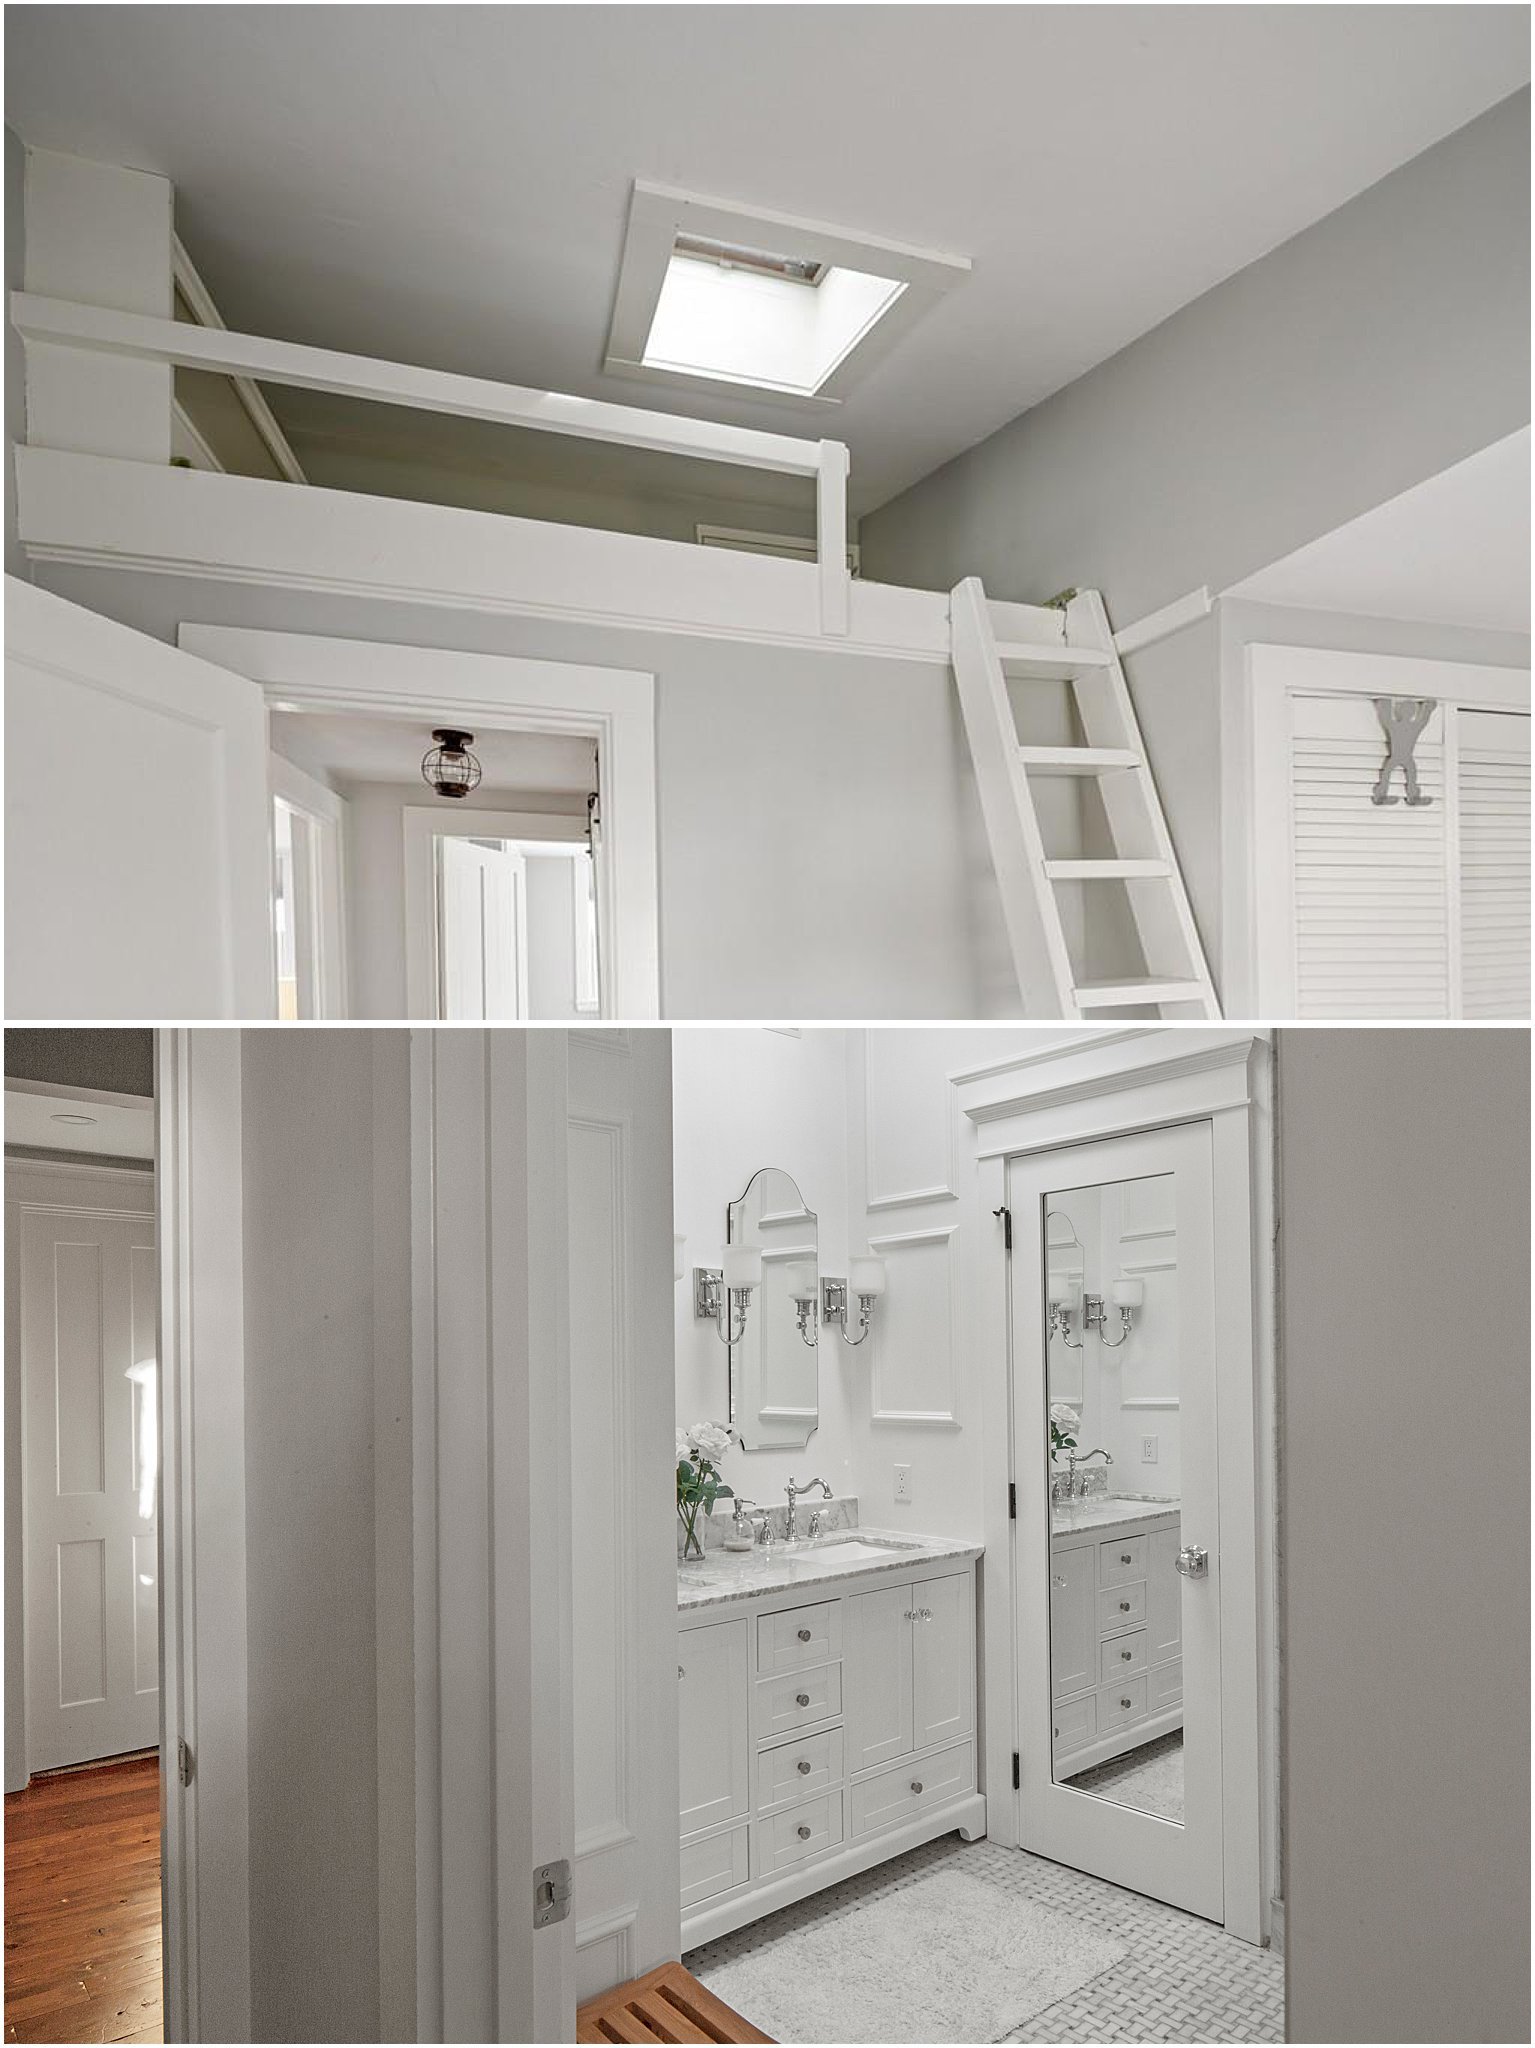
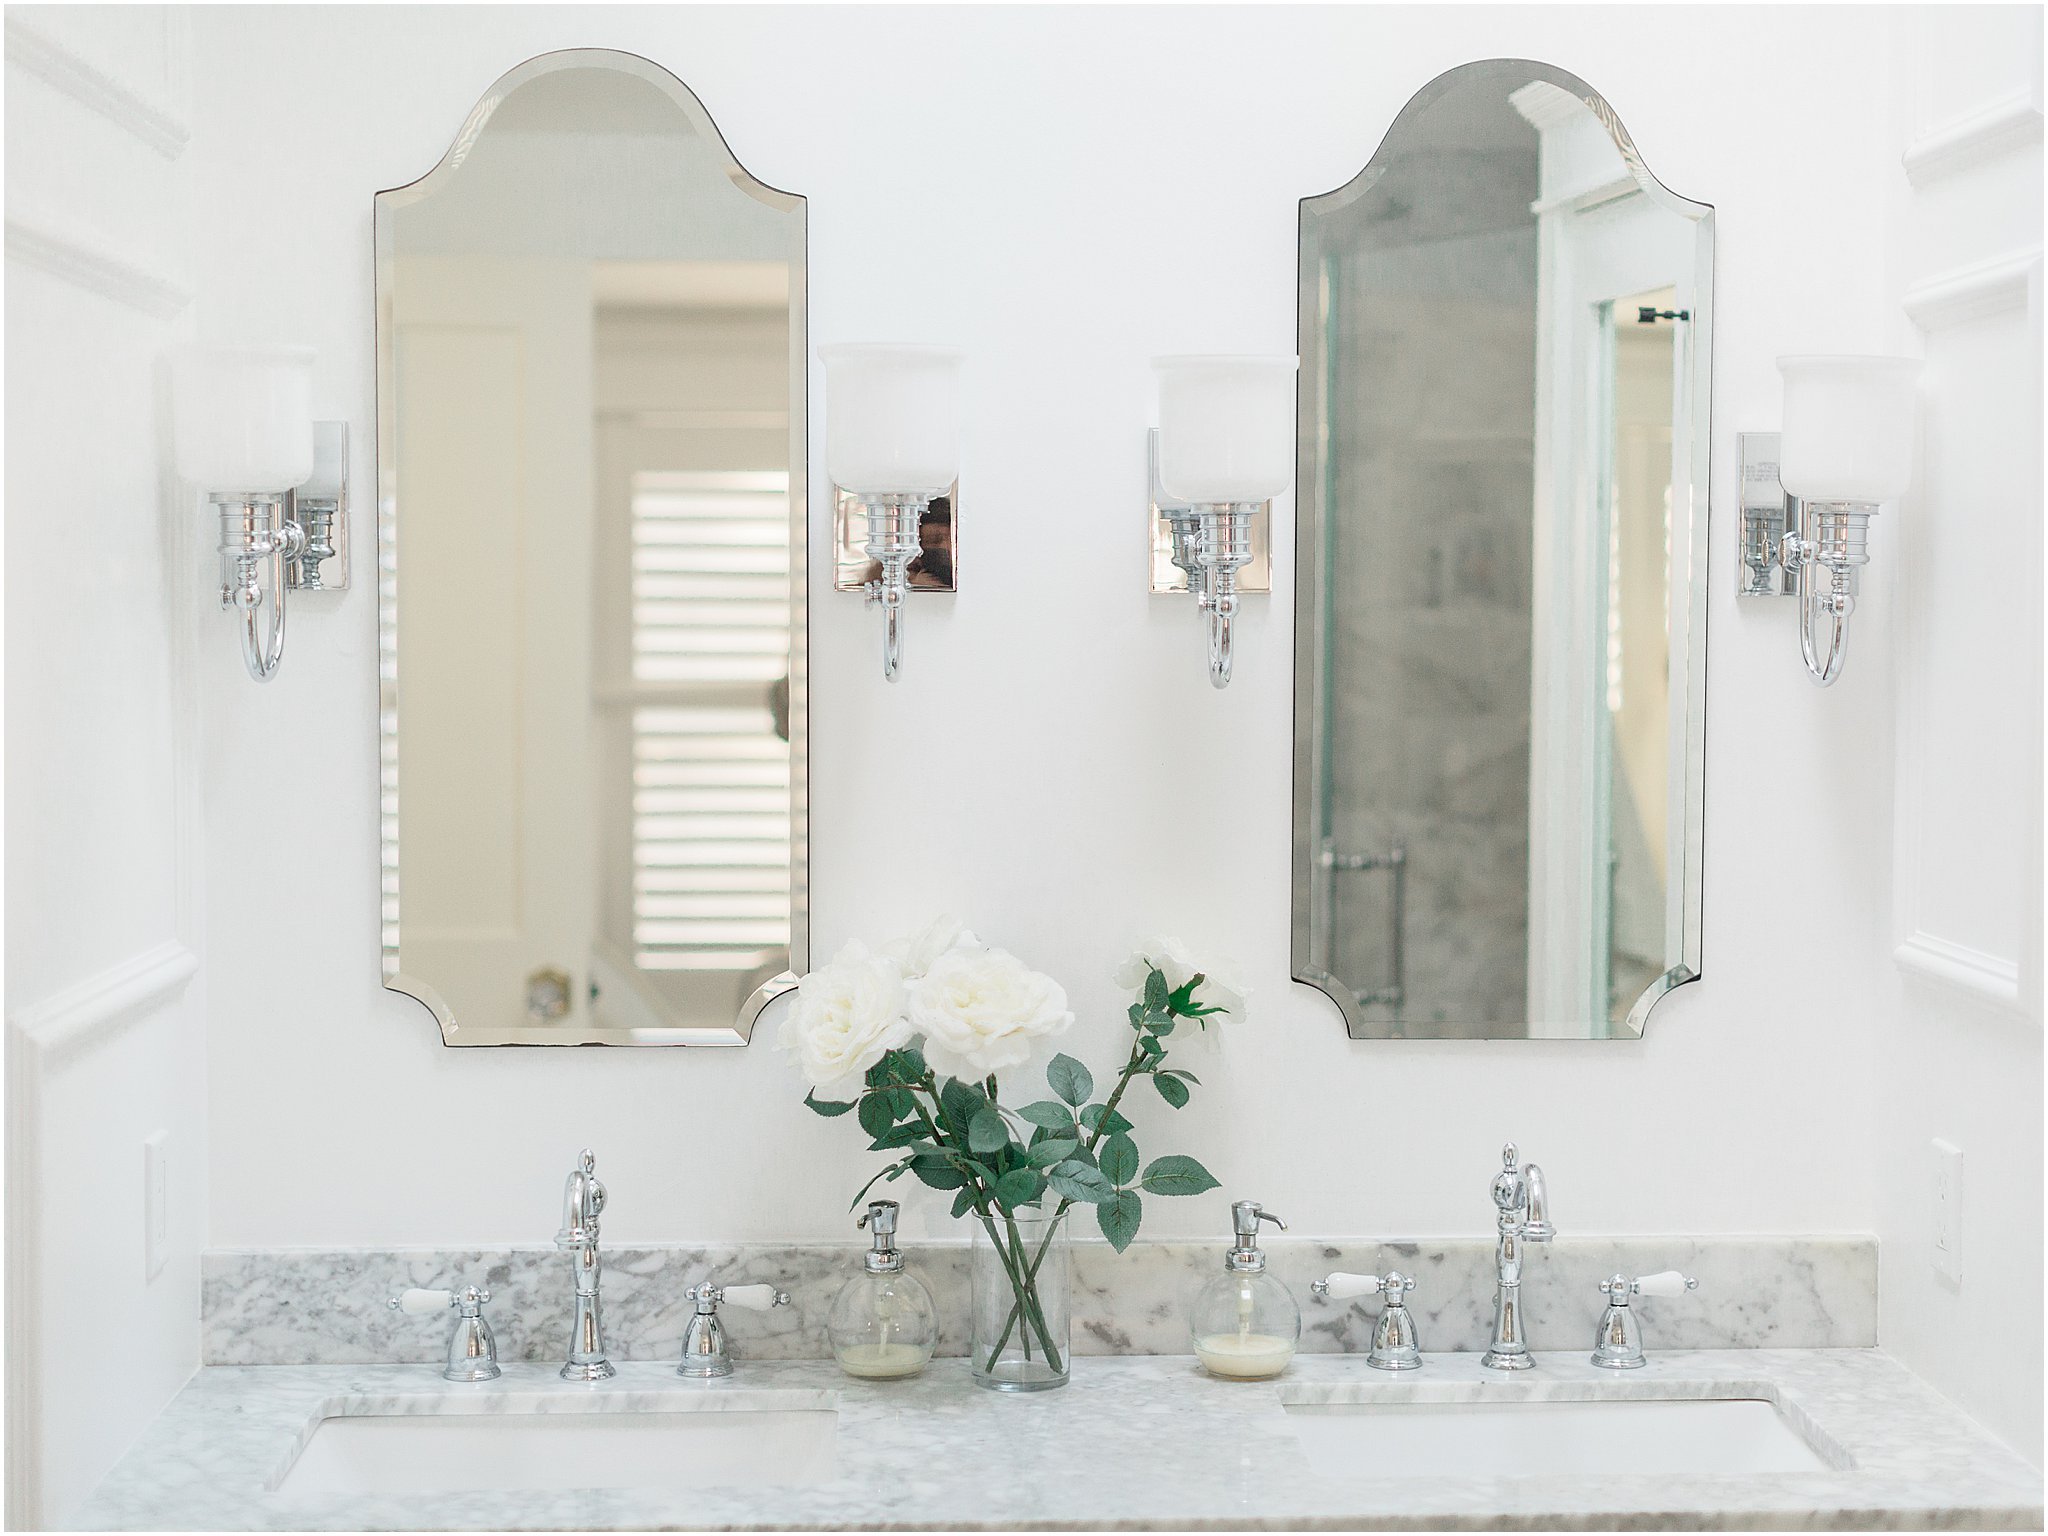
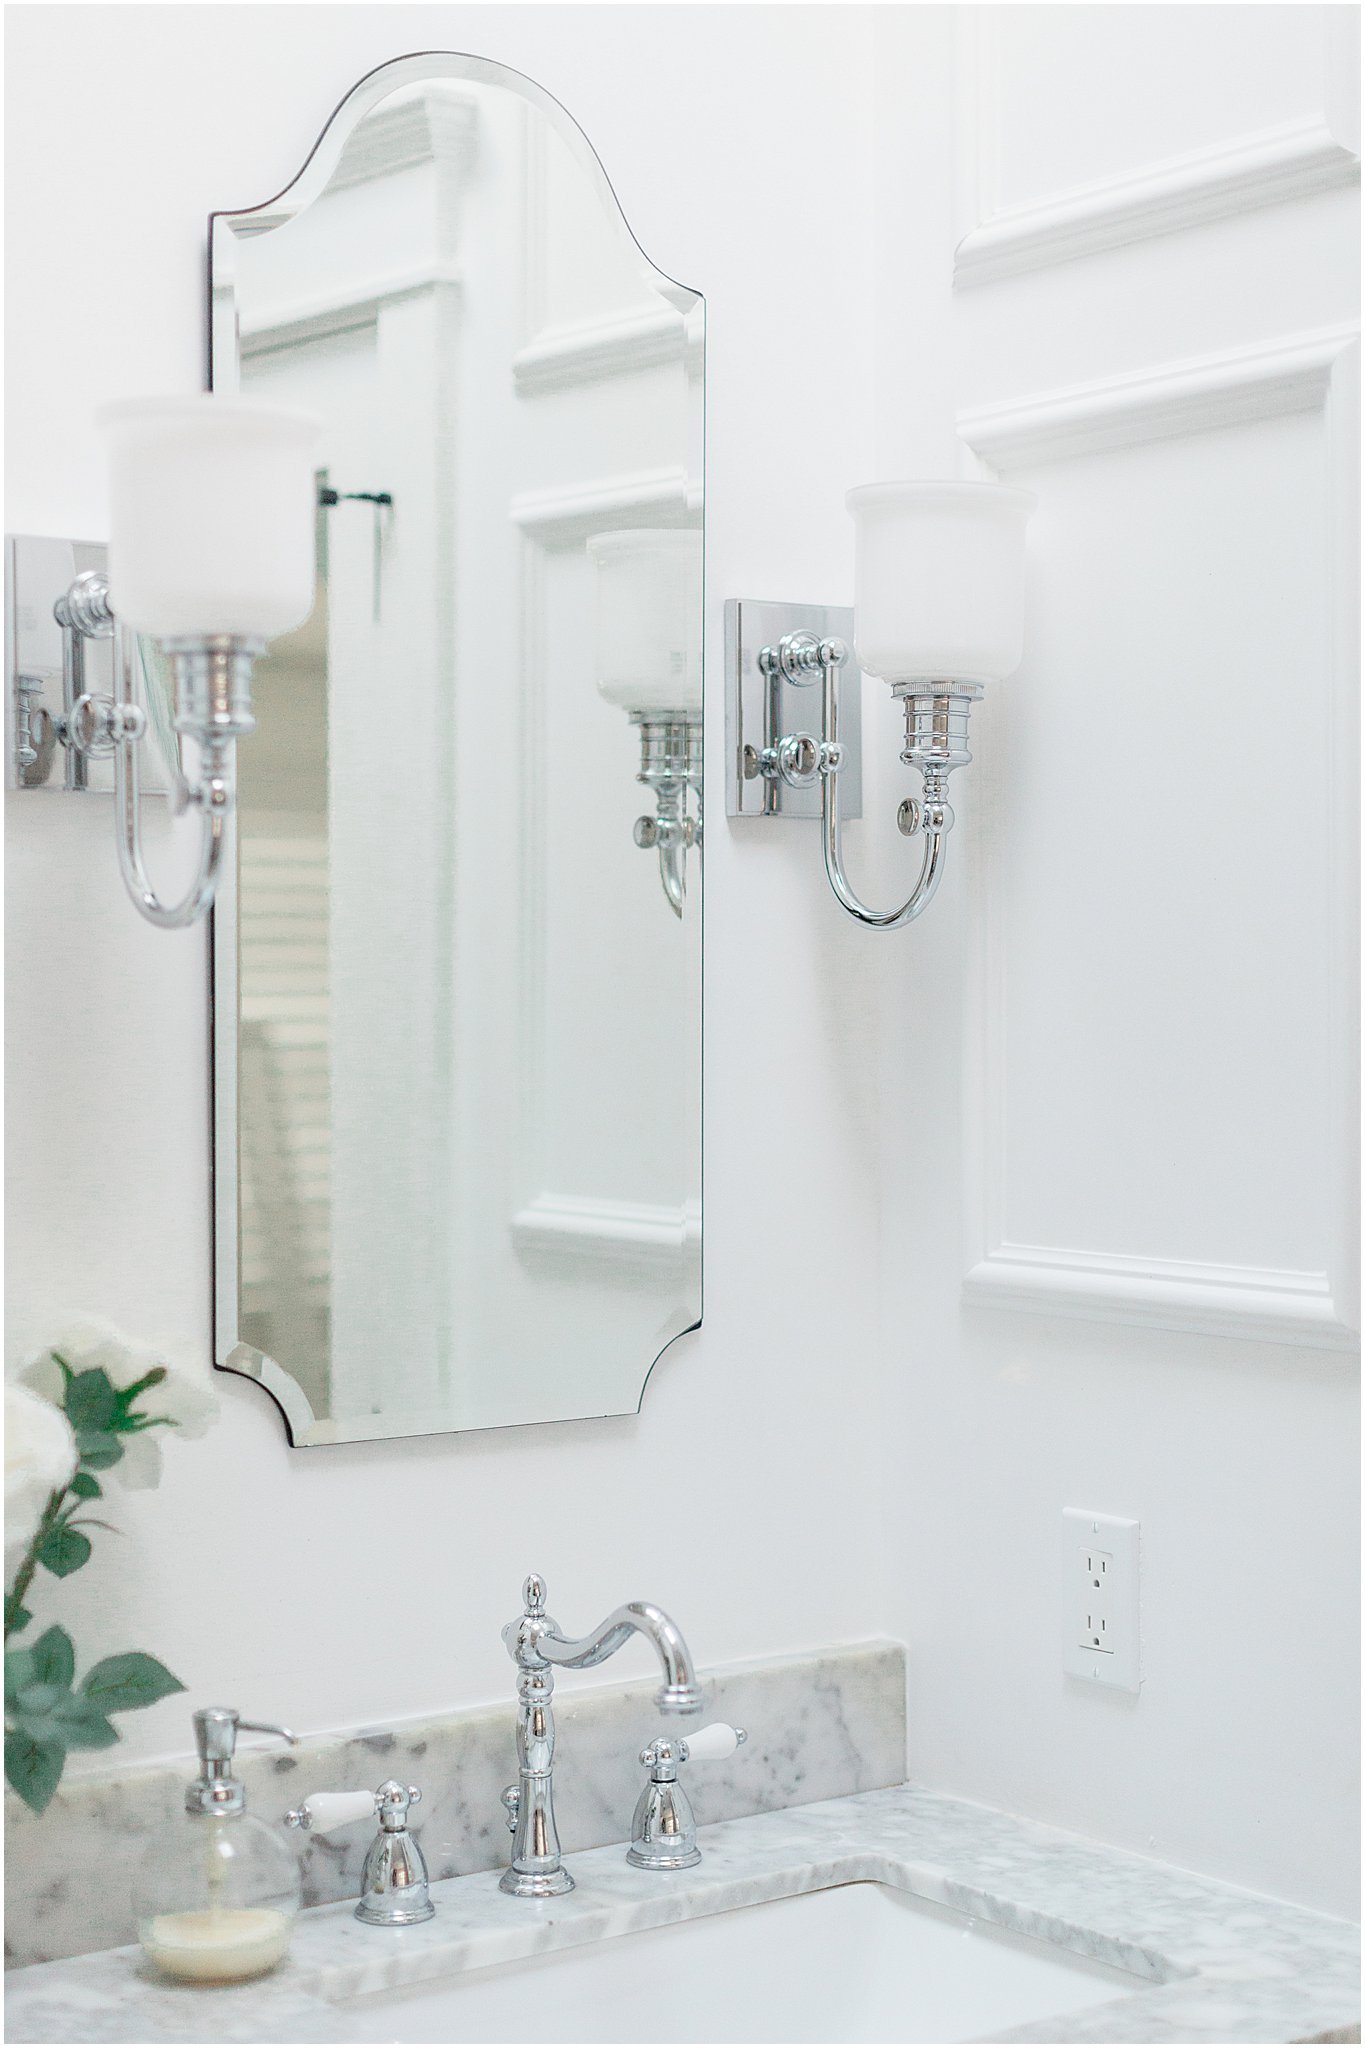
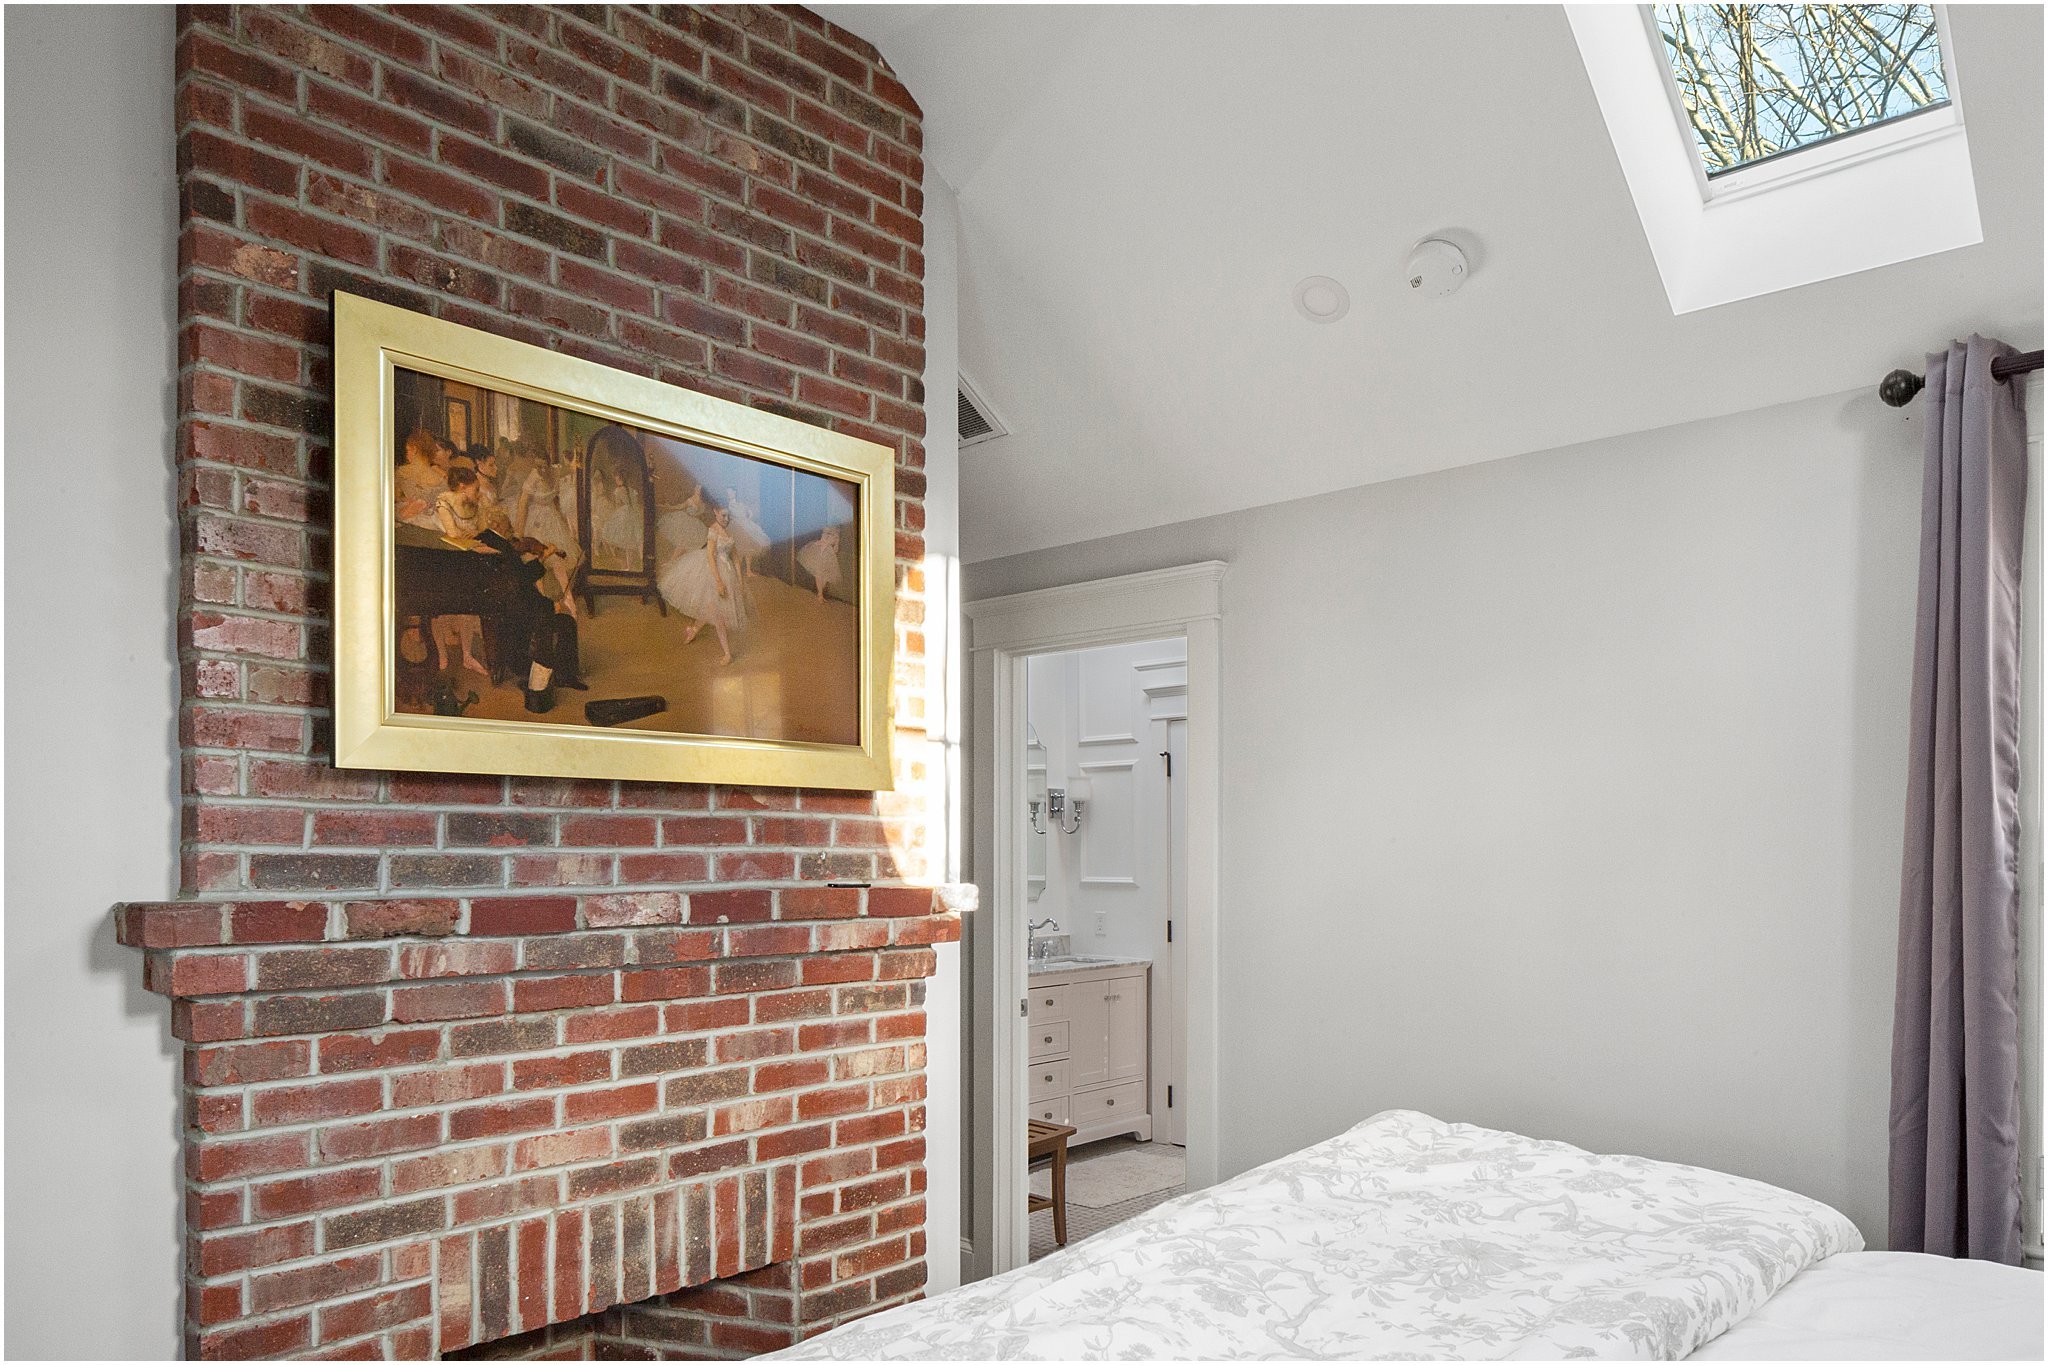
Lastly the master bedroom suite is truly a sanctuary and wonderful place to retreat at the end of the evening. We opted for a small bedroom so that we could have a large walk in closet/dressing room (not pictured because it is not finished!). There used to be a very small bedroom with a loft in this room (first two pictures). The window light that you see above the vanity in the after photo, is coming from the same skylight above. Only part of the master bathroom is shown here because we are still finishing the tub area, but we are in love with what we have so far! The bedroom area is all part of the new addition that took the place of the sunroom, so no, that fireplace is not original… but it sure does look original doesn’t it? We wanted some kind of feature in this room (aside from the gorgeous bathroom) that would make this feel like the master bedroom.
How’d we do? Feel free to leave your comments below :). Thank you to the countless contractors who made this project a reality, some of whom are listed below:
After Photography: Meredith Jane Photography
Before Photography: Blu Lemonade Photography
General Contracting: White Oak Home with a special thanks to Helio on our team!
Overal Design: MJP Design
Original Architectural Concept: Denise Bonoli
Architectural Drawings: Derrick Lopes
Kitchen Cabinets: Minot Designs
Mudroom and Dining Room Cabinets and Replica Newell Post: Ryan Messier
Electrical: Foss Electric
Plumbing: Peter Par
Windows: Mid Cape
Front Masonry: PT Masonry
